Qt 3D:简单 QML 示例
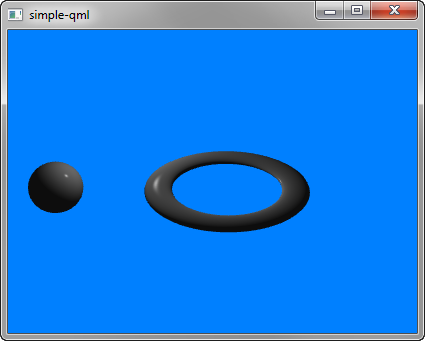
一个 QML 应用程序,演示如何在Qt 3D.NET 中渲染一个场景。

Simple演示如何在Qt 3D 中渲染场景。
运行示例
要运行来自 Qt Creator,打开Welcome 模式,并从Examples 中选择示例。更多信息,请参阅Qt Creator: 教程:构建并运行。
设置场景
我们在main.qml文件中设置了整个场景。
为了能够使用 Q3D 和 Q3D 渲染模块中的类型,我们必须导入这些模块:
import Qt3D.Core 2.0
import Qt3D.Render 2.0
我们创建的第一个实体是Camera ,它代表用于最终渲染的摄像机,以及一个摄像机控制器,它允许我们使用键盘或鼠标控制该摄像机:
Camera {
    id: camera
    projectionType: CameraLens.PerspectiveProjection
    fieldOfView: 45
    aspectRatio: 16/9
    nearPlane : 0.1
    farPlane : 1000.0
    position: Qt.vector3d( 0.0, 0.0, -40.0 )
    upVector: Qt.vector3d( 0.0, 1.0, 0.0 )
    viewCenter: Qt.vector3d( 0.0, 0.0, 0.0 )
}
RenderSettings 实体指定ForwardRenderer 为活动帧图:
components: [
    RenderSettings {
        activeFrameGraph: ForwardRenderer {
            clearColor: Qt.rgba(0, 0.5, 1, 1)
            camera: camera
            showDebugOverlay: true
        }
    },
    // Event Source will be set by the Qt3DQuickWindow
    InputSettings { }
]
事件源由 Qt3DQuickWindow 设置:
InputSettings { }© 2025 The Qt Company Ltd. Documentation contributions included herein are the copyrights of their respective owners. The documentation provided herein is licensed under the terms of the GNU Free Documentation License version 1.3 as published by the Free Software Foundation. Qt and respective logos are trademarks of The Qt Company Ltd. in Finland and/or other countries worldwide. All other trademarks are property of their respective owners.

