
QML Video Shader Effects Example
Applying shader effects on video and camera viewfinder content.
Running the Example
To run the example from Qt Creator , open the Welcome mode and select the example from Examples . For more information, visit Building and Running an Example.
Overview
QML Video Shader Effects demonstrates how a ShaderEffect can be used to apply postprocessing effects, expressed in GLSL, to QML VideoOutput type.
It also shows how native code can be combined with QML to implement more advanced functionality - in this case, C++ code is used to calculate the QML frame rate. This value is rendered in QML in a semi-transparent item overlaid on the video content.
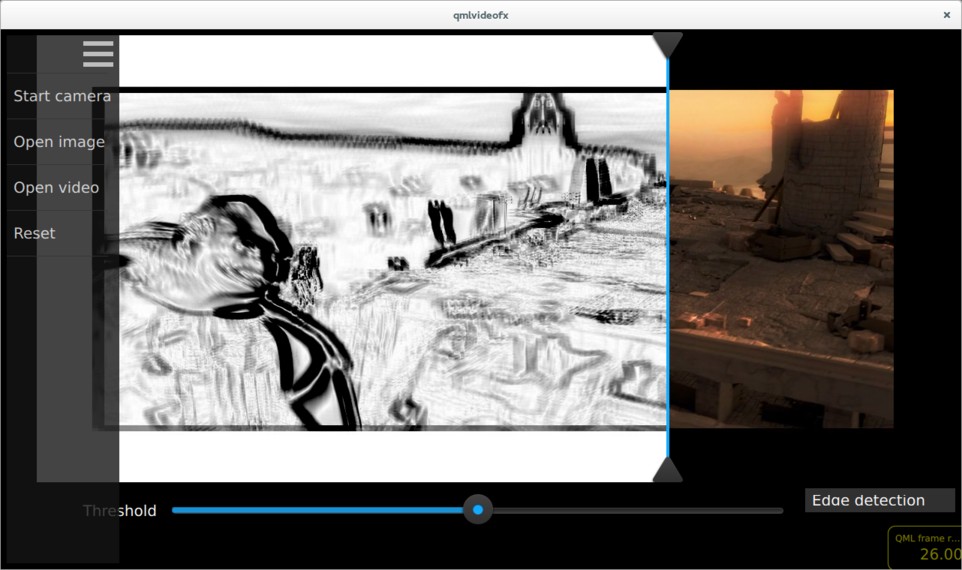
The following screenshots show shader effects being applied. In each case, the effect is implemented using a fragment shader.
Here we see an edge detection algorithm being applied to a video clip ( Sintel from blender.org ).
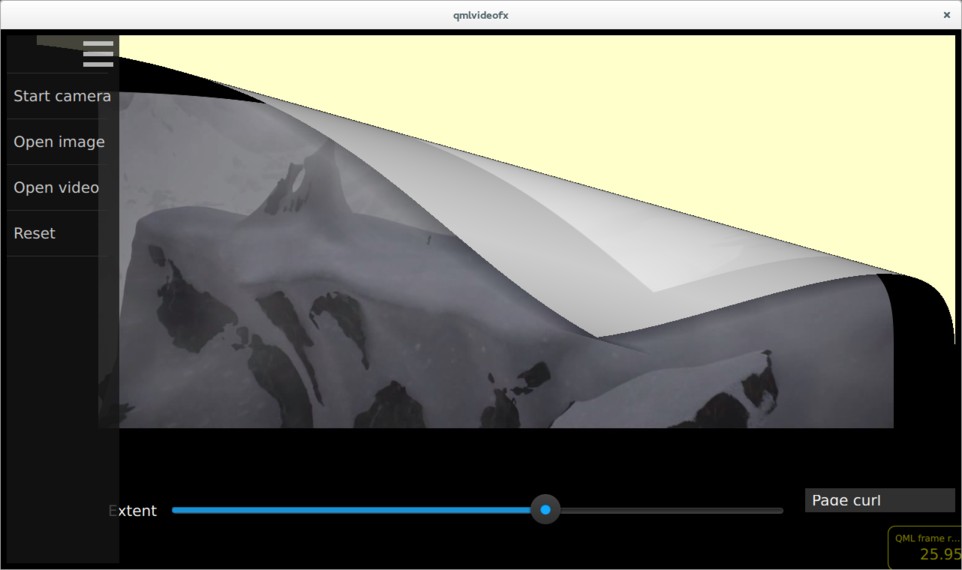
This image shows a page curl effect, applied to the same video clip.
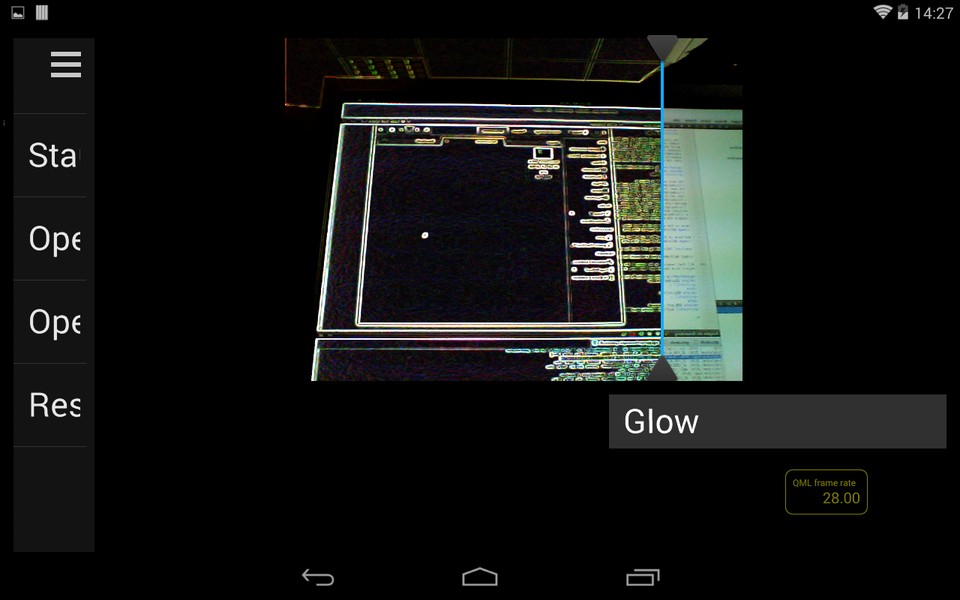
Here we see a ‘glow’ effect (edge detection plus colour quantization) being applied to the camera viewfinder.
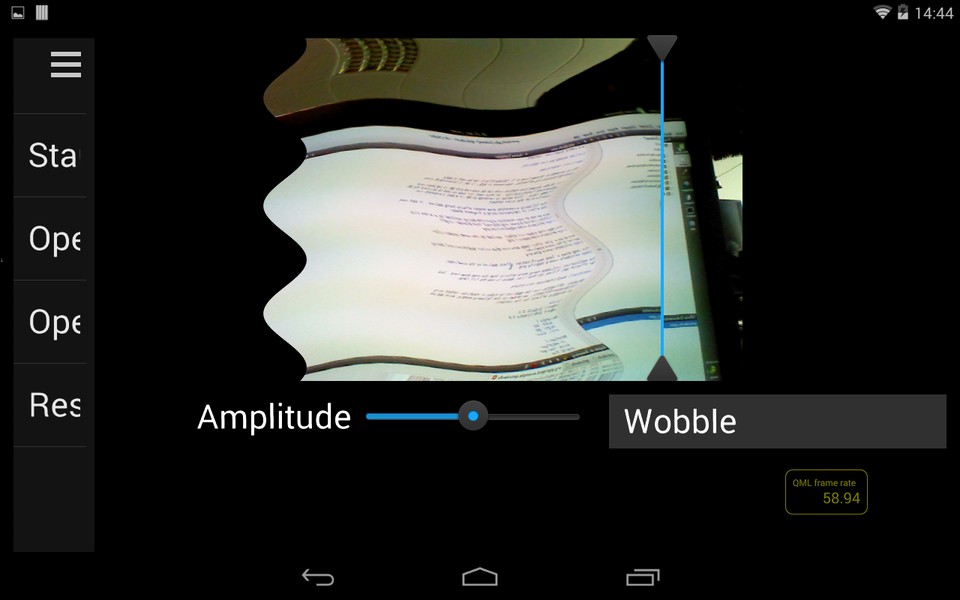
This image shows a ‘wobble’ effect applied to the viewfinder.
The application includes many more effects than the ones shown here - look for Effect*.qml files in the list of files below to see the full range.
Application Structure
Shader effects can be applied to video or viewfinder content using ShaderEffect , as shown in the following example, which applies a wiggly effect to the content:
In this application, the usage of the ShaderEffect and VideoOutput types is a bit more complicated, for the following reasons:
Each effect can be applied to either a VideoOutput or an Image item, so the type of the source item must be abstracted away from the effect implementation
For some effects (such as the edge detection and glow examples shown in the screenshots above), the transformation is applied only to pixels to the left of a dividing line - this allows the effect to be easily compared with the untransformed image on the right
Most effects have one or more parameters which can be modified by the user - these are controlled by sliders in the UI which are connected to uniform values passed into the GLSL code
The abstraction of source item type is achieved by the
Content, which uses a Loader to create either a MediaPlayer , Camera , or an Image :......Each effect is implemented as a QML item which is based on the
Effect, which in turn is based on the ShaderEffect :The interface of Effect allows for derived effects to specify the number of parameters which they support (and therefore the number of sliders which should be displayed), and whether a vertical dividing line should be drawn between transformed and untransformed image regions. As an example, here is the implementation of the pixelation effect. As you can see, the pixelation effect supports one parameter (which controls the pixelation granularity), and states that the divider should be displayed.
The main.qml file shows a
FileOpenitem, which allows the user to select the input source and anEffectSelectionListitem, which lists each of the available shader effects. As described above, aContentitem is used to load the appropriate input and effect type. ADivideritem draws the vertical dividing line, which can be dragged left or right by the user. Finally, aParameterPanelitem renders the sliders corresponding to each effect parameter.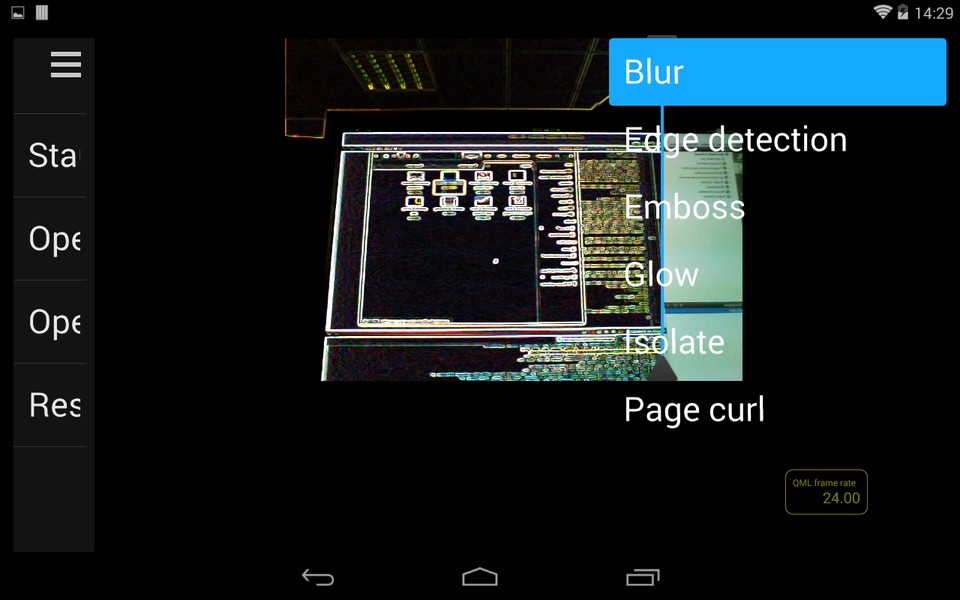
Calculating and Displaying QML Painting Rate
The QML painting rate is calculated by the FrequencyMonitor class, which turns a stream of events (received via the notify() slot), into an instantaneous and an averaged frequency:
...The FrequencyMonitor class is exposed to QML like this
and its data is displayed by defining a QML item called FrequencyItem, like this:
...The result looks like this:

All that remains is to connect the afterRendering() signal of the
QQuickViewobject to a JavaScript function, which will eventually call frequencyItem.notify():......
© 2022 The Qt Company Ltd. Documentation contributions included herein are the copyrights of their respective owners. The documentation provided herein is licensed under the terms of the GNU Free Documentation License version 1.3 as published by the Free Software Foundation. Qt and respective logos are trademarks of The Qt Company Ltd. in Finland and/or other countries worldwide. All other trademarks are property of their respective owners.