
Custom Input Example
Implementing custom input handler in a widget application.
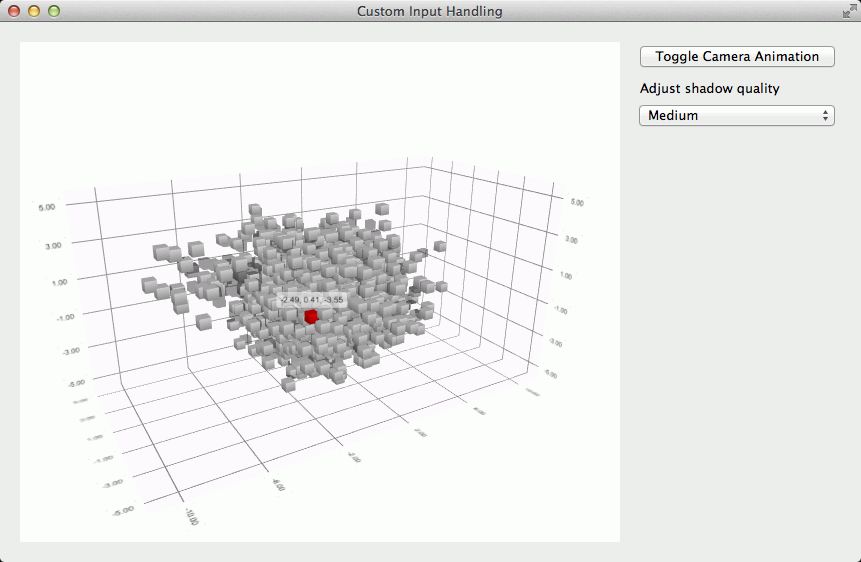
The Custom Input example shows how to customize the 3D graph controls in a widget application using a custom graph input handler to capture and process mouse events. The code in this example shows also how the camera is controlled by using QPropertyAnimation to animate the camera and item selection is done on mouseover rather than clicking any mouse buttons. Also the code shows how to implement similar zoom with mouse wheel functionality as the default input handler implements.
Running the Example
To run the example from Qt Creator , open the Welcome mode and select the example from Examples. For more information, visit Building and Running an Example.
Replacing Default Input Handling
The default input handling mechanism is replaced by setting the active input handler of Q3DScatter to CustomInputHandler that implements the custom behavior.
m_graph.setActiveInputHandler(m_inputHandler)
Implementing Custom Selection Handling
The on mouseover selection handling is implemented in the CustomInputHandler that captures the mouse events. It then stores the last known coordinates to the inputPosition property.
def mouseMoveEvent(self, event, mousePos):

    Q_UNUSED(event)
    setInputPosition(mousePos)
As the selection is one shot, and is cleared each time a 3D frame is rendered, a timer is setup to retrigger selection so that the selection moves to the item currently under the mouse cursor as the camera animates around the graph even when the mouse cursor is not moving.
m_selectionTimer = QTimer(self)
m_selectionTimer.setInterval(10)
m_selectionTimer.setSingleShot(False)
QObject.connect(m_selectionTimer, QTimer.timeout, self,
                 ScatterDataModifier::triggerSelection)
m_selectionTimer.start()
Implementing Custom Zoom Handling
The camera has a zoom factor that represents amount of zoom in percentages. In this example the zoom range is limited between 10% and 500%. This range is then divided to four subranges where angleDelta is scaled to different amount of zoom change based on the current subrange.
def wheelEvent(self, event):

    # Adjust zoom level based on what zoom range we're in.
    zoomLevel = scene().activeCamera().zoomLevel()
    if (zoomLevel > 100)
        zoomLevel += event.angleDelta().y() / 12
    elif zoomLevel > 50:
        zoomLevel += event.angleDelta().y() / 60
else:
        zoomLevel += event.angleDelta().y() / 120
    if (zoomLevel > 500)
        zoomLevel = 500
    elif zoomLevel < 10:
        zoomLevel = 10
    scene().activeCamera().setZoomLevel(zoomLevel)
Implementing Custom Camera Handling
The camera is animated to constantly rotate around the graph with two animations. The rotation around the graph is done with a simple QPropertyAnimation that just increments during 20 seconds from 0 degrees to 360 degrees and sets the xRotation property.
m_animationCameraX = QPropertyAnimation(m_graph.scene().activeCamera(), "xRotation")
m_animationCameraX.setDuration(20000)
m_animationCameraX.setStartValue(QVariant.fromValue(0.0f))
m_animationCameraX.setEndValue(QVariant.fromValue(360.0f))
m_animationCameraX.setLoopCount(-1)
The camera movement up and down is implemented with a QSequentialAnimationGroup that varies the yRotation property of the camera from 5 degrees to 45 degrees and back with in and out easing.
upAnimation = QPropertyAnimation(m_graph.scene().activeCamera(), "yRotation")
upAnimation.setDuration(9000)
upAnimation.setStartValue(QVariant.fromValue(5.0f))
upAnimation.setEndValue(QVariant.fromValue(45.0f))
downAnimation = QPropertyAnimation(m_graph.scene().activeCamera(), "yRotation")
downAnimation.setDuration(9000)
downAnimation.setStartValue(QVariant.fromValue(45.0f))
downAnimation.setEndValue(QVariant.fromValue(5.0f))
m_animationCameraY = QSequentialAnimationGroup()
m_animationCameraY.setLoopCount(-1)
m_animationCameraY.addAnimation(upAnimation)
m_animationCameraY.addAnimation(downAnimation)
© 2022 The Qt Company Ltd. Documentation contributions included herein are the copyrights of their respective owners. The documentation provided herein is licensed under the terms of the GNU Free Documentation License version 1.3 as published by the Free Software Foundation. Qt and respective logos are trademarks of The Qt Company Ltd. in Finland and/or other countries worldwide. All other trademarks are property of their respective owners.