C
Qt App Lister
Demonstrates usage of the Qt Android Apps Utils API.

This example demonstrates how to use Qt Android Apps Utils to show a list of installed apps in an Android or Android Automotive device and how to handle relevant events. The application UI is created by using Qt Quick.
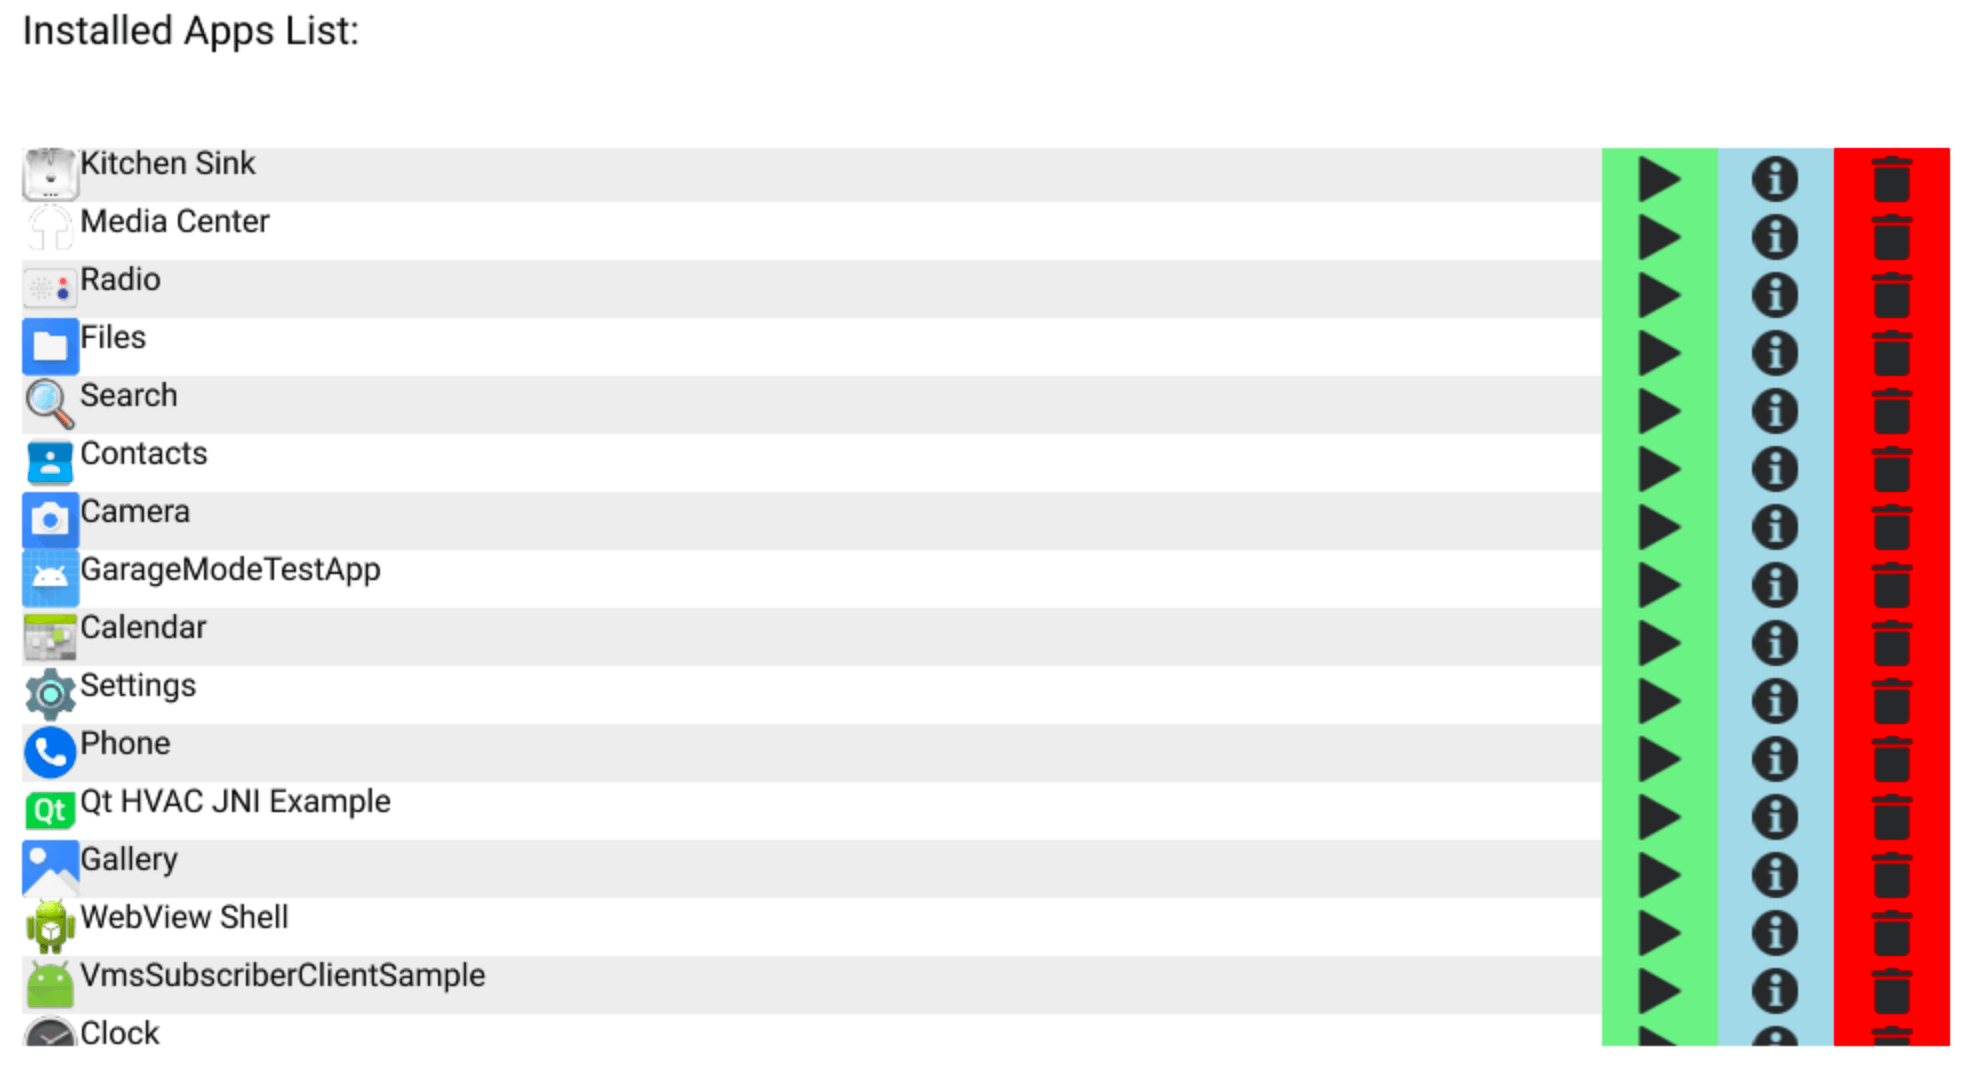
When starting the app, a list of all installed apps, excluding system apps, is shown as ListView. Each app has a Button to start the app, show the app info page, or uninstall the app. App Lister also keeps track of installed or uninstalled apps and adds them to the list, as well as showing a text notification on those events.
Running the Example
To run the example from Qt Creator, open the Welcome mode and select the example from Examples. For more information, visit Building and Running an Example.
Using the Model
The installed apps model is based on a QAbstractListModel from C++ and it is extended to QML. The model can be used with ListView or GridView as needed.
In this example, a cListView is used. The model is attached to the list as follows:
    ListView {
        id: listView
        width: parent.width
        clip: true
        flickableDirection: Flickable.VerticalFlick
        anchors.bottomMargin: window.marginSize
        anchors.right: parent.right
        anchors.rightMargin: window.marginSize
        anchors.left: parent.left
        anchors.leftMargin: window.marginSize
        anchors.top: updatesText.bottom
        anchors.topMargin: window.marginSize
        anchors.bottom: parent.bottom

        model: AndroidAppsUtils.installedAppsModel
Then, we set the list's delegate to use a Row that contains the app's icon, name and few controls buttons.
        delegate: Rectangle {
            id: delegate
            height: window.height * 0.05
            width: ListView.view.width
            color: index % 2 == 0 ? "#EDEDED" : "#FFFFFF"

            Row {
                id: row

                Image {
                    id: appIcon
                    height: delegate.height
                    width: delegate.height
                    source: model.AppIconString
                }

                Text {
                    id: appName
                    text: model.appName
                    width: delegate.width - delegate.height - 3 * listView.buttonWidth
                }

                Button {
                    id: startrightBtn
                    width: listView.buttonWidth
                    onClicked: AndroidAppsUtils.startApp(model.packageName)
                    background: Rectangle { color: "light green" }
                    icon.source: "qrc:/icons/play.png"
                    icon.height: listView.iconSize
                    icon.width: listView.iconSize
                    anchors.verticalCenter: row.verticalCenter
                }

                Button {
                    id: infoBtn
                    width: listView.buttonWidth
                    onClicked: AndroidAppsUtils.showAppInfo(model.packageName)
                    background: Rectangle { color: "light blue" }
                    icon.source: "qrc:/icons/info.png"
                    icon.height: listView.iconSize
                    icon.width: listView.iconSize
                    anchors.verticalCenter: row.verticalCenter
                }

                Button {
                    id: removeBtn
                    width: listView.buttonWidth
                    onClicked: AndroidAppsUtils.uninstallApp(model.packageName)
                    background: Rectangle { color: "red" }
                    icon.source: "qrc:/icons/delete.png"
                    icon.height: listView.iconSize
                    icon.width: listView.iconSize
                    anchors.verticalCenter: row.verticalCenter
                }
            }
        }
    }
Using the API Calls
Inside the ListView delegate, we can trigger some calls to the Java API to execute the common operations like starting, uninstalling, and showing the app's info. To start an app for example:
onClicked: AndroidAppsUtils.startApp(model.packageName)
The Qt Android Apps Utils component ensures to report any event of app installation or un-installation. To receive those signals and execute an operation in response to that, we need to implement a Connections, as follows:
    Connections {
        target: AndroidAppsUtils
        function onAppUninstalled(message) {
            updatesText.text = qsTr("Uninstalled: %1").arg(message)
        }

        function onAppInstalled(app) {
            updatesText.text = qsTr("Installed: %1").arg(app.packageName)
        }
    }
See also Qt for Android and Qt Android Extras.
Available under certain Qt licenses.
Find out more.


