Bubblewrap Container Example
Learn how to use Bubblewrap Containers with the application manager.
Note: Please read this if you want to build the example on a Linux machine.
Introduction
This example shows you how to launch applications within a bubblewrap container for extra security.
Prerequisites: You're already familiar with the concepts and topics introduced in the System UI Example: "Hello World!". This example uses the same folder structure and can be started in the same way.
A Bubblewrap container uses the bwrap command-line utility to start a process in a separate kernel namespace. This is similar to how Docker works, but has the benefit that no extra daemon needs to be running. Bubblewrap is also used by Flatpak to sandbox applications.
Configuration
First we need to select which applications should use the bubblewrap container. In this example we use it for all our examples by setting a wildcard for the selection key in the am-config.yaml
containers:
  selection:
    - '*': bubblewrap
The next thing we need is the actual container configuration. Without this configuration our applications would not start and stop with an error similar to this:
bwrap: execvp /usr/bin/appman-launcher-qml: No such file or directoryThis happens because the default configuration of the bubblewrap container doesn't share any directory into the newly created kernel namespace. That basically means we tried to start an application without having any user-space libraries.
A good starting point for the container configuration is shown here:
containers:
  bubblewrap:
    configuration:
    - symlink:
        usr/lib: '/lib'
        usr/lib64: '/lib64'
        usr/bin: [ '/bin', '/sbin' ]
    - ro-bind:
        /usr/bin: '/usr/bin'
        /usr/lib: '/usr/lib'
        /etc: '/etc'
        /usr/share/fonts: '/usr/share/fonts'
        /usr/share/fontconfig: '/usr/share/fontconfig'
        /usr/share/ca-certificates: '/usr/share/ca-certificates'
        /sys/dev/char: '/sys/dev/char'
        ${EXECUTABLE_DIR}/imports: '${EXECUTABLE_DIR}/imports'
    - ro-bind-try:
        /usr/lib64: '/usr/lib64'
        '/sys/devices/pci0000:00': '/sys/devices/pci0000:00'
        /usr/share/glvnd/egl_vendor.d: '/usr/share/glvnd/egl_vendor.d'
        /usr/share/X11/xkb: '/usr/share/X11/xkb'
        /usr/share/libdrm: '/usr/share/libdrm'
        /run/resolvconf: '/run/resolvconf'
    - dev: '/dev'
    - dev-bind:
        /dev/dri: '/dev/dri'
    - proc:
        /proc
We configure the container to use parts of our own rootfs and bind mount it into the kernel namespace. In a similar way we also configure it to use its own tmpfs and procfs filesystem.
Running the example
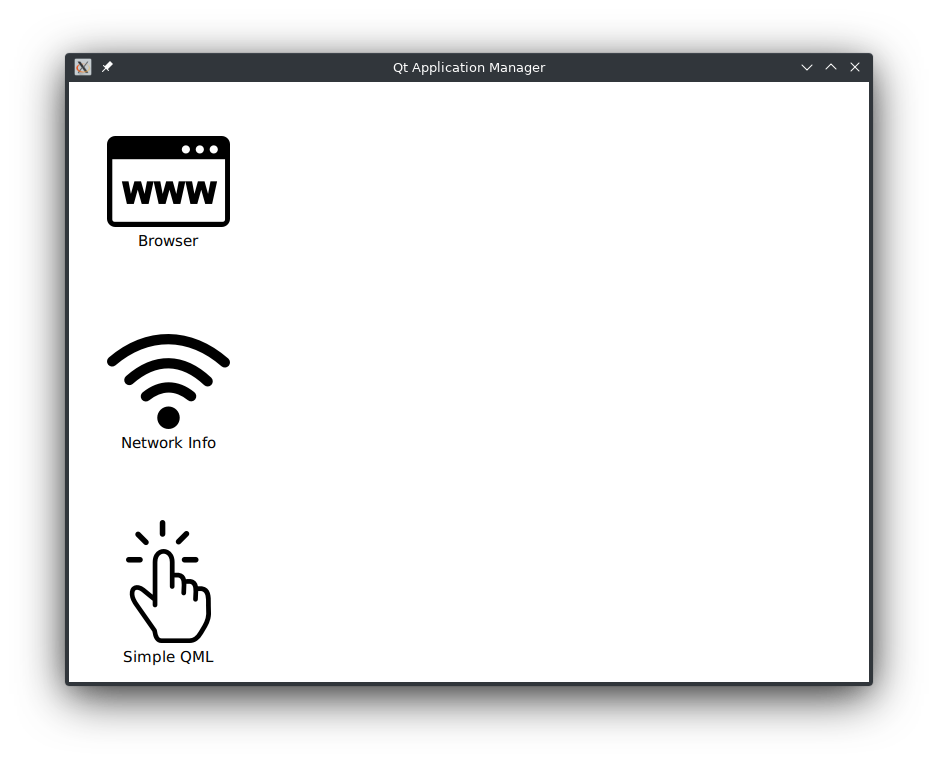
When starting the example you should see a window similar to this:
Once you press one of the icons on the left side, the corresponding application is started and its window is shown on the right side, similar to the System UI Example: "Hello World!".
The first application is a browser and uses QtWebengine to show the Qt homepage. The second application is network info, which shows all ip addresses of the system. Last but not least the 'Simple QML' application shows a button to exit the process with a specific exit code.
Quick launch
Right now all our applications are started when the corresponding button is pressed. This involves starting a new container process and within this container process start the application process, which then starts loading the application's QML code.
When quick-launch is enabled, a container running the application manager's QML launcher is started in the background. Once the application should be started the QML launcher just needs to load the application QML code. For this to work correctly with the bubblewrap container, root permissions are needed, in order to mount the correct application directory into the container.
In the am-config.yaml the quick launch is enabled like this:
quicklaunch:
  runtimesPerContainer:
    bubblewrap:
      qml: 1
    '*': 0
To see quick-launch in action, you need to start the example with "sudo".
Network isolation
Similar to quick-launch, another feature also needs root permissions: the network isolation. Right now the container has full network acccess. The network access can be configured with the following snippet in the am-config.yaml:
containers:
  bubblewrap:
    sharedNamespaces: [ '-all', '+net' ]
    # You can use this script as a starting point. It has to be adapted to
    # your network setup though:
    # networkSetupScript: 'sudo "${EXECUTABLE_DIR}/bubblewrap-network-setup.sh"'
If the applications shouldn't have any network access at all, you can change the sharedNamespaces option to [ '-all' ]. If you then start the networkinfo application, you will see that no ip address is available inside the container anymore. Likewise, the browser application doesn't have network access.
Another option is to set networkSetupScript to the path of a script. This script will be executed for every container and can be used to setup the network devices accordingly. The script which is provided with this example creates a new network device on the host and shares this device into the container. The newly created network device can now be bridged and filtered on the host side without any changes inside the container.
© 2026 The Qt Company Ltd. Documentation contributions included herein are the copyrights of their respective owners. The documentation provided herein is licensed under the terms of the GNU Free Documentation License version 1.3 as published by the Free Software Foundation. Qt and respective logos are trademarks of The Qt Company Ltd. in Finland and/or other countries worldwide. All other trademarks are property of their respective owners.
