
StyleKit カスタムデリゲートの例
StyleKit でカスタムデリゲートやシェーダーエフェクトを使用する方法を紹介します。
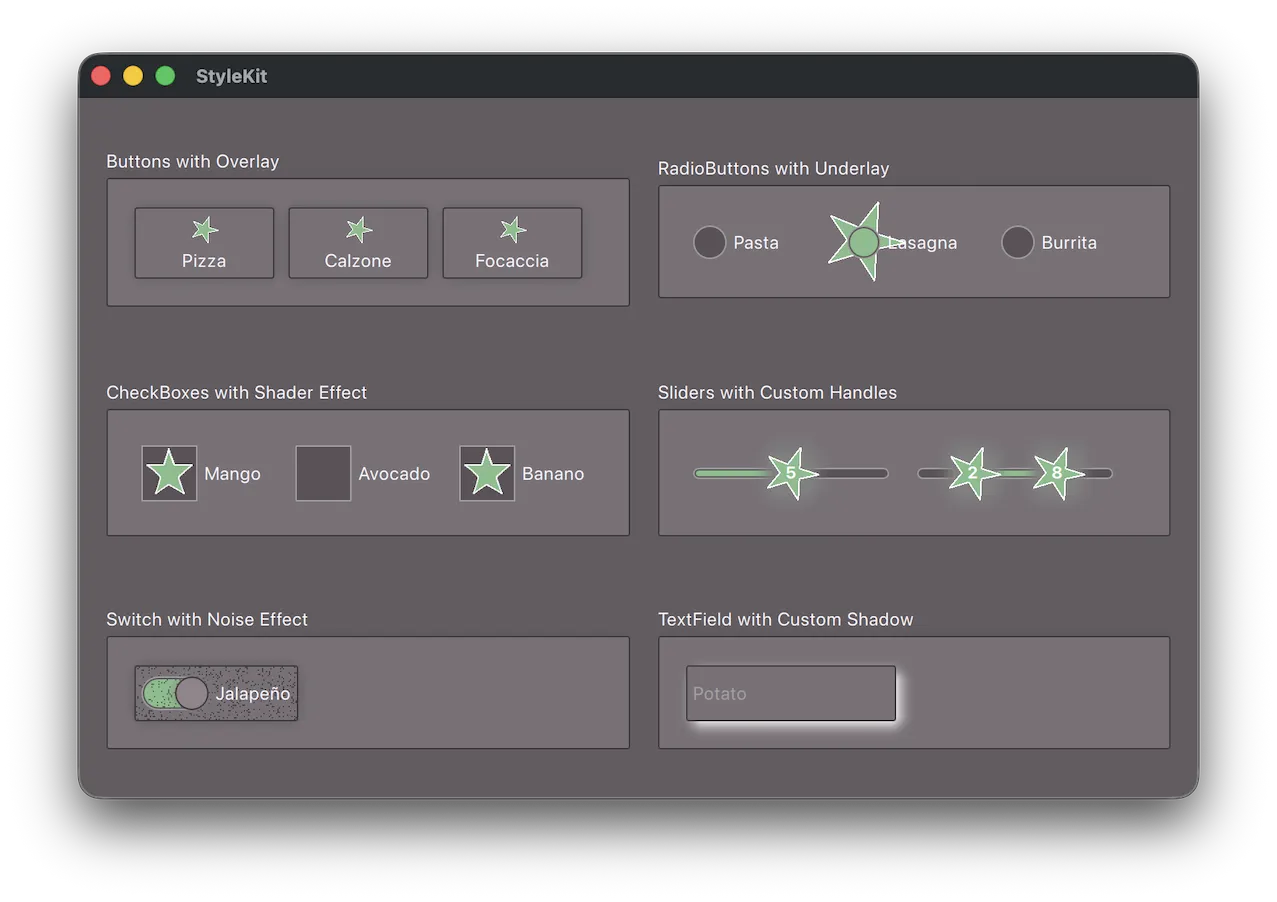
この例では、custom delegates を使用してStyleKitのスタイリングを拡張し、デフォルトのレンダリングでは実現できないスタイルをレンダリングする方法を示します。
以下の方法について解説します:
- StyledItem をサブクラス化してオーバーレイデリゲートを作成し、標準のデリゲートレンダリングの上にカスタムアイテムを配置する方法。
delegateStyleおよびcontrolプロパティを持つプレーンなItem を使用してアンダーレイデリゲートを作成し、標準的な外観を得るためにその上にStyledItem を埋め込みます。- data プロパティを使用して、状態ごとのデータをカスタムデリゲートに渡します。
- ShaderEffect およびShaderEffectSource をStyledItem と組み合わせて使用し、シェーダーベースの視覚効果を適用します。
- custom shadow delegate を実装して、組み込みのシャドウレンダリングを置き換えます。
- 通常の QML プロパティを介して、静的な設定をデリゲートに渡します(例:RangeSlider の 1 番目と 2 番目のハンドルを区別するなど)。
注:この例では 、QtShader Tools が必要です。これは、Qt Maintenance Tool から入手可能なオプションのライブラリです。
例の動作確認
以下の手順でサンプルを実行できます。
- Qt Creator
Welcome モードを開き、Examples からこの例を選択します。詳細については、Qt Creator の「チュートリアル:ビルドと実行」を参照してください。
- Qt Extension for Visual Studio Code
Command Palette から `Qt: Open Qt examples ` コマンドを実行し、リストからサンプルを選択します。詳細については、Qt Extension for Visual Studio Code の「チュートリアル: ビルドと実行」を参照してください。
Qt Labs StyleKit、StyleKit Quick Controls の例、およびStyleKit Widgets の例も参照してください 。
© 2026 The Qt Company Ltd. Documentation contributions included herein are the copyrights of their respective owners. The documentation provided herein is licensed under the terms of the GNU Free Documentation License version 1.3 as published by the Free Software Foundation. Qt and respective logos are trademarks of The Qt Company Ltd. in Finland and/or other countries worldwide. All other trademarks are property of their respective owners.
