构建和闪烁动态下载项目
本教程将指导您在 Windows 10 主机上为 Qt 示例应用程序构建 INTEGRITY 项目。您可以选择任何使用支持的 Qt 模块的 Qt 示例应用程序。
准备 Qt 应用程序构建环境
在构建 INTEGRITY 项目之前,您需要准备好构建环境。从 Windows CMD 终端运行setEnvironment.bat 脚本。有关脚本的更多信息,请参阅为 Windows 10 创建批脚本。
setEnvironment.bat
构建 Qt 应用程序示例
要使用 CMake 构建 Qt 6 应用程序,请在 Windows CMD 终端中运行以下命令:
"Qt installation path>\bin\qt-cmake.bat" CMakeLists.txt -GNinja
-DCMAKE_PREFIX_PATH="C:\Users\user\targetbuild"
-DQt6_DIR="C:\Users\user\targetbuild\lib\cmake\Qt6"
-DQt6Core_DIR="C:\Users\user\targetbuild\lib\cmake\Qt6Core"
-DQt6Gui_DIR="C:\Users\user\targetbuild\lib\cmake\Qt6Gui"

 cmake --build .
其中,qt-cmake 是调用 CMake 的封装脚本,用于为项目配置适当的包含路径。
在 MULTI 中创建动态下载项目
- 启动 MULTI 启动器并选择File >Create workspace 。
- 在创建窗口模式中选择New Project ,然后单击OK 。
- 在对话框Project Wizard 中,选择要创建新项目的路径,例如C:\Users\user\Documents\My Projects\Project1\default.gpj并单击Next 。
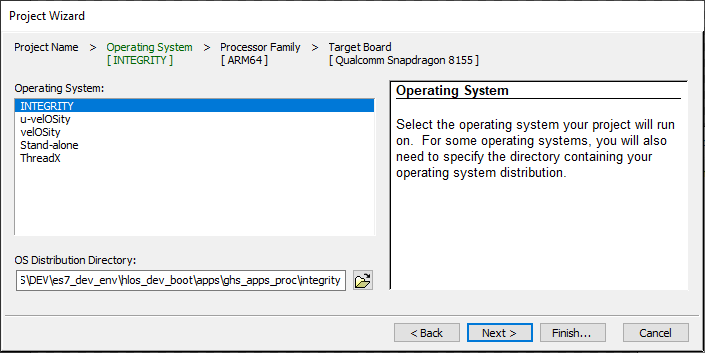
- 在Operating System 对话框中选择INTEGRITY,然后单击Next 。

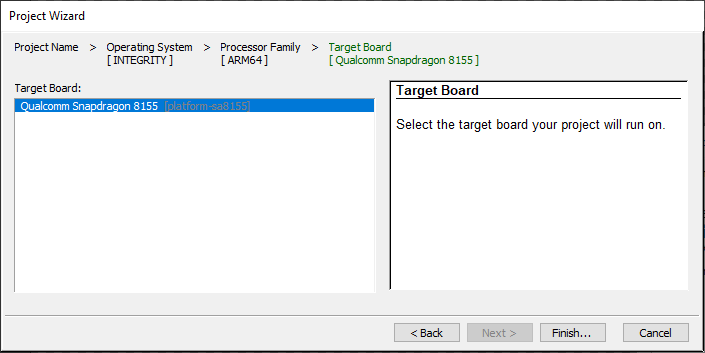
- 选择Finish 。

- 选择Create New >Dynamic Download >Next 。
- 选择Settings For Dynamic Download >Finish 。

构建动态下载项目
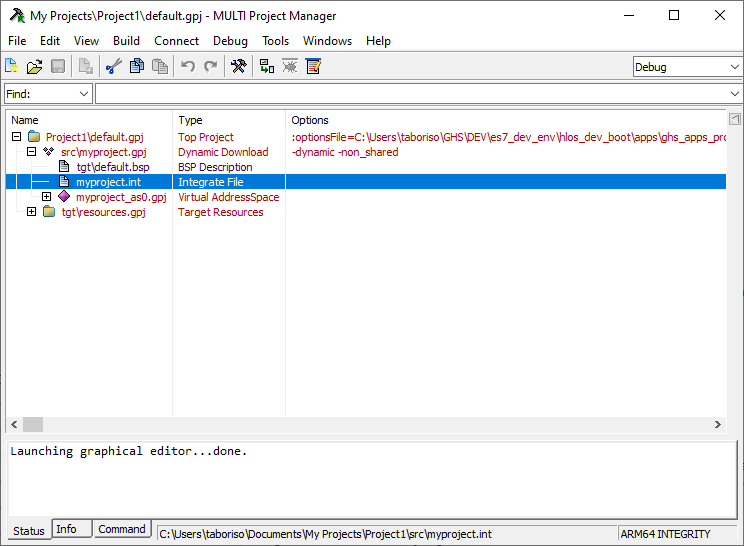
- 编辑并保存项目树中的myproject.int文件:
AddressSpace Name qtapp Filename C:\path\to\your\qt\app\binary MemoryPoolSize 0x2700000 Language C++ HeapSize 0x90000 Task Initial StackSize 0x90000 StartIt false EndTask Extendedmemorypoolsize 0x300000 EndAddressSpace - 创建名为"multi_commands "的新文件并添加以下命令:
switch -component "debugger.task.qtapp.Initial" route "debugger.task.qtapp.Initial" { __ntwcommand prepare_target } wait -load switch -component "debugger.task.qtapp.Initial" route "debugger.task.qtapp.Initial" { __ntwcommand resume } wait -time 240000 -stop switch -component "debugger.task.qtapp.Initial" unload myproject wait -time 8000 -stop savedebugpane cmd "autotestresult.txt" quitall - 从 Windows CMD 终端运行构建和加载命令:
multi.exe "C:\Users\user\Documents\My Projects\Project1\default.gpj" -build myproject &
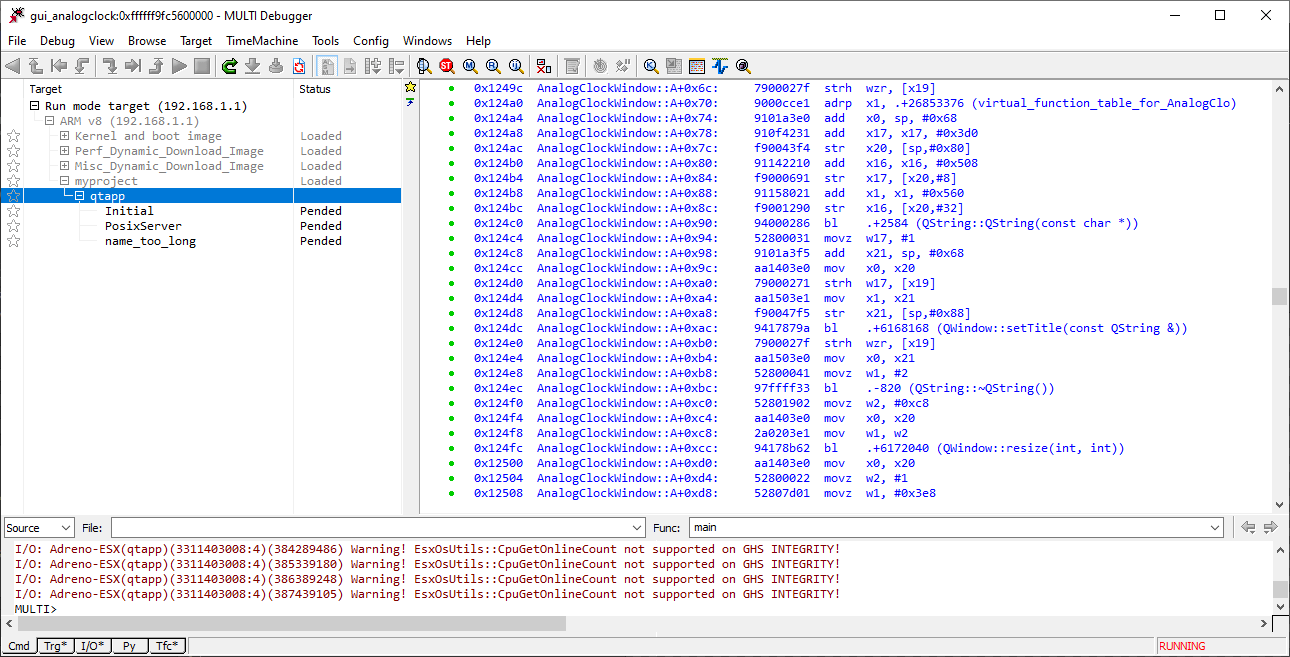
multi.exe "C:\Users\user\Documents\My Projects\Project1\dbg\bin\myproject" -connect="rtserv2 192.168.1.1" -p C:\Users\user\multi_commands &

注意: "rtserv2 192.168.1.1 "是板卡 IP 地址。选中"设置布线"以设置板网络。
注意: 通过动态下载进行部署需要几分钟时间。
© 2025 The Qt Company Ltd. Documentation contributions included herein are the copyrights of their respective owners. The documentation provided herein is licensed under the terms of the GNU Free Documentation License version 1.3 as published by the Free Software Foundation. Qt and respective logos are trademarks of The Qt Company Ltd. in Finland and/or other countries worldwide. All other trademarks are property of their respective owners.

