在 8155P 上闪存和运行映像文件
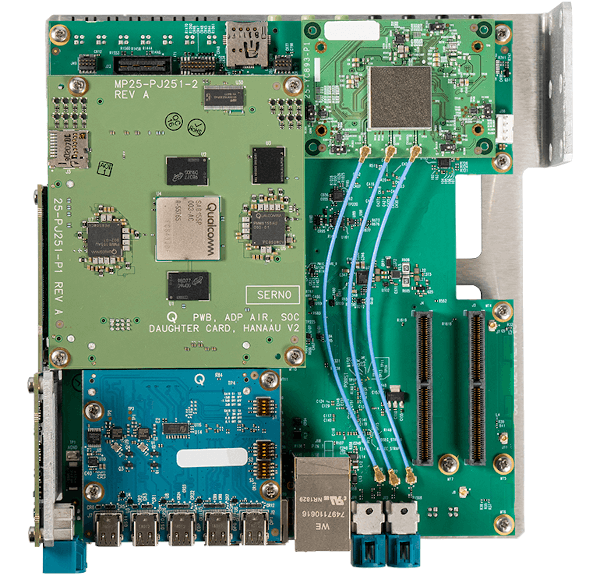
高通公司骁龙 8155P 电路板
这是高通公司 Snapdragon 8155P 电路板的俯视图。
设置布线
闪存和调试电路板上的应用程序时,需要在 PC 和电路板之间连接几条电缆:
- 电源连接器
- 微型 USB 是 FT 串行控制台输出
- 普通 USB 是 QFIL/Fastboot 端口(USB-A - USB A/USB C 电缆)
- DisplayPort 电缆用于图形输出
- 以太网端口,用于动态加载应用程序。
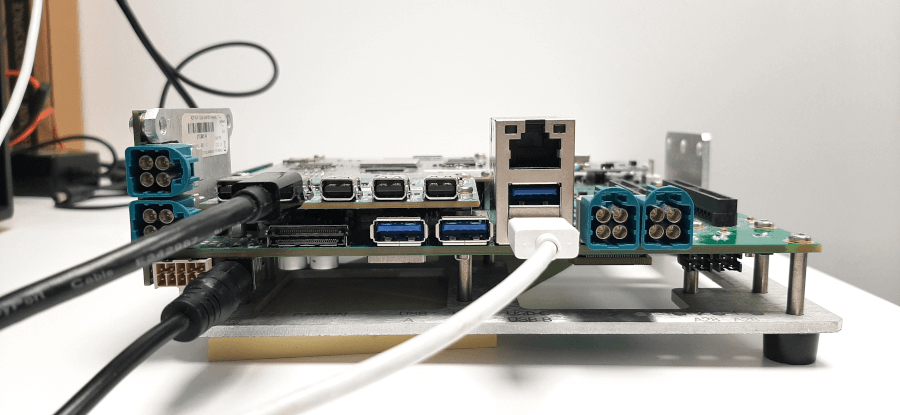
这是一个接线配置示例:电源已接通,公 USB-A 连接用于闪烁图像,DisplayPort 电缆连接用于图形输出。
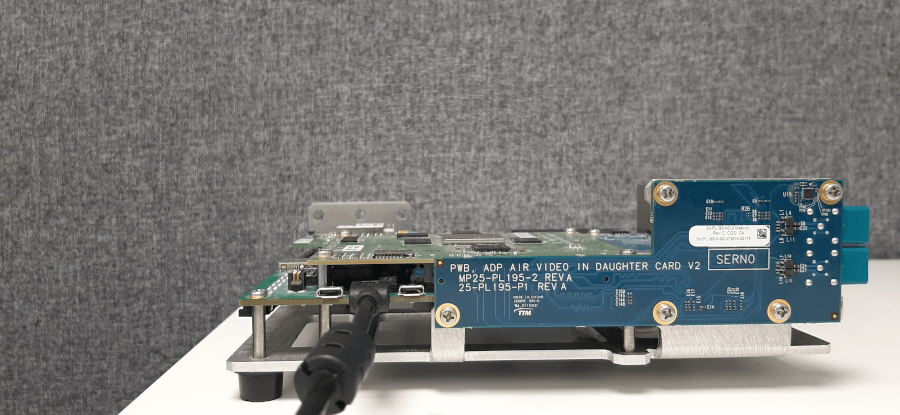
连接微型 USB 用于使用 FT 串行控制台。
切换到快速启动模式
要在高通 Snapdragon 8155P 板上闪存图像,请在主机操作系统上安装 Fastboot 工具。请参阅 "Fastboot 工具
闪存前,将电路板切换到 Fastboot 模式:
- 打开与电路板的串行连接:
putty /dev/ttyUSB0 -serial -sercfg 115200,8,1
- 有 2 个选项:
- 在设备上,按住音量键并关闭设备电源。
- 或按下 UART 外壳上的向下箭头并启动设备。
- 如果电路板成功切换到 Fastboot 模式,则会打印以下控制台输出:
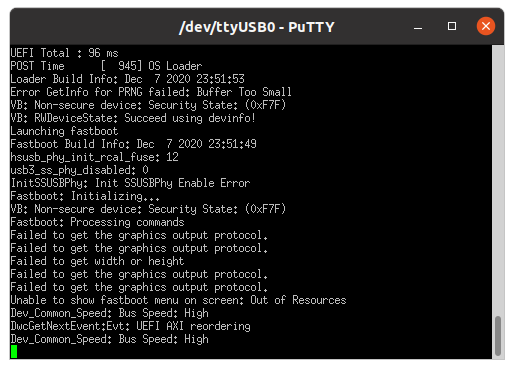
另一种检查电路板是否处于 Fastboot 模式的方法是运行以下命令:
fastboot devices
闪存镜像
构建脚本会生成一组用于板分区的映像。
boot.img, perf_dyn.img, misc_dyn.img, abl.elf, etc
切换到 Fastboot 模式后,可将映像闪存到主板上。
- 首次设置时,请按照 GHSES7_FinalCopy/ES7_customer_package_readme.docx 中的映像闪存步骤进行:
cd /work/ghs/sa8155/es7/es7_dev_env/hlos_dev_boot/apps/ghs_apps_proc/qc_bsp/out/chk/bin/target
fastboot flash abl  abl.elf
fastboot flash boot vmm-adp-gvm-sa8155/boot.img
fastboot flash perf_dyn_a vmm-adp-gvm-sa8155/perf_dyn.img
fastboot flash misc_dyn_a  vmm-adp-gvm-sa8155/misc_dyn.img

cd /work/ghs/sa8155/es7/es7_dev_env/ES7_FinalCopy/Images/sa8155_hyp
fastboot flash hyp_a hyp.mbn
fastboot flash tz tz.mbn
fastboot flash apdp apdp.mbn

cd /work/ghs/sa8155/es7/es7_dev_env/hlos_dev_boot/apps/ghs_apps_proc/qc_bsp/out/chk/bin/target/fs
fastboot flash gh_sys sys.img
fastboot flash gh_persist ghs_persist.img
fastboot flash gh_test ghs_test.img.sparse

cd /work/ghs/sa8155/es7/es7_dev_env/hlos_dev_boot/apps/ghs_apps_proc/qc_bsp/prebuilt_NHLOS/adsp/asic_8150
fastboot flash adsp adsp.img

cd /work/ghs/sa8155/es7/es7_dev_env/hlos_dev_boot/lagvm/LINUX/android/out/target/product/msmnile_gvmgh
fastboot flash vendor vendor.img
注意: ES7_FinalCopy/ES7_customer_package_readme.docx是 QC [ES7] 客户软件包的一部分。有关详细信息,请联系高通公司支持部门。
- 如果不是第一次闪存,则应闪存单片机部分:
cd /work/ghs/sa8155/es7/es7_dev_env/hlos_dev_boot/apps/ghs_apps_proc/qc_bsp/out/chk/bin/target
fastboot flash boot vmm-adp-gvm-sa8155/boot.img
- 重新启动电路板。
在板上运行 Qt 应用程序
- 打开串行控制台:
putty /dev/ttyUSB0 -serial -sercfg 115200,8,1
- 执行命令:
rt <application name> Initial
- 运行 Qt 应用程序示例:
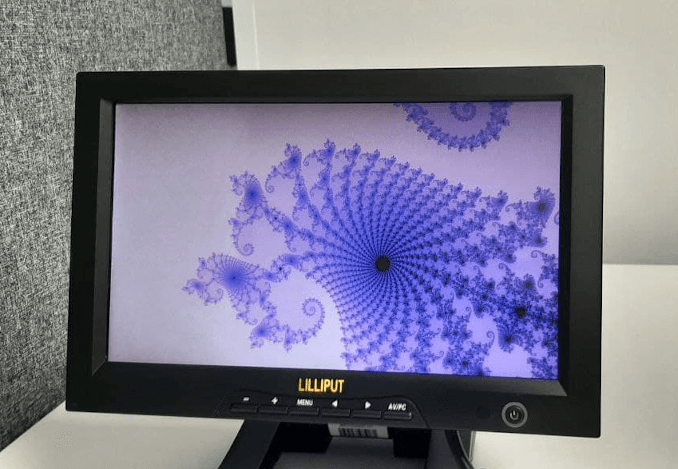
Qt 应用程序在高通 Snapdragon 8155P 主板上运行,并显示在连接的屏幕上。
© 2025 The Qt Company Ltd. Documentation contributions included herein are the copyrights of their respective owners. The documentation provided herein is licensed under the terms of the GNU Free Documentation License version 1.3 as published by the Free Software Foundation. Qt and respective logos are trademarks of The Qt Company Ltd. in Finland and/or other countries worldwide. All other trademarks are property of their respective owners.

