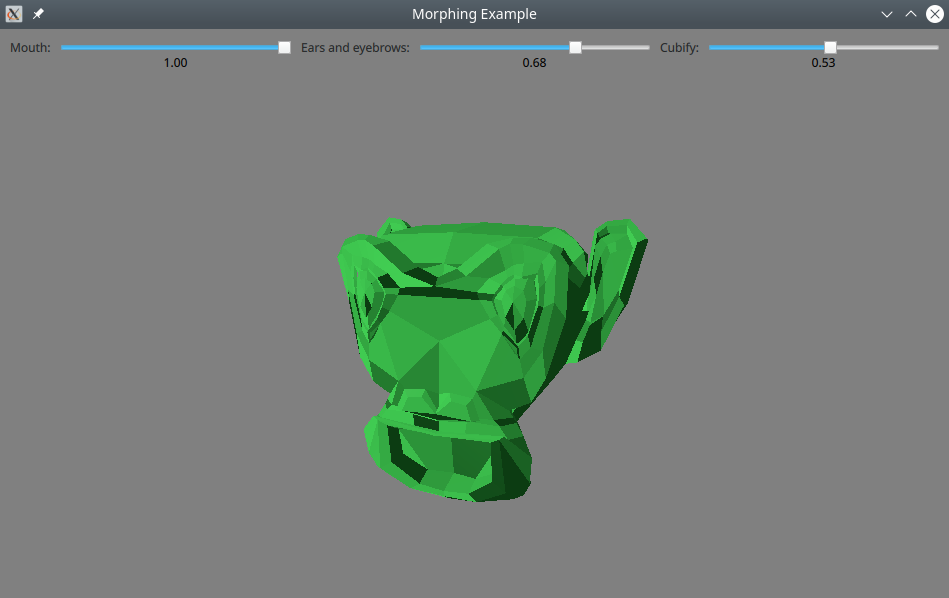
Qt Quick 3D - 变形示例
演示如何在Qt Quick 3D 中控制变形动画。

本示例演示如何在从外部工具导入的模型上控制变形动画。
创建网格
该模型的网格是使用 Blender 3D 建模工具创建的。除基本形状外,网格还包含三个变形目标(在 Blender 中称为形状键)。

它以 glTF 文件的形式从 Blender 导出,并使用balsam 进行导入。
控制变形目标
通常,变形由时间线动画或属性动画控制。在本示例中,我们使用滑块来代替,这样就可以自由尝试组合不同的权重:
            Label { text: "Mouth:"; }
            RealSlider {
                id: mouthSlider
                from: 0.0
                to: 1.0
            }
            Label { text: "Ears and eyebrows:" }
            RealSlider {
                id: earSlider
                from: 0.0
                to: 1.0
            }
            Label { text: "Cubify:" }
            RealSlider {
                id: cubeSlider
                from: 0.0
                to: 1.0
            }
(RealSlider 是一个提供浮点数值的简单滑块。它是从特效示例中借用的)。
我们为网格中的每个目标定义了一个MorphTarget 。变形目标是我们用来控制变形的绑定对象。通常情况下,它们会被动画化,但在本示例中,我们将与滑块值绑定:
        MorphTarget {
            id: morphtarget0
            weight: mouthSlider.value
            attributes: MorphTarget.Position | MorphTarget.Normal
        }
        MorphTarget {
            id: morphtarget1
            weight: earSlider.value
            attributes: MorphTarget.Position | MorphTarget.Normal
        }
        MorphTarget {
            id: morphtarget2
            weight: cubeSlider.value
            attributes: MorphTarget.Position | MorphTarget.Normal
        }
最后,我们创建一个模型,并将变形目标绑定到网格中的目标上:
        Model {
            source: "suzanne.mesh"
            morphTargets: [
                morphtarget0,
                morphtarget1,
                morphtarget2
            ]
            materials: PrincipledMaterial {
                baseColor: "#41cd52"
                roughness: 0.1
            }
            SequentialAnimation on eulerRotation.y {
                NumberAnimation { from: -45; to: 45; duration: 10000 }
                NumberAnimation { from: 45; to: -45; duration: 10000 }
                loops: Animation.Infinite
            }
        }
请注意,目标是通过它们在列表中的位置匹配的:名称并不重要。
© 2025 The Qt Company Ltd. Documentation contributions included herein are the copyrights of their respective owners. The documentation provided herein is licensed under the terms of the GNU Free Documentation License version 1.3 as published by the Free Software Foundation. Qt and respective logos are trademarks of The Qt Company Ltd. in Finland and/or other countries worldwide. All other trademarks are property of their respective owners.

