
Qt Sensors - Sensors Showcase
The Sensors Showcase example demonstrates sensor usage with visual examples.
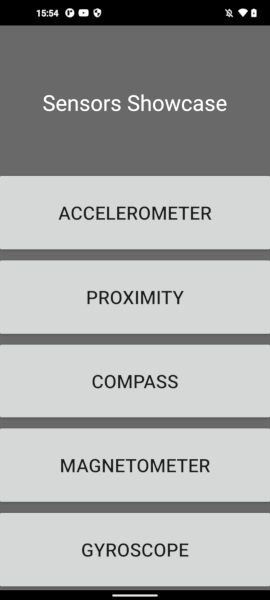
Overview
On startup, the application shows a menu with buttons for the subviews for each sensor. The sensor views instantiate the given sensor, display the sensor’s values as numbers, and also visualize them with a simple graphical representation.
Accelerometer View
The accelerometer view shows the current device acceleration values and moves around an image with an amount that is opposite of the device acceleration giving the image an inertia effect that is proportional with the movement of the device.
Moving around the image happens in the accelerometer onReadingChanged method.
Accelerometer {
    id: accelerometer
    active: true
    dataRate: 25

    property real x: 0
    property real y: 0
    property real z: 0

    onReadingChanged: {
        x = reading.x
        y = reading.y
        z = reading.z

        imageTranslation.x = -reading.x * 10
        imageTranslation.y = reading.y * 10
    }
}
Whenever there is a new accelerometer value the image translation coordinates are updated accordingly.
Proximity View
The proximity view shows an image that is enlarged whenever the proximity sensor of the device is covered.
Compass View
The compass view shows a compass image that is rotated according to the Compass sensor reading value making the compass turn towards north.
Magnetometer View
The magnetometer view displays a magnet image that is rotated around an amount that is decided by the rotation angle of the vector given by the x and y magnetometer values. This results in general in the same rotation as the compass gives, demonstrating one use case of how the magnetometer readings can be used. Since the magnetometer provides readings along all three axes, there is more freedom with how these readings can be used.
Magnetometer {
    id: magnetometer
    active: true
    dataRate: 25
    onReadingChanged: {
        root.magnetometerX = reading.x
        root.magnetometerY = reading.y
        root.magnetometerZ = reading.z
        root.magnetRotation = ((Math.atan2(reading.x, reading.y) / Math.PI) * 180)
    }
}
Gyroscope View
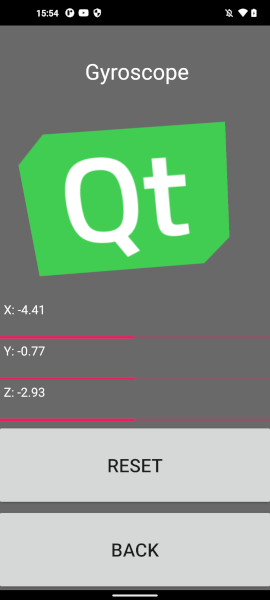
The gyroscope view also shows an image that is rotated around three axes with an amount that is calculated from the gyroscope readings. Since the gyroscope provides relative rotational change around the three spatial axes and the time between reading updates can vary, the time of the readings are stored and the rotational change is normalized based on the time passed between reading updates.
Gyroscope {
    id: gyroscope
    active: true
    dataRate: 25

    property variant lastTimeStamp: 0

    property real x: 0
    property real y: 0
    property real z: 0

    onReadingChanged: {

        x = reading.x
        y = reading.y
        z = reading.z

        var firstCall = false
        if (lastTimeStamp == 0) {
            firstCall = true
        }

        var timeSinceLast = reading.timestamp - lastTimeStamp
        lastTimeStamp = reading.timestamp

        //Skipping the initial time jump from 0
        if (firstCall === true) return

        var normalizedX = reading.x * (timeSinceLast/1000000)
        imageXRotation.angle += normalizedX

        var normalizedY = reading.y * (timeSinceLast/1000000)
        imageYRotation.angle -= normalizedY

        var normalizedZ = reading.z * (timeSinceLast/1000000)
        imageZRotation.angle += normalizedZ
    }
}
By pressing the reset button the image rotation is reset to 0.
© 2022 The Qt Company Ltd. Documentation contributions included herein are the copyrights of their respective owners. The documentation provided herein is licensed under the terms of the GNU Free Documentation License version 1.3 as published by the Free Software Foundation. Qt and respective logos are trademarks of The Qt Company Ltd. in Finland and/or other countries worldwide. All other trademarks are property of their respective owners.