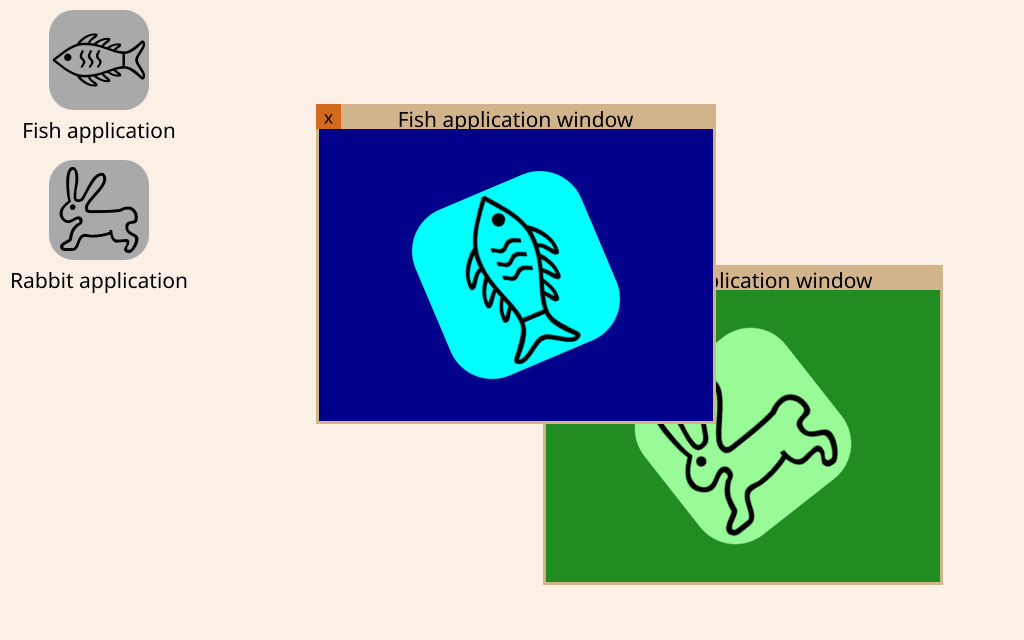
Animated Windows System UI Example
Learn how to animate windows to appear and disappear.

Note: Please read this if you want to build the example on a Linux machine.
Introduction
This example shows you how to animate windows to appear and disappear, in a System UI.
Prerequisites: You're already familiar with the concepts and topics introduced in the System UI Example: "Hello World!".
Unlike with the Hello World example, most Graphical User Interfaces (GUIs) avoid making sudden, abrupt, changes as they can confuse the user and are not visually pleasant. So, when the WindowManager creates a new WindowObject, we want to animate its appearance instead of simply having it pop up on the screen. Likewise, once a WindowObject loses its surface - because the application closed this window or stopped altogether - and is removed from the WindowManager's model, we want to animate its disappearance instead of having it vanish immediately.
If you're using a ready-made, advanced layout such as ListView, you can assign Transitions to different actions like add, remove, displaced, and so on, and keep using WindowManager as your model. But in many situations this is not the case. Instead, you have to create your own model, such as a ListModel, so that a WindowObject only leaves the model when you have finished animating its delegate's disappearance. This example showcases this technique.
The Windows Model
The model we use to instantiate our windows is the key point in this example.
Instead of using WindowManager directly as our model we use a plain ListModel:
We remove a WindowObject from that model only after it has reached its end state: WindowObject.NoSurface and is no longer being shown on screen; any state transition has already finished.
            readonly property bool safeToRemove: fullyDisappeared && winChrome.window && winChrome.window.contentState === WindowObject.NoSurface
            onSafeToRemoveChanged: if (safeToRemove) windowsModel.remove(winChrome.index, 1)
Then, we add a WindowObject to it, and display it on screen as soon as WindowManager creates a WindowObject.
    Connections {
        target: WindowManager
        function onWindowAdded(window) {
            windowsModel.append({"window":window})
        }
© 2025 The Qt Company Ltd. Documentation contributions included herein are the copyrights of their respective owners. The documentation provided herein is licensed under the terms of the GNU Free Documentation License version 1.3 as published by the Free Software Foundation. Qt and respective logos are trademarks of The Qt Company Ltd. in Finland and/or other countries worldwide. All other trademarks are property of their respective owners.

