
ぼかしエフェクトの作成
Qt Quick Effect Makerでぼかし効果を作成するには:
- ノードツリーに「FastBlur 」ノードを追加します。
- ノードツリーに「BlurHelper 」ノードを追加します。ぼかし効果を含むすべてのエフェクトには、「BlurHelper 」ノードが必要です。
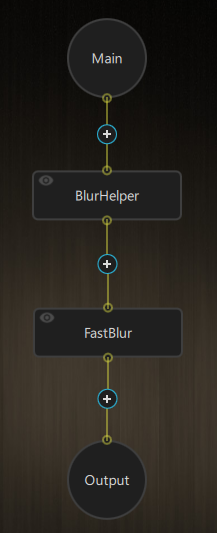
- 「FastBlur 」ノードを選択し、設定画面で「fastBlurAmount 」の値を変更して、ぼかし量を調整します。
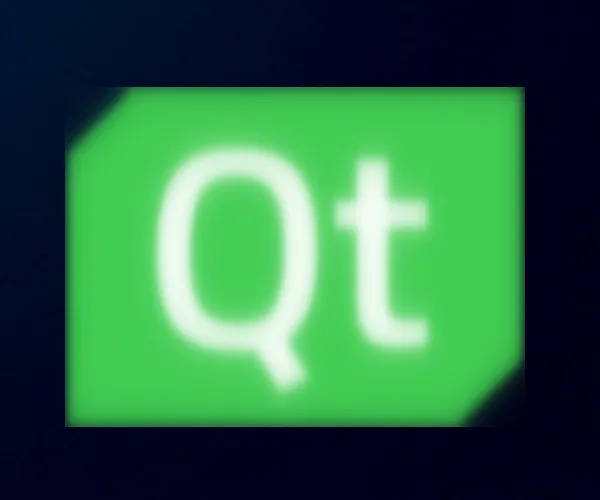
アイテムの境界線の調整
エフェクトが切り取られたように表示されます。アイテムの境界線を調整する必要があります:
- 「
 」を選択して、アイテムの境界線を表示します。
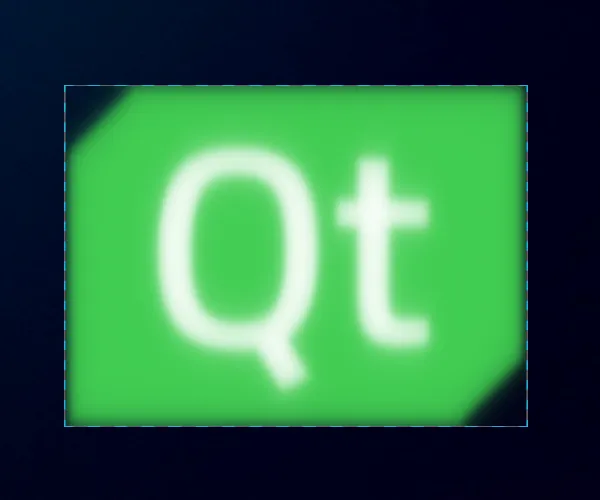
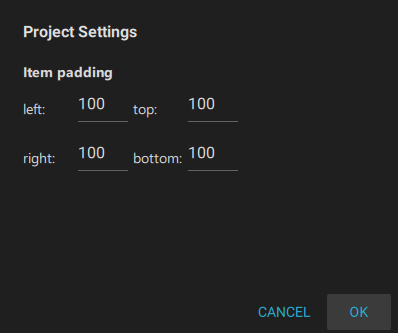
- 「Edit 」>「Project Settings 」に移動します。
- すべての辺のアイテムパディングを 100 に設定します。
これで、ぼかし効果が完全に表示されるようになります。
© 2026 The Qt Company Ltd. Documentation contributions included herein are the copyrights of their respective owners. The documentation provided herein is licensed under the terms of the GNU Free Documentation License version 1.3 as published by the Free Software Foundation. Qt and respective logos are trademarks of The Qt Company Ltd. in Finland and/or other countries worldwide. All other trademarks are property of their respective owners.
