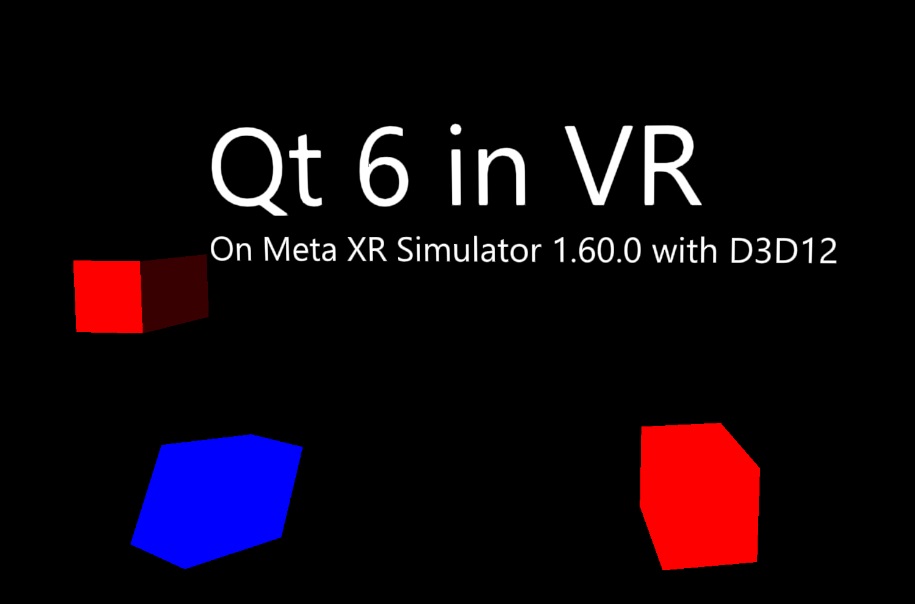
Qt Quick 3D - XR の簡単な例
Qt Quick 3D XR を使って簡単な VR シーンをセットアップする例です。

この例では、Qt Quick 3D Xr の基本的な機能の概要を説明します。
XR アプリケーションを書くときの主な違いは、main.qml のルートアイテムが、View3D を持つ Window ではなく、XrView であることです:
import QtQuick3D
import QtQuick3D.Xr

XrView {
    id: xrView
    XrErrorDialog { id: err }
    onInitializeFailed: (errorString) => err.run("XRView", errorString)
    referenceSpace: XrView.ReferenceSpaceLocalFloor
XrView View3Dこの例では、デスクトップPCからのストリーミング時にVRヘッドセットの初期化エラーが発生した場合にエラーダイアログを表示するXrErrorDialog 。また、このアプリケーションの基準フレームは、ユーザーがいる部屋の床から測定されることを指定します。つまり、床はy = 0 の位置になります。
参照フレームの原点はXrOrigin で定義されます:
    xrOrigin: theOrigin
    XrOrigin {
        id: theOrigin

        XrController {
            controller: XrController.LeftController
            poseSpace: XrController.AimPose
            CubeModel { color: "blue" }
        }

        XrController {
            controller: XrController.RightController
            poseSpace: XrController.AimPose
            CubeModel { color: "red" }
        }
    }
この例では、2つのXrController 。これらはユーザーの手の位置と向きを追跡します。XrController はNode なので、どの子も自動的に手の動きに追従します。この場合、コントローラの位置を視覚化するために、立方体の単純なモデルを使用します。
main.qmlの残りの部分は、通常のQt Quick 3Dシーンです。
© 2025 The Qt Company Ltd. Documentation contributions included herein are the copyrights of their respective owners. The documentation provided herein is licensed under the terms of the GNU Free Documentation License version 1.3 as published by the Free Software Foundation. Qt and respective logos are trademarks of The Qt Company Ltd. in Finland and/or other countries worldwide. All other trademarks are property of their respective owners.

