图形打印
打印二维或三维图形。
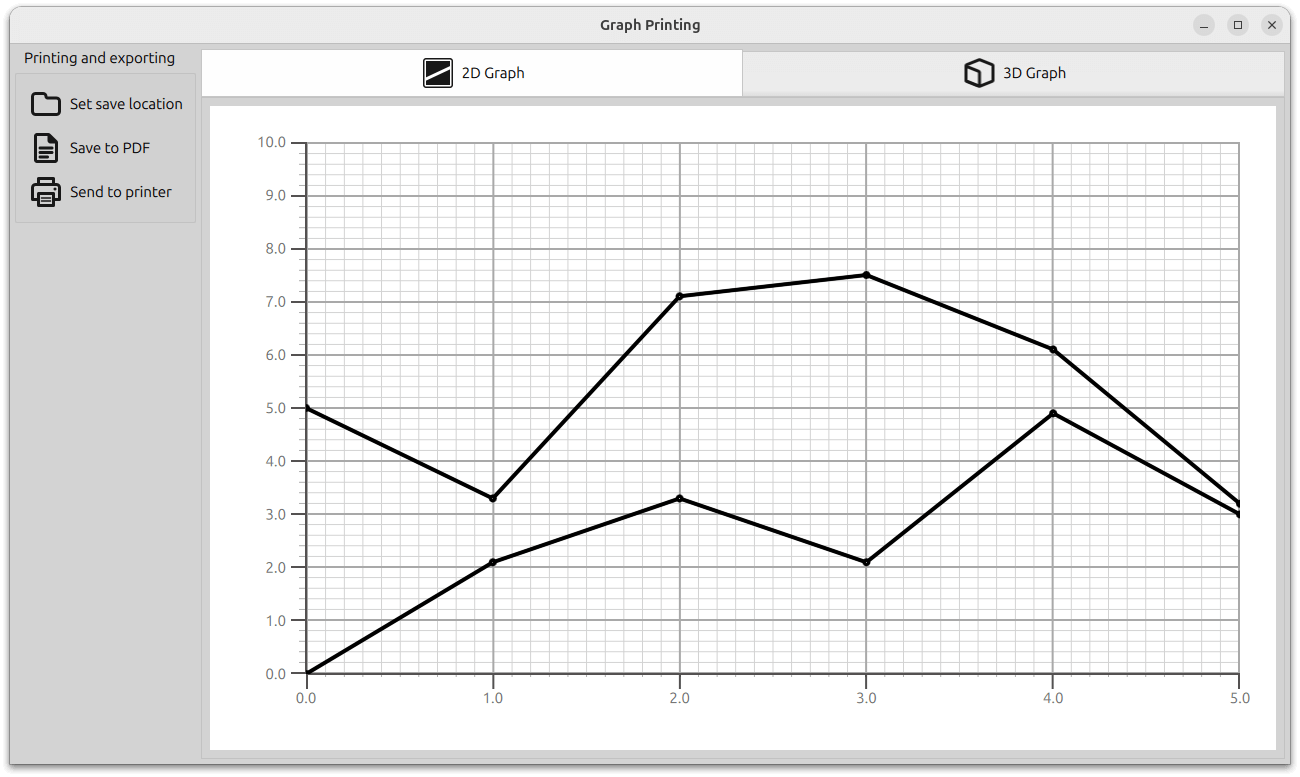
图形打印示例演示了如何打印或导出 2D 和 3D 图形到 PDF。
运行示例
运行示例 Qt Creator,打开Welcome 模式,然后从Examples 中选择示例。有关详细信息,请参阅Qt Creator: 教程:构建并运行。
GraphPrinter 类
打印功能在GraphPrinter 类中实现。该类公开了以下函数:
generatePDF函数,工作原理如下。- 设置输出 PDF 文件。
该函数使用指向指定文件夹的 "graph.pdf "文件实例化QPdfWriter 。该函数还指定了输出 PDF 文件的选项:标题、分辨率、页面大小和页 边距。
const QFile file = QFile(path.toLocalFile() + QStringLiteral("/graph.pdf"));

QPdfWriter writer(file.fileName());
writer.setResolution(90);
writer.setTitle("Graph");
writer.setPageSize(QPageSize(image.size()));
writer.setPageMargins(QMarginsF(0, 0, 0, 0));
writer.newPage();
- 设置图像处理。
该函数创建一个QPainter ,引用先前创建的QPdfWriter 。
为确保正确打印图形,将按照画图器的视口大小和原始纵横比缩放图形
将绘制器的渲染提示设置为无损图像渲染。之后,函数将图像绘制到 PDF 文件中。
函数将返回一条状态信息,显示在应用程序的信息对话框中,包括导出文件的完整路径。
- 设置输出 PDF 文件。
getPrinters函数返回可用打印机列表。QStringList GraphPrinter::getPrinters() { return QPrinterInfo::availablePrinterNames(); }
print函数的作用与generatePDF函数类似,但它创建了一个引用 QPrinter 实例的QPainter :QString GraphPrinter::print(const QImage &image, const QString printerName) { QPrinterInfo printInfo = QPrinterInfo::printerInfo(printerName); if (printInfo.isNull()) return QLatin1String("%1 is not a valid printer").arg(printerName); QPrinter printer(printInfo, QPrinter::HighResolution); printer.setOutputFormat(QPrinter::NativeFormat); QPainter painter(&printer); const QImage finalImage = image.scaled(painter.viewport().size(), Qt::KeepAspectRatio); painter.setRenderHint(QPainter::LosslessImageRendering); painter.drawImage(finalImage.rect(), finalImage); return QLatin1String("Printed to %1").arg(printerName); }
该函数将返回一条状态消息,显示在应用程序的消息对话框中。
应用程序设置
除应用程序设置代码外,main.cpp 文件还包含创建GraphPrinter 类新实例并使 QML 代码可以访问该实例的代码。
GraphPrinter graphPrinter;
viewer.rootContext()->setContextProperty("graphPrinter", &graphPrinter);
设置布局和图像捕获
二维和三维图形布局在 Stacklayout 中。用户可以通过 TabBar 进行导航。
TabBar {
    id: tabBar
    anchors.left: parent.left
    anchors.right: parent.right

    TabButton {
        text: "2D Graph"
        implicitHeight: 48
        icon.source: checked ? "flatten_square_fill.svg" : "flatten.svg"
        icon.height: 36
        icon.width: 36
    }

    TabButton {
        text: "3D Graph"
        implicitHeight: 48
        icon.source: checked ? "box_left_fill.svg" : "box_left.svg"
        icon.height: 36
        icon.width: 36
    }
}
Frame {
    id: tabFrame
    anchors.left: parent.left
    anchors.right: parent.right
    anchors.top: tabBar.bottom
    anchors.bottom: parent.bottom

    StackLayout {
        id: stackLayout

        anchors.fill: parent
        currentIndex: tabBar.currentIndex

        Graph2D {
            id: linegraph
        }

        Graph3D {
            id: bargraph
        }
    }
}
FolderDialog 组件用于选择保存导出文件的文件夹。该组件在应用程序布局中没有可视化表示,但其 API 可从当前 QML 文件中访问。
 按钮可调用文件夹对话框。
FolderDialog {
    id: dialog
    property bool folderset: false
    onAccepted: {
        folderset = true
        message.title = "Folder Set"
        message.text = "Folder set to " + selectedFolder.toString().replace(/^(file:\/{3})/, "")
        message.open()
    }
}
...
Button {
    id: setFolderButton
    ...
    onClicked: dialog.open()
}
为选择打印机创建了自定义打印对话框,并通过 按钮触发。对话框会检索可用打印机列表,并在列表视图中显示。
Dialog {
    id: printerDialog
    anchors.centerIn: parent
    contentHeight: printerListView.height
    contentWidth: printerListView.width

    title: qsTr("Available Printers")
    modal: true

    onOpened: {
        printerModel.clear()
        var printers = graphPrinter.getPrinters()
        printers.forEach((x, i) => printerModel.append({
                                                           "name": x
                                                       }))
    }
...
contentItem: Rectangle {
    id: printerItem
    height: printerListView.height
    width: printerListView.width
    color: mainView.item.theme.plotAreaBackgroundColor

    ListView {
        id: printerListView
        height: 100
        width: 200
        clip: true

        model: printerModel
        delegate: printerDelegate
        highlight: Rectangle {
            color: mainView.item.theme.grid.subColor
        }
    }
}
如果已选择文件夹, 按钮会触发 PDF 导出。
触发 PDF 导出或打印时,将执行以下代码:
- 使用
grabToImage方法捕获图像。当前图形是 Stacklayout 在当前索引处的项目。 - 在
grabToImage参数中,我们将回调指定为GraphPrinter类中的generatePDF或print函数。PDF 导出:
onPressed: {
    if (!dialog.folderset) {
        message.title = "No Folder Set"
        message.text = "Please select folder first"
        message.open()
    } else {
        mainView.prepareForPrint()
        mainView.item.grabToImage(function (result) {
            message.title = "Save PDF"
            message.text = "PDF saved to " + graphPrinter.generatePDF(
                        dialog.currentFolder, result.image)
            message.open()
        }, mainView.outputsize)
    }
}

onReleased: {
    mainView.cleanAfterPrint()
}
打印:
onAccepted: {
    var selectedPrinter = printerModel.get(printerListView.currentIndex)
    mainView.prepareForPrint()
    mainView.item.grabToImage(function (result) {
        message.title = "Print"
        message.text = graphPrinter.print(result.image,
                                          selectedPrinter.name)
        message.open()
    }, mainView.outputsize)
}

onClosed: {
    mainView.cleanAfterPrint()
}
对于尺寸,代码会使图像以实际分辨率的 4 倍呈现。对于三维图形,项目还必须在打印期间展开:
function prepareForPrint() {
    if (stackLayout.currentIndex === 1) {
        var newsize = Qt.size(bargraph.width * 4, bargraph.height * 4)

        // check that we do not exceed maximum texture size
        if (newsize.width * Screen.devicePixelRatio > graphPrinter.maxTextureSize() ) {
            // scale to 25% under max texture size to be on the safe side; some GPUs seem
            // to glitch when using the abosulute max
            var ratio = (newsize.width * Screen.devicePixelRatio * 1.25)
                    / graphPrinter.maxTextureSize()
            newsize.width /= ratio
            newsize.height /= ratio
        }
        outputsize.width = Math.round(newsize.width)
        outputsize.height = Math.round(newsize.height)

        // resize the bar graph to match the PDF output size
        item.width = outputsize.width
        item.height = outputsize.height
    } else {
        outputsize = Qt.size(linegraph.width * 4, linegraph.height * 4)
    }
}

function cleanAfterPrint() {
    if (stackLayout.currentIndex === 1) {
        // resize the bar graph back to the actual visual size
        item.width = stackLayout.width
        item.height = stackLayout.height
    }
}
© 2025 The Qt Company Ltd. Documentation contributions included herein are the copyrights of their respective owners. The documentation provided herein is licensed under the terms of the GNU Free Documentation License version 1.3 as published by the Free Software Foundation. Qt and respective logos are trademarks of The Qt Company Ltd. in Finland and/or other countries worldwide. All other trademarks are property of their respective owners.
