
Qt Quick 3D - HelloCube 示例
演示了如何在Qt Quick 3D 中同时渲染2D和3D对象。
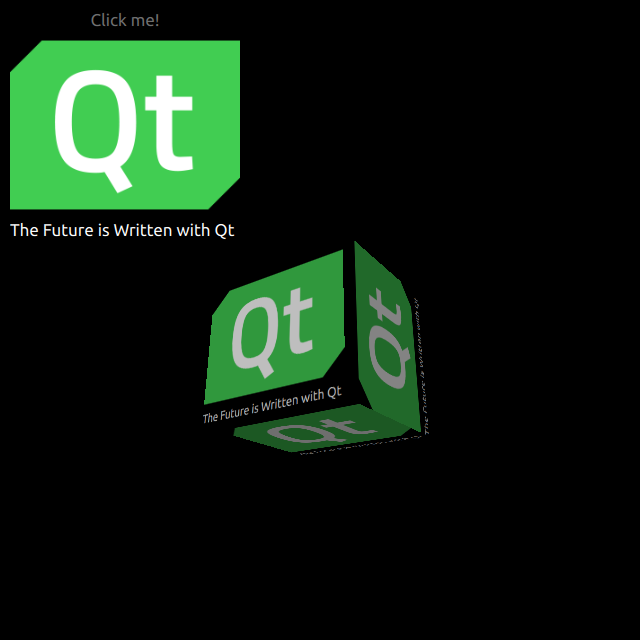
HelloCube演示了如何在Qt Quick 3D 中将 3D 立方体与 2D 元素一同渲染。
绘制 2D 对象
我们在main.qml文件中设置了整个场景。
为了能够使用QtQuick3D 模块中的类型,我们必须导入该模块:
import QtQuick3D我们定义了简单的QtQuick 对象,其中包含一个矩形、一张图片和一段文本。
Image {
    anchors.fill: parent
    source: "qt_logo.png"
}
Text {
    anchors.bottom: parent.bottom
    anchors.left: parent.left
    color: "white"
    font.pixelSize: 17
    text: qsTr("The Future is Written with Qt")
}
这个简单的矩形有两个用于垂直翻转的动画。
transform: Rotation {
    id: rotation
    origin.x: qt_logo.width / 2
    origin.y: qt_logo.height / 2
    axis { x: 1; y: 0; z: 0 }
}

PropertyAnimation {
    id: flip1
    target: rotation
    property: "angle"
    duration: 600
    to: 180
    from: 0
}
PropertyAnimation {
    id: flip2
    target: rotation
    property: "angle"
    duration: 600
    to: 360
    from: 180
}
绘制 3D 立方体
绘制立方体非常简单。在定义了Camera 和Light 后,我们利用内置的Model 构建一个立方体。在此示例中,我们将前面的2D矩形作为漫反射Texture 渲染到该立方体表面上。在我们的矩形中,我们将layer.enabled 设置为true 。
layer.enabled: true启用此属性后,2D 对象将渲染到一个离屏表面上,随后我们将该表面用作立方体的纹理。
id: cube
source: "#Cube"
materials: PrincipledMaterial {
    baseColorMap: Texture {
        sourceItem: qt_logo
    }
}
eulerRotation.y: 90© 2026 The Qt Company Ltd. Documentation contributions included herein are the copyrights of their respective owners. The documentation provided herein is licensed under the terms of the GNU Free Documentation License version 1.3 as published by the Free Software Foundation. Qt and respective logos are trademarks of The Qt Company Ltd. in Finland and/or other countries worldwide. All other trademarks are property of their respective owners.
