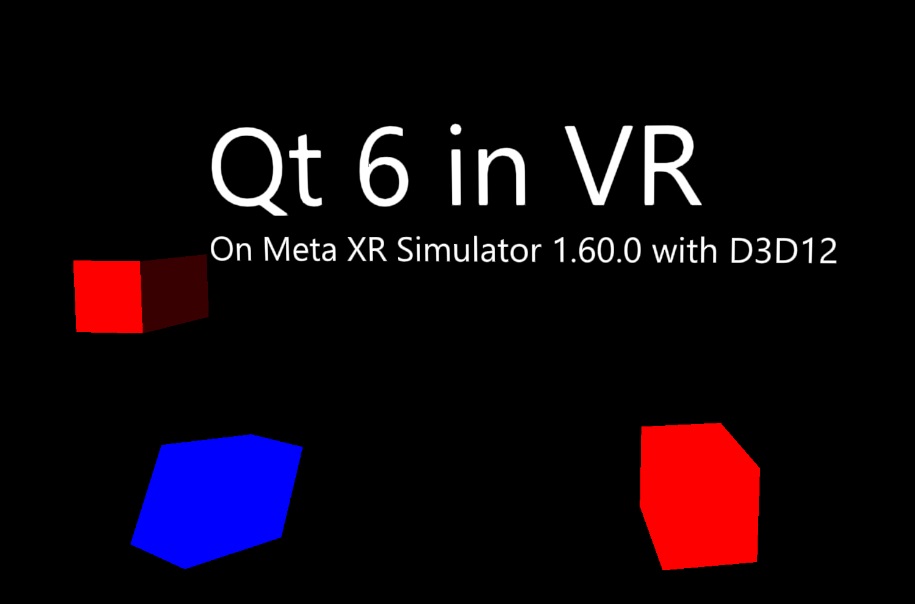
Qt Quick 3D - XR 简单示例
演示使用Qt Quick 3D XR 设置一个简单的 VR 场景。

该示例介绍了Qt Quick 3D XR 的基本功能。
编写 XR 应用程序时的主要区别在于,main.qml 的根项是XrView ,而不是带有View3D 的窗口:
import QtQuick3D
import QtQuick3D.Xr

XrView {
    id: xrView
    XrErrorDialog { id: err }
    onInitializeFailed: (errorString) => err.run("XRView", errorString)
    referenceSpace: XrView.ReferenceSpaceLocalFloor
XrView 包含 3D 场景,就像View3D 一样。在本示例中,我们添加了一个XrErrorDialog ,如果从台式电脑流式传输时初始化 VR 头显出错,它将显示一个错误对话框。我们还指定此应用的参照系是从用户所在房间的地板开始测量的。也就是说,地板将位于y = 0 。
参考框架的原点由XrOrigin 定义:
    xrOrigin: theOrigin
    XrOrigin {
        id: theOrigin

        XrController {
            controller: XrController.LeftController
            poseSpace: XrController.AimPose
            CubeModel { color: "blue" }
        }

        XrController {
            controller: XrController.RightController
            poseSpace: XrController.AimPose
            CubeModel { color: "red" }
        }
    }
在本示例中,我们添加了两个XrController 项目,每只手一个。它们将跟踪用户双手的位置和方向。由于XrController 是一个Node ,因此任何子项都会自动跟随手的移动。在本例中,我们使用一个简单的立方体模型来可视化控制器的位置。
main.qml 的其余部分是一个普通的Qt Quick 3D 场景。
© 2025 The Qt Company Ltd. Documentation contributions included herein are the copyrights of their respective owners. The documentation provided herein is licensed under the terms of the GNU Free Documentation License version 1.3 as published by the Free Software Foundation. Qt and respective logos are trademarks of The Qt Company Ltd. in Finland and/or other countries worldwide. All other trademarks are property of their respective owners.

