Qt Quick 3D - XR 简单触摸示例
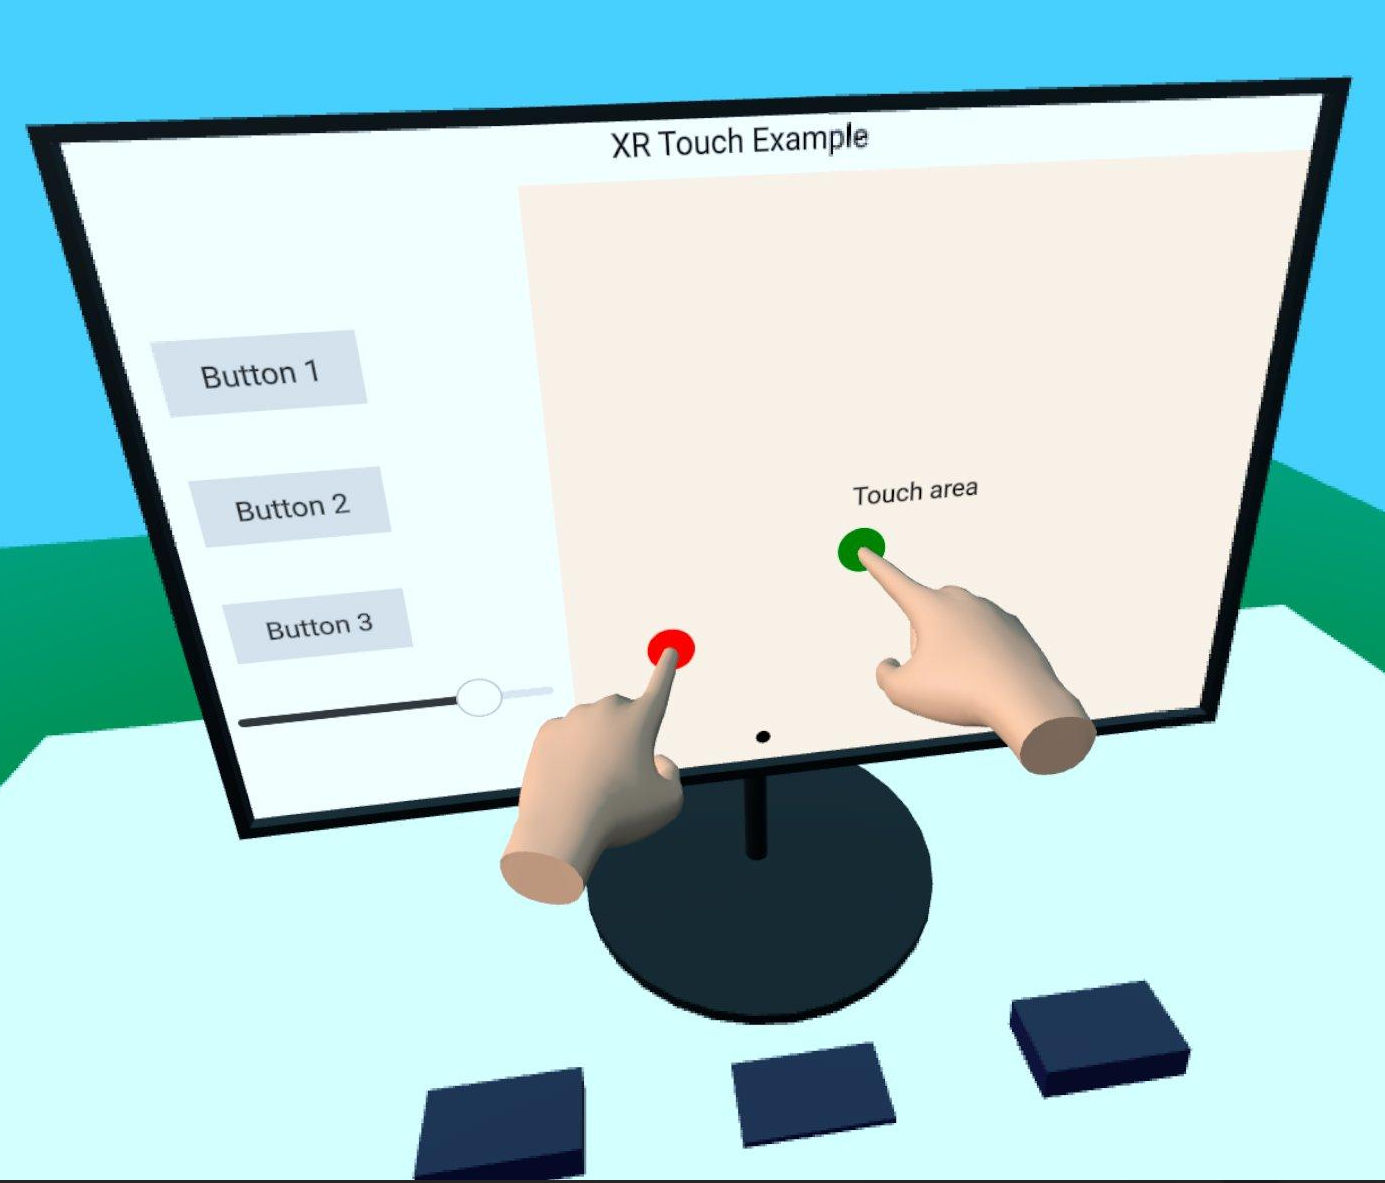
演示Qt Quick 3D Xr 中的手部跟踪输入。

本示例展示了如何使用Qt Quick 3D Xr 中的手部跟踪 API 与场景中的 2D 和 3D 物体进行交互。它沿用了xr_simple示例的基本结构。
我们首先创建了一个可重复使用的组件TouchHand ,它封装了每只手所需的所有逻辑。该组件位于单独的子项目xr_shared 中,因此您可以轻松地在其他项目中重复使用它。
// Copyright (C) 2025 The Qt Company Ltd.
// SPDX-License-Identifier: LicenseRef-Qt-Commercial OR BSD-3-Clause
import QtQuick
import QtQuick3D
import QtQuick3D.Xr

Node {
    id: root
    property color color: "#ddaa88"
    required property int touchId
    required property int hand
    required property XrView view

    property alias touchPosition: handController.scenePos
    property bool touchActive: false

    XrController {
        id: handController
        controller: root.hand

        property vector3d scenePos: view.xrOrigin.mapPositionToScene(pokePosition)

        onScenePosChanged: {
            const touchOffset = view.processTouch(scenePos, root.touchId)
            handModel.position = touchOffset
        }
    }

    XrHandModel {
        id: handModel
        hand: root.hand
        materials: PrincipledMaterial {
            baseColor: root.color
            roughness: 0.5
        }
    }
}
该组件包含一个XrController ,为我们提供食指的 3D 位置,以及一个XrHandModel ,用于显示手的位置。onTouchPositionChanged 处理程序是神奇的地方。我们调用XrView.processTouch() 来完成繁重的工作:它会尝试将三维触摸位置映射到XrItem 上的二维位置,如果找到项目,就会发送触摸事件。然后,它会返回从三维位置到二维表面触摸点的偏移量。然后,我们将使用该偏移量来移动XrHandModel 的位置,从而产生手被表面挡住的错觉。
注意: 这种效果在 Apple Vision Pro 上无法实现,因为系统显示的是用户的真实双手,而XrHandModel 并没有显示。
我们在XrOrigin 中创建了两个 TouchHand 组件实例,每只手一个:
XrOrigin {
    id: theOrigin
    z: 50
    TouchHand {
        id: rightHandModel
        hand: XrHandModel.RightHand
        view: xrView
        touchId: 0
        onTouchPositionChanged: buttons.handleTouch(touchPosition)
    }
    TouchHand {
        id: leftHandModel
        hand: XrHandModel.LeftHand
        view: xrView
        touchId: 1
        onTouchPositionChanged: buttons.handleTouch(touchPosition)
    }
}
xrOrigin: theOrigin
在这里,buttons 是一组具有handleTouch 功能的 3D 按钮。(实现方式与 XR 无关,因此在此不作详细说明)。
我们将XrOrigin 放置在距离场景原点 50 厘米的位置,这应该是一个舒适的触摸距离。
场景的其余部分包含一些 3D 模型和一个能对触摸事件做出反应的XrItem 。
© 2025 The Qt Company Ltd. Documentation contributions included herein are the copyrights of their respective owners. The documentation provided herein is licensed under the terms of the GNU Free Documentation License version 1.3 as published by the Free Software Foundation. Qt and respective logos are trademarks of The Qt Company Ltd. in Finland and/or other countries worldwide. All other trademarks are property of their respective owners.

