Styling the Widgets Application
Qt Widgets application use a default theme depending on the platform. In some cases, there are system-wide configurations that modify the Qt theme, and applications are displayed differently.
However, you can take care of your own widgets and provide a custom style to each component. As an example, look at the following simple snippet:
import sys
from PySide6.QtCore import Qt
from PySide6.QtWidgets import QApplication, QLabel
if __name__ == "__main__":
app = QApplication()
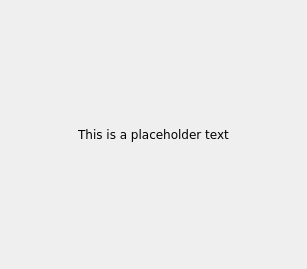
w = QLabel("This is a placeholder text")
w.setAlignment(Qt.AlignCenter)
w.show()
sys.exit(app.exec())
When you execute this code, you will see a simple QLabel aligned at the
center, and with a placeholder text.
You can style your application using the CSS-like syntax. For more information, see Qt Style Sheets Reference.
A QLabel can be styled differently by setting some of its CSS
properties, such as background-color and font-family,
so let’s see how does the code look like with these changes:
import sys
from PySide6.QtCore import Qt
from PySide6.QtWidgets import QApplication, QLabel

if __name__ == "__main__":
    app = QApplication()
    w = QLabel("This is a placeholder text")
    w.setAlignment(Qt.AlignCenter)
    w.setStyleSheet("""
        background-color: #262626;
        color: #FFFFFF;
        font-family: Titillium;
        font-size: 18px;
        """)
    w.show()
    sys.exit(app.exec())
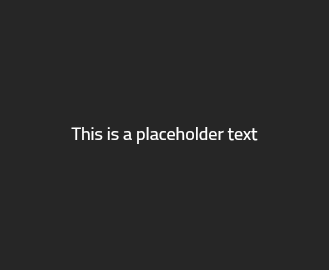
Now when you run the code, notice that the QLabel looks different with your
custom style:
Note
If you don’t have the font Titillium installed, you can try with any
other you prefer.
Remember you can list your installed fonts using QFontDatabase,
specifically the families() method.
Styling each UI element separately like you did in the previous snippet is a
lot of work. The easier alternative for this is to use Qt Style Sheets,
which is one or more .qss files defining the style for the UI elements in
your application.
More examples can be found in the Qt Style Sheet Examples documentation page.
Qt Style Sheets
Warning
Before starting modifying your application, keep in mind that you will be responsible for all the graphical details of the application. Altering margins, and sizes might end up looking strange or incorrect, so you need to be careful when altering the style. It’s recommended to create a full new Qt style to cover all the possible corner cases.
A qss file is quite similar to a CSS file, but you need to specify the Widget
component and optionally the name of the object:
QLabel {
    background-color: red;
}

QLabel#title {
    font-size: 20px;
}
The first style defines a background-color for all QLabel objects in your
application, whereas the later one styles the title object only.
Note
You can set object names with the setObjectName(str) function to any Qt object, for example: for a label = QLabel(“Test”), you can write label.setObjectName(“title”)
Once you have a qss file for your application, you can apply it by reading
the file and using the QApplication.setStyleSheet(str) function:
if __name__ == "__main__":
    app = QApplication()

    w = Widget()
    w.show()

    with open("style.qss", "r") as f:
        _style = f.read()
        app.setStyleSheet(_style)

    sys.exit(app.exec())
Having a general qss file allows you to decouple the styling aspects of
the code, without mixing it in the middle of the general functionality, and you
can simply enable it or disable it.
Look at this new example, with more widgets components:
 1
 2class Widget(QWidget):
 3    def __init__(self, parent=None):
 4        super(Widget, self).__init__(parent)
 5
 6        menu_widget = QListWidget()
 7        for i in range(10):
 8            item = QListWidgetItem(f"Item {i}")
 9            item.setTextAlignment(Qt.AlignCenter)
10            menu_widget.addItem(item)
11
12        text_widget = QLabel(_placeholder)
13        button = QPushButton("Something")
14
15        content_layout = QVBoxLayout()
16        content_layout.addWidget(text_widget)
17        content_layout.addWidget(button)
18        main_widget = QWidget()
19        main_widget.setLayout(content_layout)
20
21        layout = QHBoxLayout()
22        layout.addWidget(menu_widget, 1)
23        layout.addWidget(main_widget, 4)
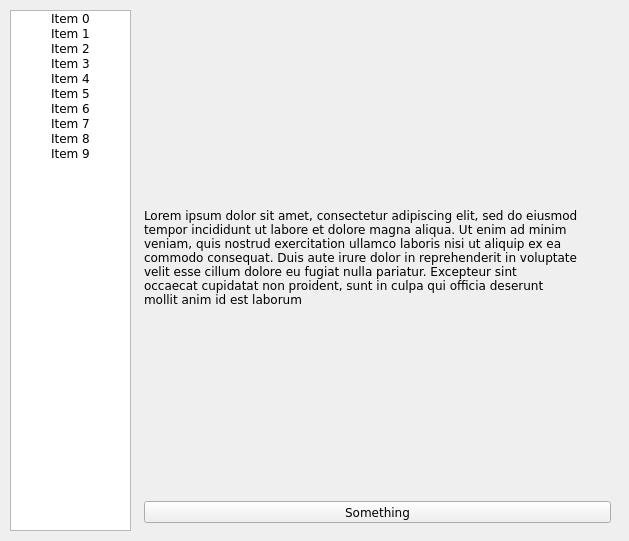
This displays a two column widget, with a QListWidget on the left and a
QLabel and a QPushButton on the right. It looks like this when you run the
code:
If you add content to the previously described style.qss file, you can modify
the look-n-feel of the previous example:
 1QListWidget {
 2    color: #FFFFFF;
 3    background-color: #33373B;
 4}
 5
 6QListWidget::item {
 7    height: 50px;
 8}
 9
10QListWidget::item:selected {
11    background-color: #2ABf9E;
12}
13
14QLabel {
15    background-color: #FFFFFF;
16    qproperty-alignment: AlignCenter;
17}
18
19QPushButton {
20    background-color: #2ABf9E;
21    padding: 20px;
22    font-size: 18px;
23}
The style changes mainly the color of the different widgets, alter the alignment, and includes some spacing. You can also use state-based styling on the QListWidget items for example, to style them differently depending on whether they are selected or not.
After applying all the styling alternatives you explored in this topic, notice
that the QLabel example looks a lot different now.
Try running the code to check its new look:

You have the freedom to tune your style sheets and provide a really nice look-n-feel to all your applications.