Managing Qt Versions
Qt VS Tools provide you with basic Qt version management that enables you to use multiple Qt versions in parallel. For example, Qt 5.15.11 and 6.4.0. You have to add at least one Qt version that was built for MSVC to be able to create Qt projects.
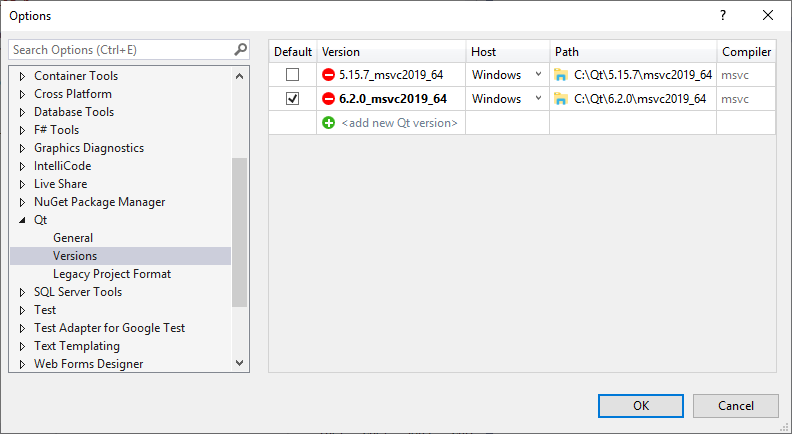
To manage Qt versions:
- Select Extensions > Qt VS Tools > Qt Versions >
 .
. - In the Version field, enter a name for the Qt version. If you add the path to Qt first, this field is filled automatically.
- In the Host field, select Windows, unless you want to cross-compile the application for an embedded Linux device.
- In the Path field, enter the path to the qmake.exe for the Qt version. For example:
C:\Qt\6.2.0\msvc2019_64\bin\qmake.exe. - In the Default field, select the Qt version to be used by default when creating new projects or importing a project from a
.profile. - Select OK.
To remove a Qt version, select  .
.
To specify Qt versions for a project, right-click the project in Solution Explorer and select Properties in the context menu. Select Qt Project Settings, and set the Qt version as the value of the Qt Installation option.
© 2022 The Qt Company Ltd. Documentation contributions included herein are the copyrights of their respective owners. The documentation provided herein is licensed under the terms of the GNU Free Documentation License version 1.3 as published by the Free Software Foundation. Qt and respective logos are trademarks of The Qt Company Ltd in Finland and/or other countries worldwide. All other trademarks are property of their respective owners.
