
시작하기
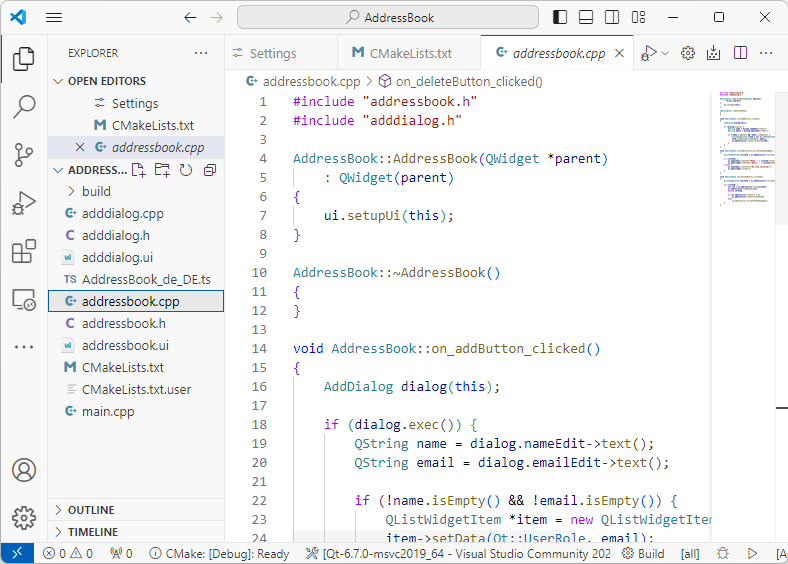
VS Code용 Qt 확장 프로그램이 사용자의 Qt 설치 위치와 CMake 키트를 찾을 수 있는지 확인하려면, 빌드 및 실행할 Qt 예제를 열어보세요.
VS Code에서 Qt 예제 빌드 및 실행.
VS Code에서 Qt 예제 프로젝트를 열고 실행하려면:
- VS Code용 Qt 확장 프로그램을 설치합니다.
- Welcome 로 이동합니다.
- Examples 를 선택하여 Qt 예제를 엽니다.
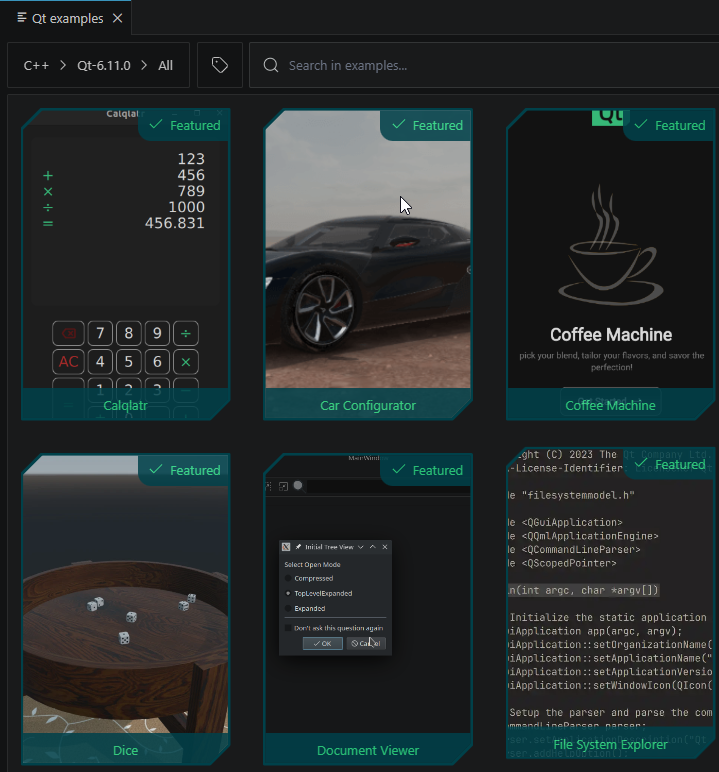
자세한 내용은 ‘튜토리얼: Qt 예제 빌드 및 실행’을 참조하십시오.
- Command Palette 로 이동하여 Qt: Register Qt installation 을 선택하여 Qt 버전을 등록하십시오.
- Command Palette 로 이동하여 Qt: Set the recommended Qt Extension settings 를 선택하면 상태 표시줄에 등록된 Qt CMake 키트가 표시됩니다.
- Command Palette 로 이동하여 Qt: Scan for kits 를 선택하십시오. 그런 다음 사용 중인 Qt 버전 및 툴체인과 일치하는 키트를 선택하십시오.
- 상태 표시줄에서
 을 선택하십시오.
 - 프로젝트를 빌드하고 실행할 실행 파일을 실행 대상으로 선택합니다.
이제 튜토리얼을 선택하여 Qt 애플리케이션 개발에 대해 배울 수 있습니다. 프로젝트 마법사 템플릿을 사용하여 자신만의 애플리케이션 프로젝트를 생성하세요.
Qt Academy 과정에 등록하기
Welcome 로 이동한 다음, Qt academy 를 선택하여 강좌를 찾아보세요.
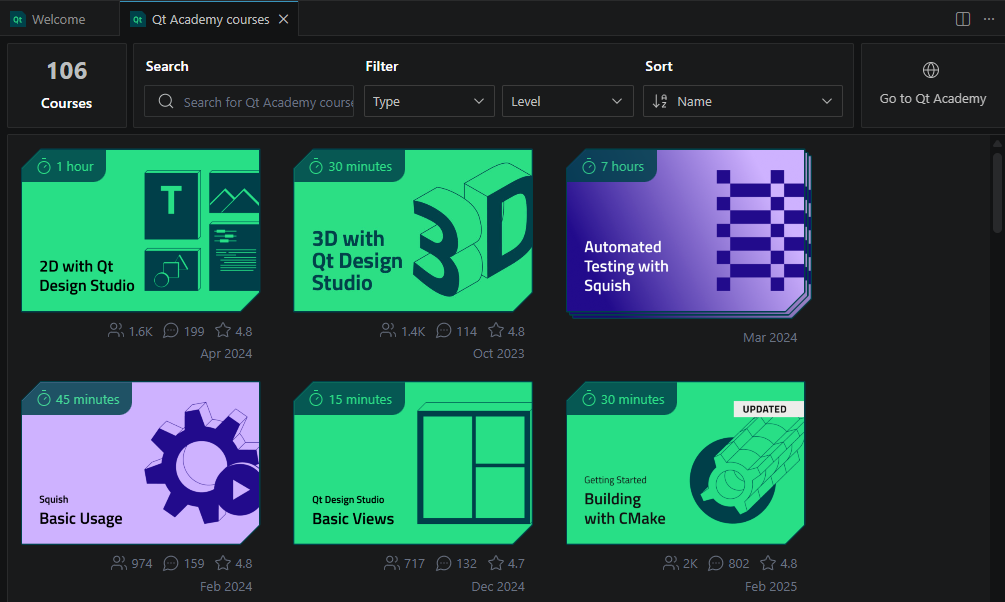
다음과 같은 작업을 수행할 수 있습니다:
- 강좌를 검색할 수 있습니다.
- 유형 및 수준별로 강좌를 필터링할 수 있습니다.
- 이름 및 기타 기준에 따라 강좌 정렬하기.
- Qt Academy로 이동하여 전체 강좌 목록을 살펴보세요.
‘설치’, ‘Qt 설치 등록’, ‘자습서’ 및 ‘Qt 프로젝트 만들기’항목도 참조하십시오 .
© 2026 The Qt Company Ltd. Documentation contributions included herein are the copyrights of their respective owners. The documentation provided herein is licensed under the terms of the GNU Free Documentation License version 1.3 as published by the Free Software Foundation. Qt and respective logos are trademarks of The Qt Company Ltd in Finland and/or other countries worldwide. All other trademarks are property of their respective owners.
