Neptune 3 UI - Overview
The Qt Automotive Suite includes Neptune 3 UI, which is a reference UI implementation for Qt in In-Vehicle Infotainment (IVI) systems.
Neptune 3 UI aims to:
- Provide best practices for how to develop an automotive UI using Qt Automotive Suite.
- Get UI designers and software developers to collaborate efficiently.
- Provide UI designers with methods to control the look-and-feel.
- Improve flexibility by enabling Qt Automotive Suite to integrate with external tools, such as 3D tools, Maps, Qt IVI, and more.
- Provide a multi-process UI that forms a base for an IVI system.
Features
Neptune 3 UI contains the following key features:
- Implemented with with Qt/QML, based on Qt Application Manager that takes care of the application and window management.
- Can be integrated with various car 3D model technologies.
- Can be integrated with various navigation solutions.
- Utilizes the Qt IVI module, that provides C++ classes and QML types to access vehicle features, as well as a core API to implement new IVI features.
- Supports cursor management enabling UI navigation via other means, such as a keyboard or gamepad. via other input methods.
Structure
To provide support for multi-process architecture, Neptune 3 UI comprises of the following elements:
| Neptune 3 UI element | Description |
|---|---|
System UI (sysui) | Displays system information and provides a way to discover and launch apps. Examples of apps are the climate panel, notification center, app launcher, status bar, and so on. |
Apps (apps) | A container for the various apps used within the System UI. |
Imports, modules (such as animations, controls, utils, or models) | The modules, assets, and controls required for visual appearance as well as functionalities - both for a System UI and an app. |
| Plugins | QML plugins required for communication with low level services. |
| Styles | UI styles and configurations. |
Neptune 3 UI Apps
Neptune 3 UI contains several built-in (pre-installed) apps:
| Neptune 3 Apps | Description |
|---|---|
Vehicle App (vehicleapp) | Shows a 3D visualization of the car with its common settings and information, such as vehicle settings, energy information, doors and tires. |
Music App (musicapp) | A Media app that can play music that was previously indexed by Qt IVI using the Qt Multimedia backend. |
Maps App (mapapp) | A Maps app that is created using the MapBoxGL plugin from Qt Location that has some common navigation features, such as set a destination, show the current location, and show the direction to home or work from the current location. The Maps app can also be viewed offline. |
Calendar App (calendarapp) | An organizer app with some dummy data showing a set of appointments, the current year calendar and dummy weather forecast with mockup data. Currently, there is no real backend implemented for this app. |
Phone App (phoneapp) | A Phone app with a dummy contact list, that can be simulated. Currently, there is no real backend implemented for this app. |
Tuner App (tunerapp) | A media app that has a pre-set station list, provided by the simulation backend from Qt IVI. |
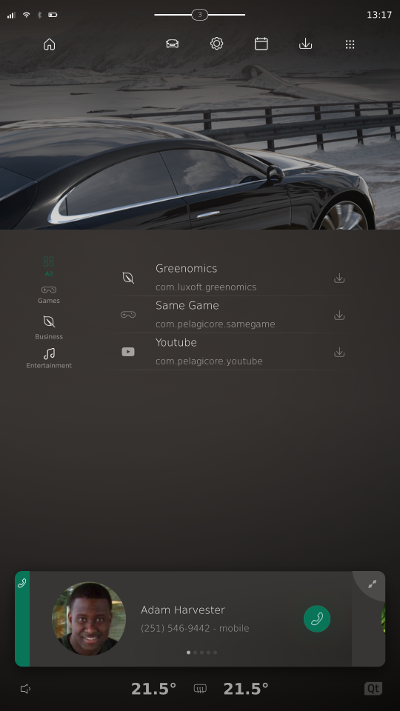
Downloads App (downloadsapp) | Allows the user to install apps from the Neptune Deployment Store to Neptune 3 UI. There are a few apps available, such as Spotify, Netflix, Web Radio App, and Same Game. Users can also uninstall these external apps using the Downloads app. |
General Settings (settingsapp) | General Settings provides a set of common UI settings, such as language settings, theme settings, date and time settings, as well as color settings. |
Visual Concept
The Neptune 3 UI visual concept includes different UI elements:
- Instrument Cluster
- Center Console Display
- App Launcher
- App Widget
- Volume Control
- Sheets App
- Climate Bar
- Notification Center
Instrument Cluster
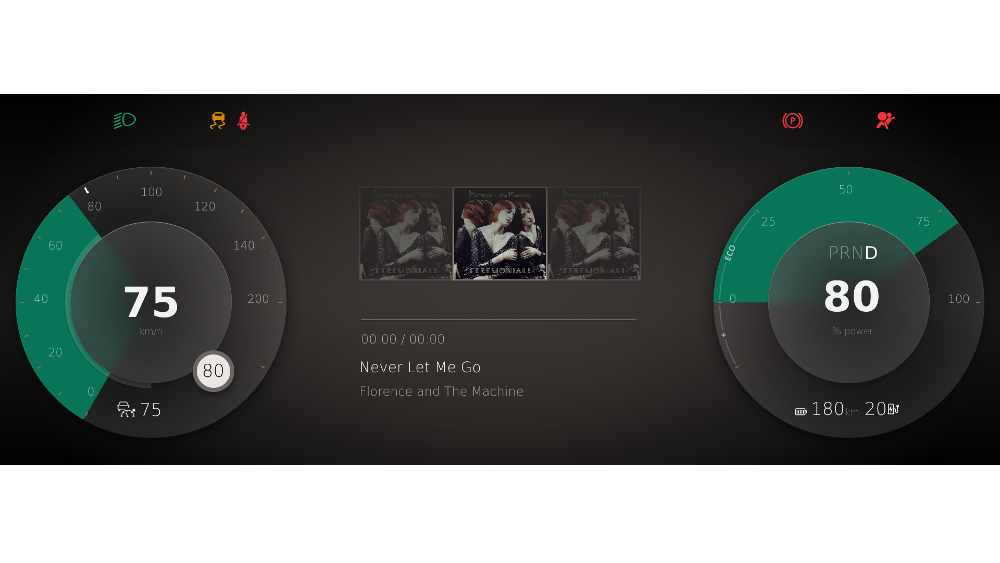
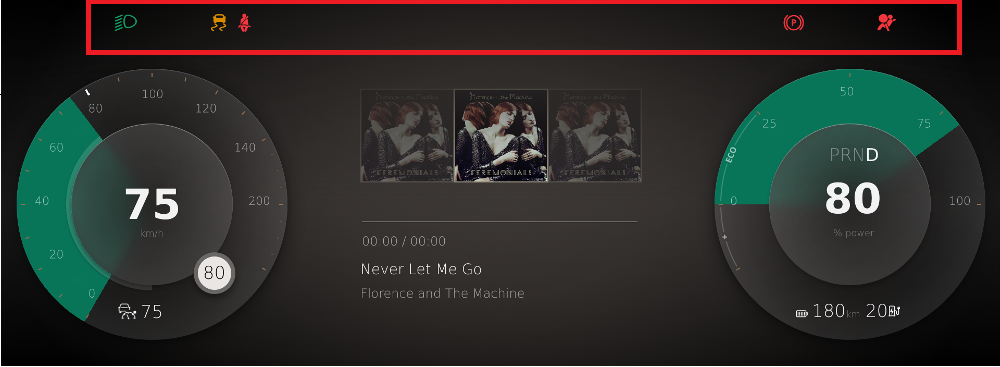
The Instrument Cluster displays driving related information such as speed, cruise control parameters, gear and energy use (for an electric car). Users can also have information from the selected app windows, such as Music or Maps, ordered in views which they can navigate between. To switch between the available app windows, the user can use Neptune 3 UI Companion App or press Ctrl+C on a physical keyboard. The tell-tales (for example, the icons of headlights, engine and oil check, or other) in the upper part of the instrument cluster (see image below) are not shown by default on start-up. Instead, they are shown by a simulation after a certain time and can be controlled only by using the Neptune 3 UI Companion App. After UI-startup, the default backend simulation is started. More information about the backend simulation can be found in section Neptune 3 UI - Middleware.
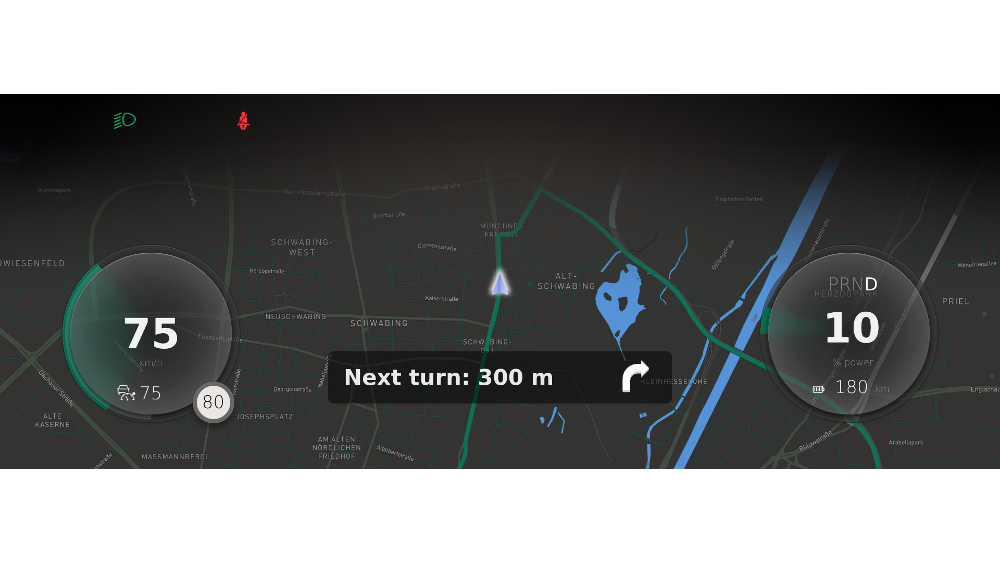
The size and position of gauges and other driving related information are flexible to make space for views, like Maps that can take up more space (as shown above).
The gauges appearance is flexible too, it can be changed from the flat version (as shown above) to the 3D version (see below).


To enable 3D appearance, set the 3D Gauges property via Neptune 3 UI's middleware or via Neptune Companion App or press Ctrl+3 in a physical keyboard.
Note: You must have Qt 3D Studio installed. If it is installed, but your 3D content is not shown, this means that Qt was built without -opengl es2 option for Linux and macOS. Consequently, these platforms would only show the 3D content in single-process mode with opengl ES 3.0 requirements set by .yaml config file. For more details, see Qt Application Manager.
Cluster App
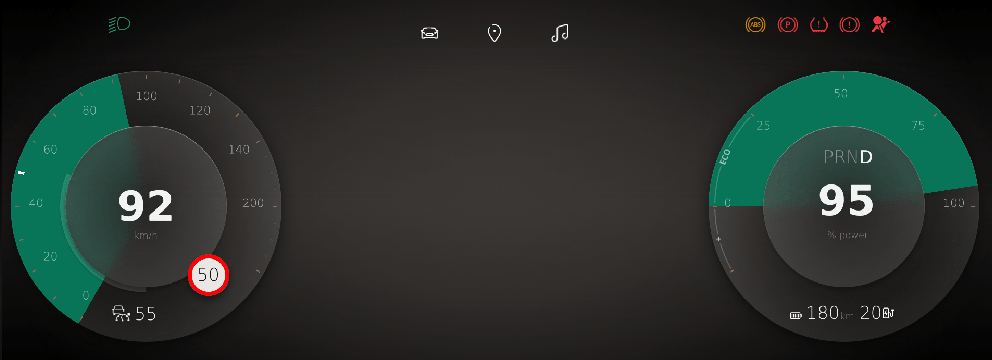
A Cluster App has its own life cycle and can run independently from Neptune 3 UI, allowing user to see the whole scope of necessary information, like maps, music, and vehicle view on the Instrument Cluster screen.
As a stand-alone app, Cluster App can be run on a separate board or in a dedicated hypervisor domain. It connects to the same backends, as Neptune 3 UI, using a network connection.
Cluster App shares the design and generic components of Neptune 3 UI. For example, if the user has changed the theme in Neptune 3 UI, the same one will be applied to Cluster App.
There are three types of views available for user to switch between:
Vehicle View
This view reflects the same state, which is shown (or would be shown if the cluster app is active) in the cluster app displayed on the cluster window.

Music View
Music view is almost the same as the part of the music app (which is displayed in cluster window) except for the track covers, that are not displayed.
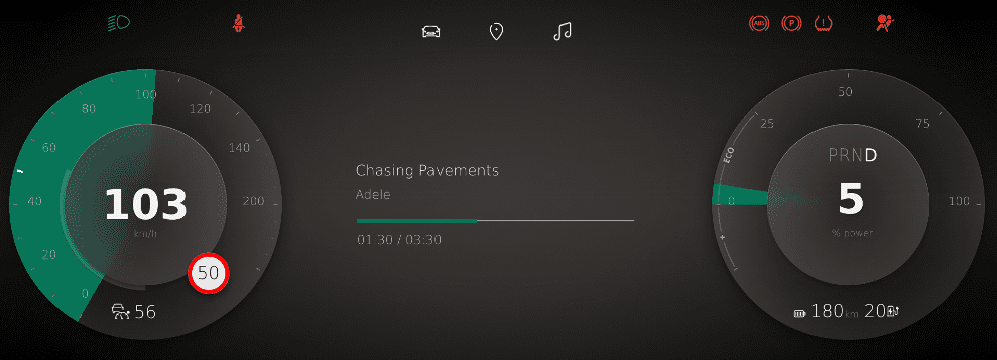
Maps View
Maps View displays the map in the same way, as it's displayed in Neptune 3 UI Maps App, allowing user to see vehicle's location, destination and route right on the Instrument Cluster.

Note: The Cluster App is a plain Qt/Qml app, it is not based on Qt Application Manager.
Center Console Display
The Center Console display demonstrates the multi-process capabilities. This means, that several apps can be run simultaneously, using separate processes, providing quick response and smooth transitions, and giving the user an experience of operating one unified system.
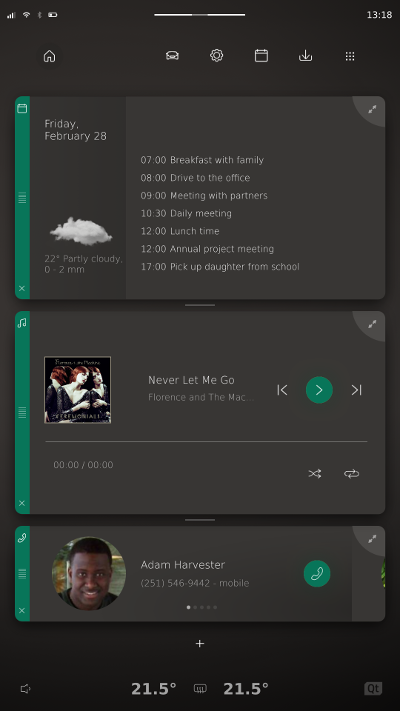
In addition to traditional apps, like Music, Phone, and Maps, the Center Console display also contains climate settings, system notifications, different vehicle information, and vehicle settings.
Some apps, such as Music, can be displayed in fullscreen or as widgets. Widgets are apps that run in a smaller window and adapt their content to fit into a widget window. These App Widgets are used in the customizable home screen.
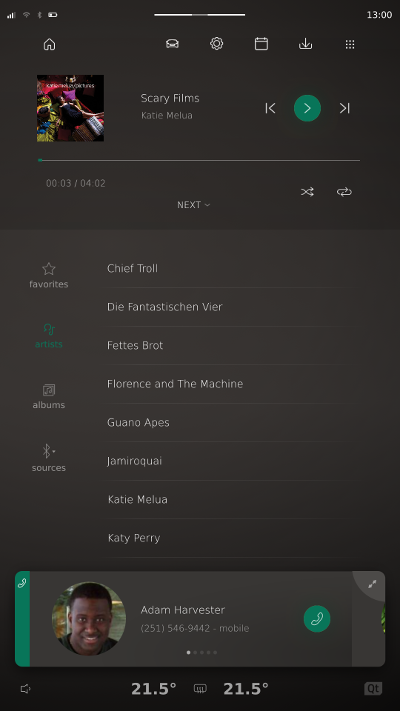
When an app is maximized, it takes over the whole Center Console and shows the app's full content, as illustrated below.
App Launcher
Expand the App Launcher by tapping on the grid icon in the upper right corner of the screen.
![]()
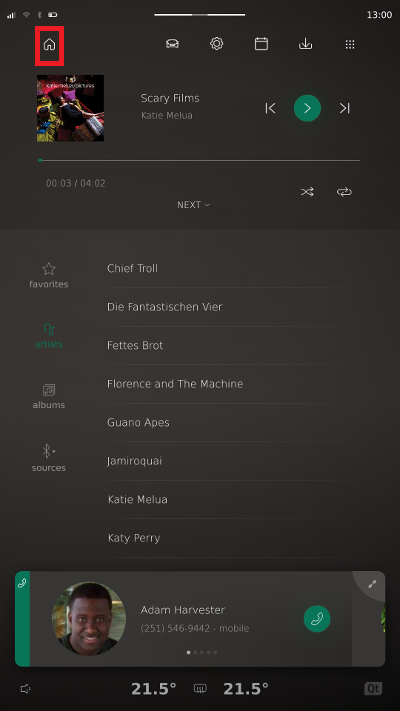
Users can choose which app to maximize by tapping on the app icon. To go back to the home screen after maximizing the desired app, user can tap on "Home" button as illustrated below:
Users can also define four top apps to show without expanding the launcher by pressing and holding the selected app, and then dragging it to the desired position as illustrated in the following image:
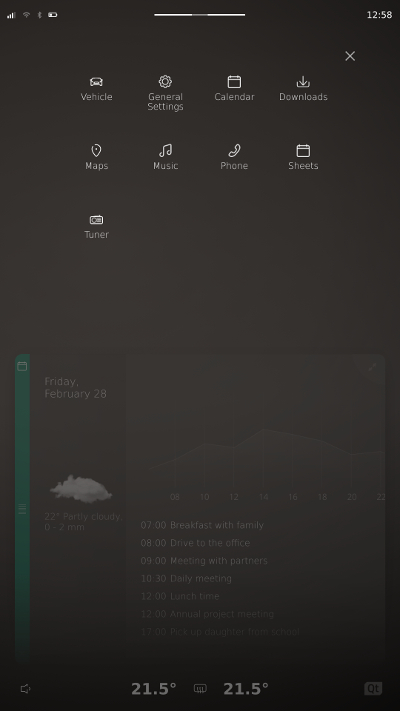
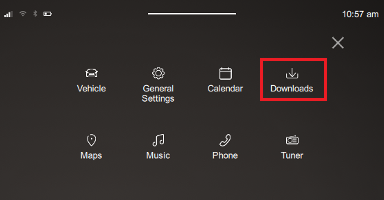
The App Launcher displays pre-installed apps, such as Music, Maps, or Phone, that are already there when Neptune 3 UI is started up for the first time, but the user can also download and install other apps by tapping on Downloads App as illustrated below:
App Widget
By default, the Center Console Display shows three app widgets. Users can choose which app to show on the home screen as a widget, by tapping on the Add Widget icon below the lowest widget and choose the desired app.
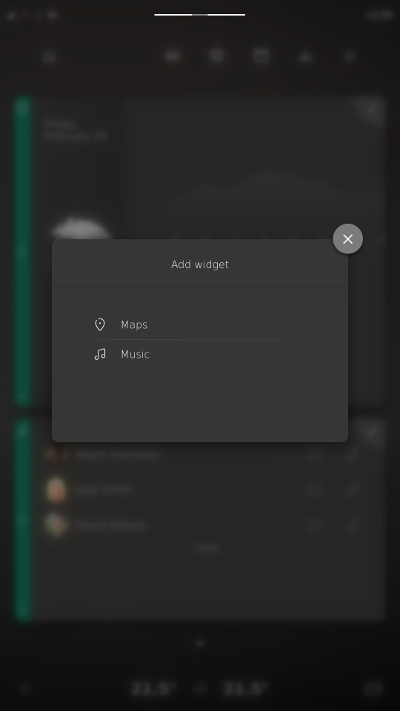
Only apps that have a widget option are listed there. The user can also remove a widget from the home screen by tapping on the X icon at the widget's bottom left corner.
After an app is started and shows up full-screen, the bottom widget still remains visible. This allows a quick access to the functionality provided by the widget even if an app is in foreground. It is possible to swipe the widget to the side:
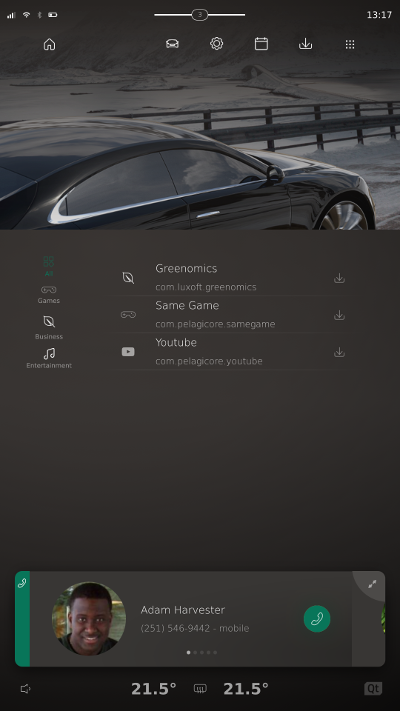
Note: Users can remove any widget from the Home screen, except the bottom one.
Note: Removing an app widget does not mean that the app is terminated. The app is still running in the background. See Neptune 3 UI System Dialog for more information about terminating an app.
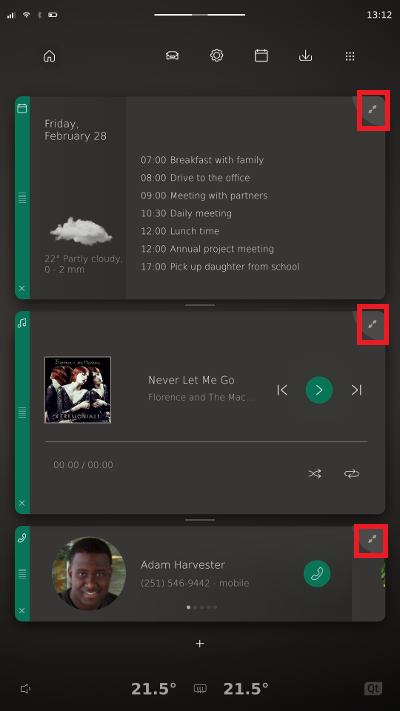
Users can maximize the desired app by tapping on "Maximize" icon in the upper right corner of a widget:
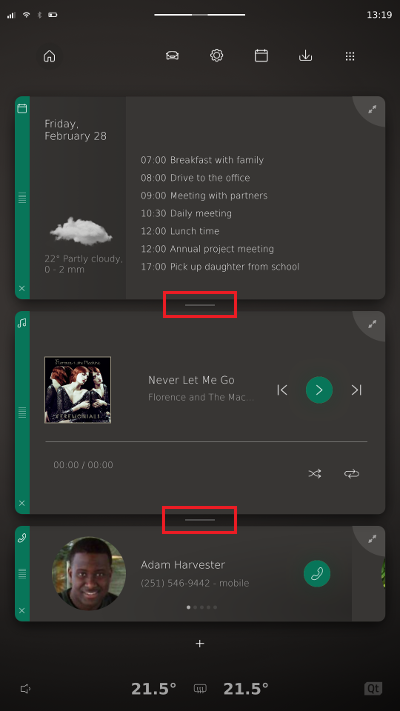
The widgets can also be resized by tapping and holding a line between two consequent widgets:
Volume Control
To modify the volume, users can simply tap on a speaker icon in the bottom left corner of the display and modify the volume using a stepper slider, as illustrated below:

Users can also mute the sounds by tapping on the corresponding icon, as illustrated below:

Note: The volume can be changed in any menu, except for App Launcher
Sheets App
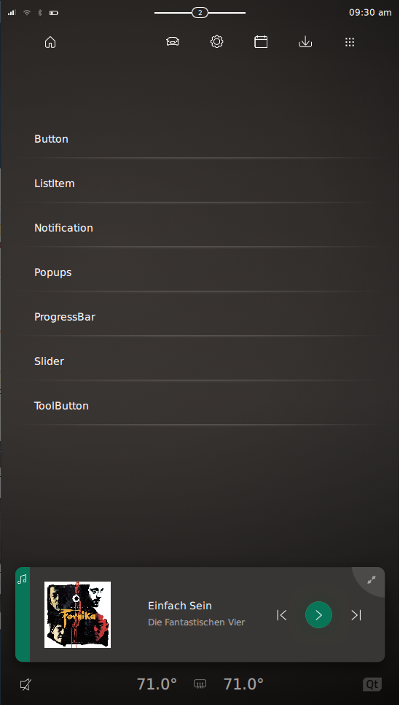
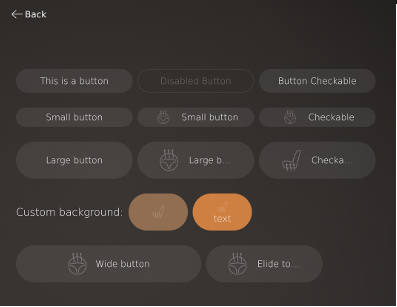
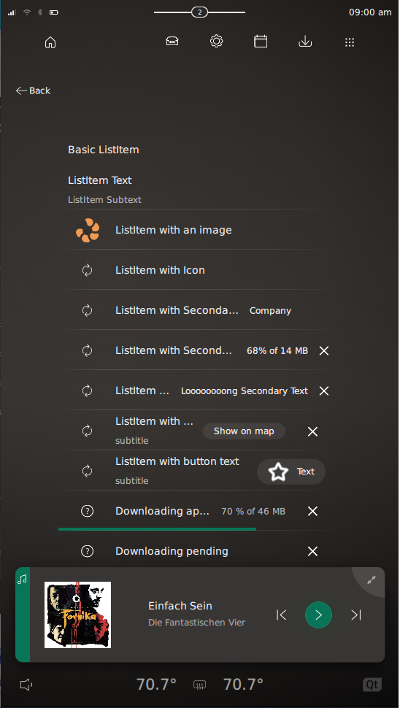
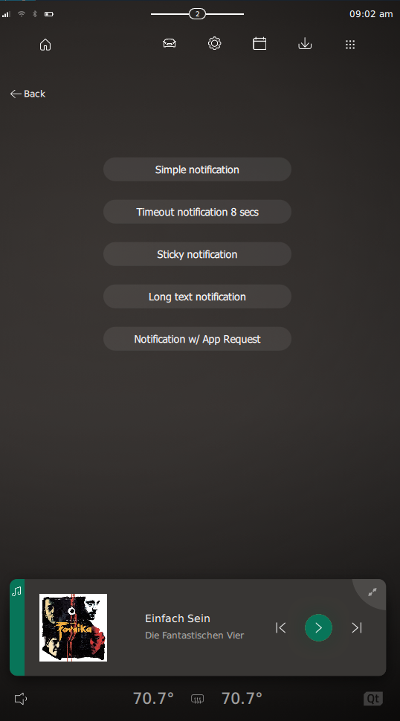
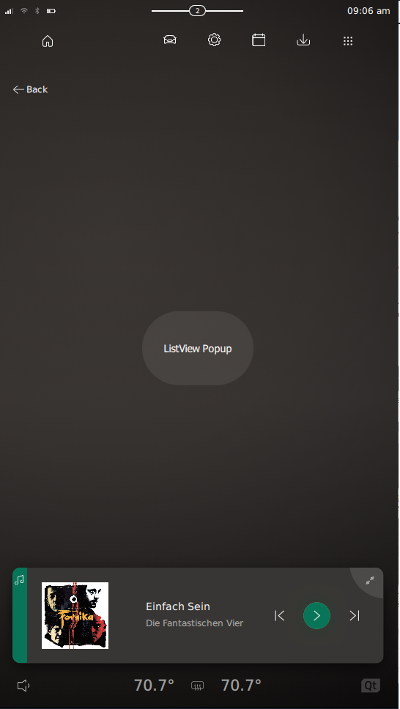
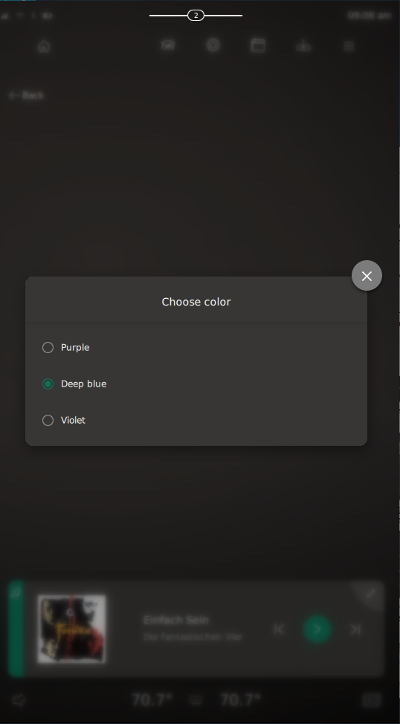
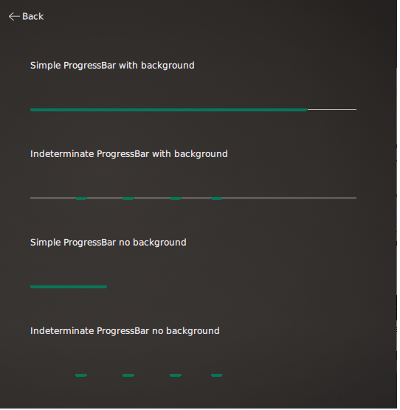
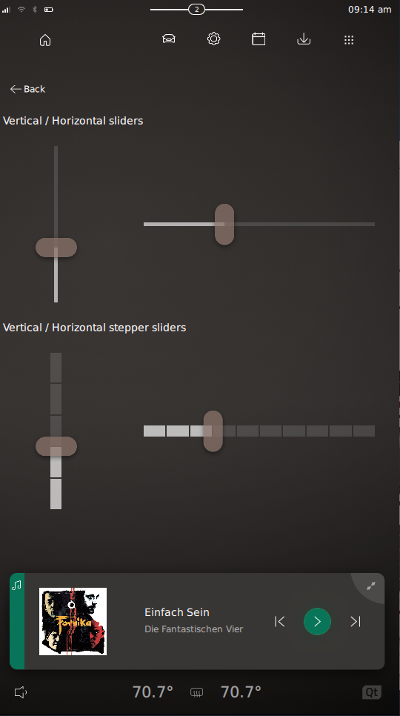
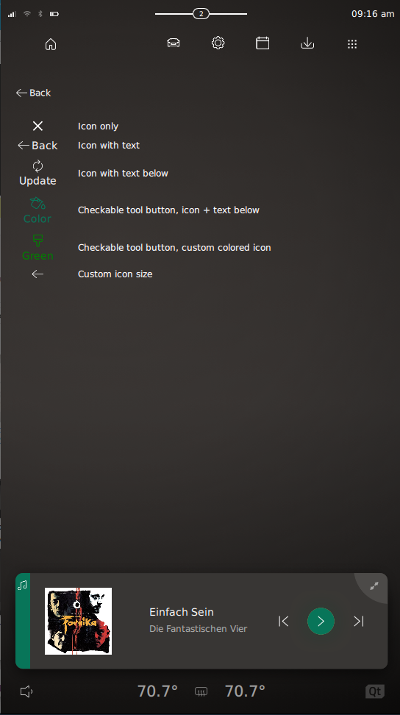
The Sheets App provides information about UI controls used in the Neptune 3 UI and can be used as a UI component gallery for development purposes. All available UI controls are listed in the following categories:
- Button
- ListItem
- Notifications
- Popups
- ProgressBar
- Slider
- ToolButton
Button
ListItem
Notifications
Popups
ProgressBar
Slider
ToolButton
Climate Bar
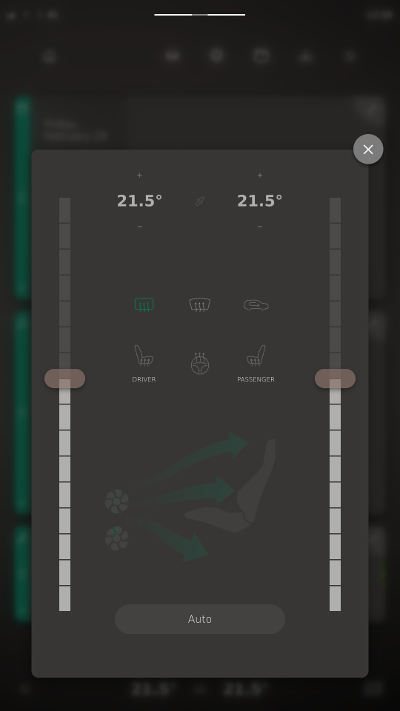
The Climate Bar is located at the bottom of the Center Console Display. Tapping on it displays a climate panel with some simulation data interface to Qt IVI as shown in the following image:
Notification Center
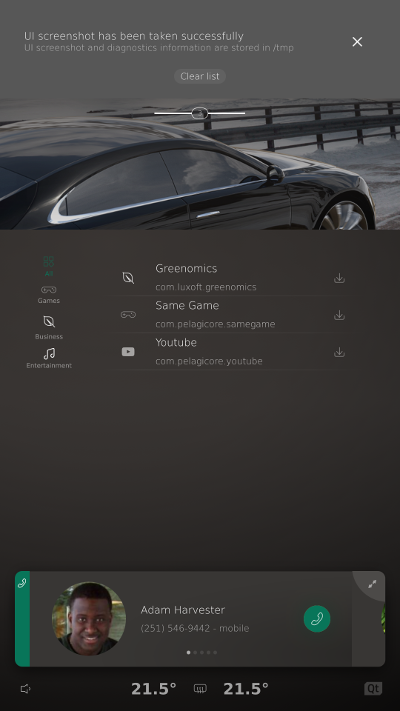
The Notification Center stores notifications that are triggered in Neptune 3 UI. When a notification is triggered, first, a notification toast message is shown, and then it is stored in the Notification Center. The user can remove individual notifications in the Notification Center, or clear the Notification Center completely.
Starting the Neptune 3 UI on a desktop
Neptune 3 UI can also be started up on a desktop. The following picture demonstrates the three windows (Instrument Cluster, Center Console Display and HUD), that are started up on a desktop PC:
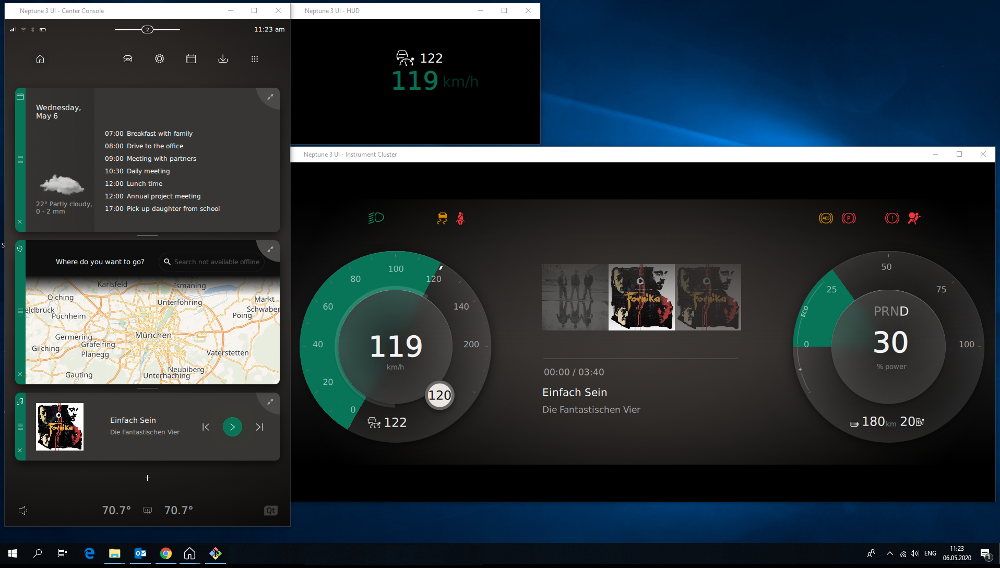
The users can resize desktop windows, and the content will be scaled according to the standard aspect ratio. Moreover, the users can close the windows separately in the desktop mode, and Neptune 3 UI shuts down only after the last window is closed.
Keyboard Shortcuts
The following keyboard shortcuts are supported:
| Shortcut | Description |
|---|---|
| Ctrl+3 | Enable 3D appearance for gauges. |
| Ctrl+C | Switch between the app windows available. |
| Ctrl+Shift+C | Move the Cluster UI up and down within cluster window. |
| Ctrl+P | Take a screenshot of the current screen along with diagnostics details using qtdiag. This is equivalent to a press and hold on the Clock. |
| Ctrl+R | Rotate the content in the Center Console. |
| Ctrl+Shift+R | Rotate the content in the Instrument Cluster. |
| Ctrl+V | Activate or stop Voice Assistant. |
Gamepad Shortcuts
Neptune 3 UI can be controlled by some buttons from Gamepad QML Type. If you'd like to get more information on Gamepad QML Type, go to the corresponding section of Qt Documentation.
The following buttons are currently used:
| Shortcut | Description |
|---|---|
| Button B | Moves the user to the next window in cluster |
| Button R1 | Switch to the next music track |
| Button L1 | Switch to the previous music track |
© 2019 Luxoft Sweden AB.
Documentation contributions included herein are the copyrights of
their respective owners.
The documentation provided herein is licensed under the terms of the GNU Free Documentation License version 1.3 as published by the Free Software Foundation.
Qt and respective logos are trademarks of The Qt Company Ltd. in Finland and/or other countries worldwide. All other trademarks are property
of their respective owners.
