
Qt Quick 3D - Particles 3D 테스트베드 예제
Qt Quick 3D 의 Particles3D 모듈 사용 방법을 보여줍니다.
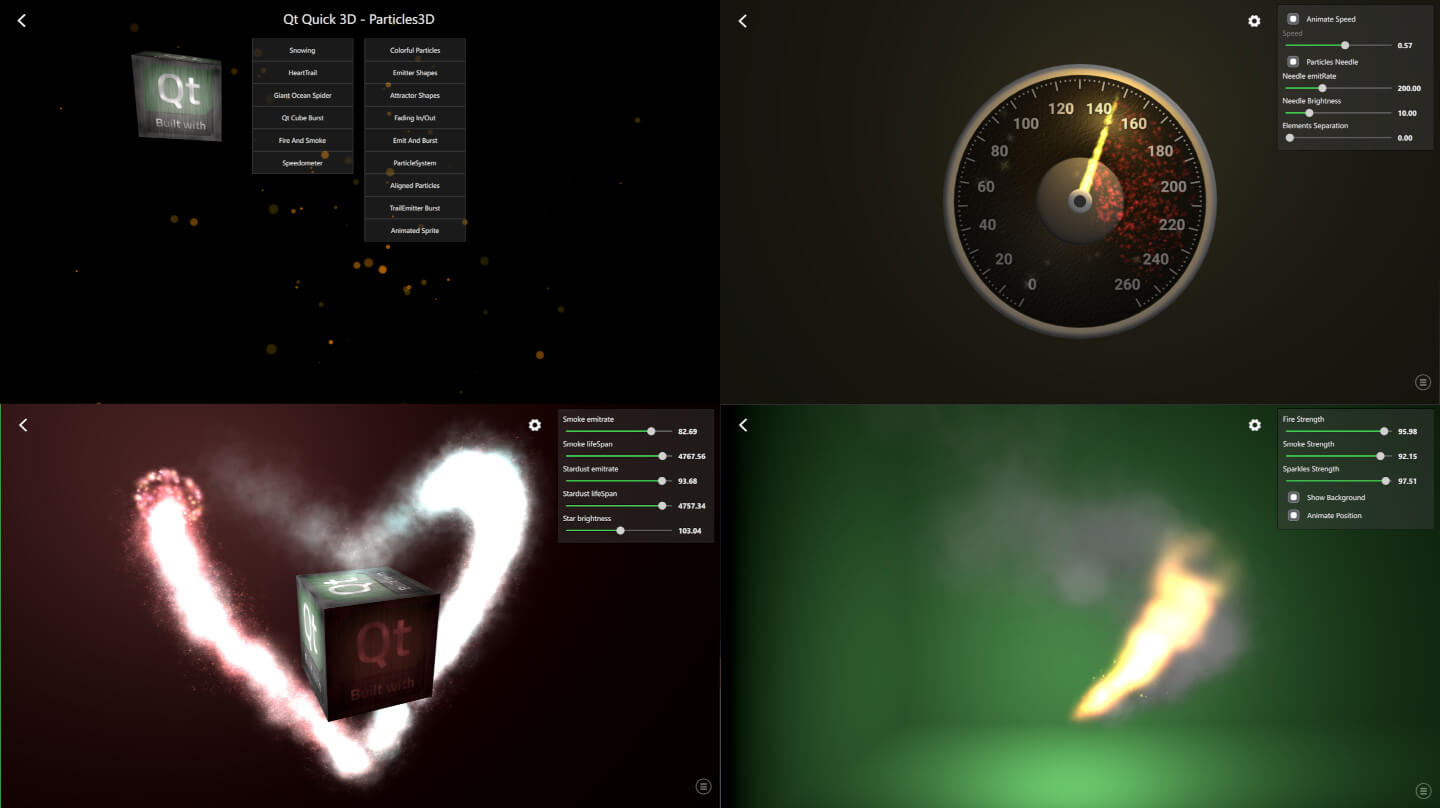
이 예제는 QtQuick3D.Particles3D 모듈의 기능을 활용하는 다양한 방법을 보여줍니다. Particles Testbed에는 여러 예제가 포함되어 있으며, 일부는 특정 기능을 강조하고, 일부는 원하는 효과를 얻기 위해 여러 기능을 결합합니다.
공통 기능
테스트베드 내의 예제들은 몇 가지 공통된 기능을 공유합니다. 예제를 종료하고 시작 화면으로 돌아가려면 왼쪽 상단 모서리에 있는 뒤로 화살표를 누르십시오.
각 예제의 오른쪽 하단 모서리에는 로깅 보기를 여는 아이콘이 있습니다. 이 보기에서 파티클에 대한 다양한 디버그 데이터를 확인할 수 있습니다. 각 ‘ ParticleSystem3D ’에는 ‘ ParticleSystem3DLogging ’ 데이터를 보여주는 고유한 행이 있습니다.

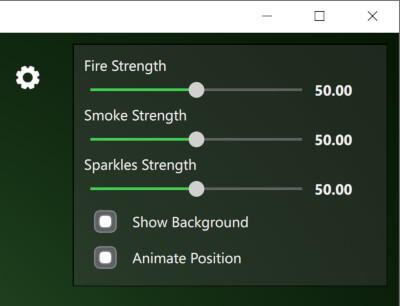
대부분의 예제 오른쪽 상단 모서리에는 아이콘을 클릭하여 표시하거나 숨길 수 있는 설정 보기가 있습니다. 이 설정들은 개별 API 기능뿐만 아니라 파티클 시스템의 동적 동작을 시연하는 데 도움이 됩니다.
눈 내리는 예제
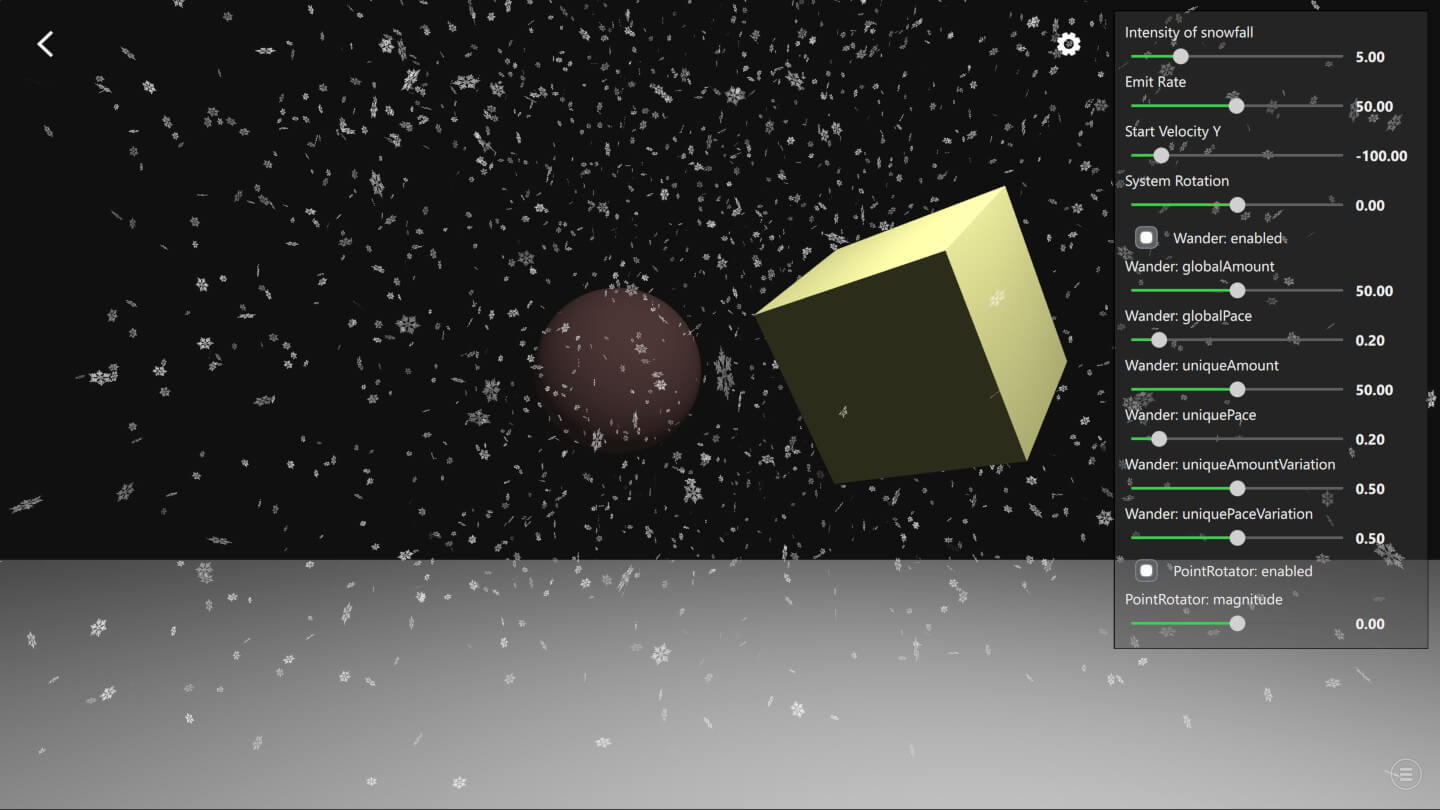
'Snowing' 예제를 통해 Particles3D 의 기본 사항을 살펴보겠습니다.
먼저, 다음 문장을 사용하여 QtQuick3D.Particles3D 모듈을 임포트합니다.
import QtQuick3D.Particles3DParticleSystem3D 는 파티클 시스템의 루트이며, 시스템 타이밍을 처리하고 파티클, 이미터, 어펙터와 같은 다른 모든 관련 요소를 하나로 묶어줍니다.
ParticleSystem3D {
    id: psystem

    // Start so that the snowing is in full steam
    startTime: 15000
그런 다음 시각적인 2D 텍스처 파티클인 ` SpriteParticle3D `을 생성합니다. 3D 모델 파티클이 필요한 경우에는 대신 ` ModelParticle3D`을 사용할 수 있습니다. 최적의 버퍼 크기가 할당되도록 ` maxAmount `를 사용하여 파티클 수를 정의하는 것이 중요합니다. 여기서는 눈송이가 흰색이며, 투명도가 다양하게 설정되어 있고 1000ms에 걸쳐 서서히 나타나고 사라집니다.
SpriteParticle3D {
    id: snowParticle
    sprite: Texture {
        source: "images/snowflake.png"
    }
    maxAmount: 1500 * sliderIntensity.sliderValue
    color: "#ffffff"
    colorVariation: Qt.vector4d(0.0, 0.0, 0.0, 0.5);
    fadeInDuration: 1000
    fadeOutDuration: 1000
}
다음으로, 앞서 생성한 snowParticle 입자를 방출하기 위해 ParticleEmitter3D 가 필요합니다. shape 속성은 방출이 이루어지는 영역을 정의합니다. 여기서는 눈송이의 회전과 크기가 다양하도록 설정합니다. velocity 속성을 사용하면 방출된 입자의 초기 속도 방향을 정의할 수 있습니다. 각 눈송이 입자는 15초 동안 존재하며, emiting rate 는 설정 슬라이더로 제어됩니다.
ParticleEmitter3D {
    id: emitter
    particle: snowParticle
    position: Qt.vector3d(0, 1000, -350)
    depthBias: -100
    scale: Qt.vector3d(15.0, 0.0, 15.0)
    shape: ParticleShape3D {
        type: ParticleShape3D.Sphere
    }
    particleRotationVariation: Qt.vector3d(180, 180, 180)
    particleRotationVelocityVariation: Qt.vector3d(50, 50, 50);
    particleScale: 2.0
    particleScaleVariation: 0.5;
    velocity: VectorDirection3D {
        direction: Qt.vector3d(0, sliderVelocityY.sliderValue, 0)
        directionVariation: Qt.vector3d(0, sliderVelocityY.sliderValue * 0.4, 0)
    }
    emitRate: sliderEmitRate.sliderValue * sliderIntensity.sliderValue
    lifeSpan: 15000
}
일반적으로 입자의 움직임을 더욱 흥미롭게 만들기 위해 몇 가지 에펙터도 사용됩니다. 이 'Snowing' 예제에서는 눈송이가 물결치는 곡선을 그리며 날아갈 수 있도록 ' Wander3D '을 사용하고, 바람이 부는 날씨를 시뮬레이션하기 위해 ' PointRotator3D '을 사용합니다.
Wander3D {
    enabled: checkBoxWanderEnabled.checked
    globalAmount: Qt.vector3d(sliderWanderGlobalAmount.sliderValue, 0, sliderWanderGlobalAmount.sliderValue)
    globalPace: Qt.vector3d(sliderWanderGlobalPace.sliderValue, 0, sliderWanderGlobalPace.sliderValue)
    uniqueAmount: Qt.vector3d(sliderWanderUniqueAmount.sliderValue, 0, sliderWanderUniqueAmount.sliderValue)
    uniquePace: Qt.vector3d(sliderWanderUniquePace.sliderValue, 0, sliderWanderUniquePace.sliderValue)
    uniqueAmountVariation: sliderWanderUniqueAmountVariation.sliderValue
    uniquePaceVariation: sliderWanderUniquePaceVariation.sliderValue
}
PointRotator3D {
    enabled: checkBoxRotatorEnabled.checked
    pivotPoint: Qt.vector3d(0, 0, -350)
    direction: Qt.vector3d(0, 1, 0)
    magnitude: sliderRotatorMagnitude.sliderValue
}© 2026 The Qt Company Ltd. Documentation contributions included herein are the copyrights of their respective owners. The documentation provided herein is licensed under the terms of the GNU Free Documentation License version 1.3 as published by the Free Software Foundation. Qt and respective logos are trademarks of The Qt Company Ltd. in Finland and/or other countries worldwide. All other trademarks are property of their respective owners.
