C
Quick Start Guide
Introduction
This guide will teach you how to create your first Qt 3D Studio project. Additionally it will explain the basics of assets, slides, layers, the timeline, components, sub-presentations and data input.
When you run Qt 3D Studio for the first time you will be greeted by the welcome screen.
Creating a New Project
On the welcome slide, click the Create New Project button to create a new project.
You can also create a new project after closing the welcome screen by selecting Create Project, or by selecting File > New > Project from the menu bar.
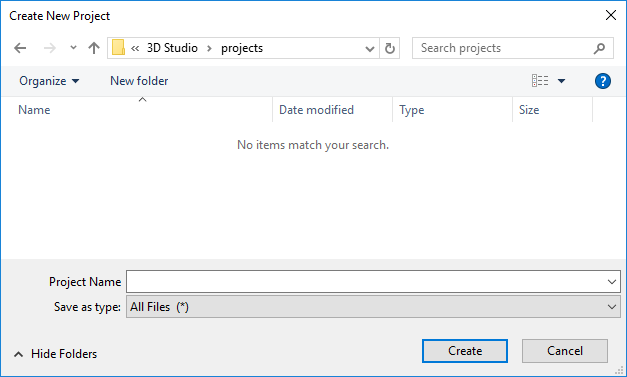
Then browse to the location in your file system where you want to create your project and give your project a name. Your project file (.uip) and project folder will be named accordingly. Inside the folder a pre-defined project folder structure is created.
Adding Assets
Create your 2D, 3D, and other assets in your favorite software and then use Qt 3D Studio to add them to your presentation.
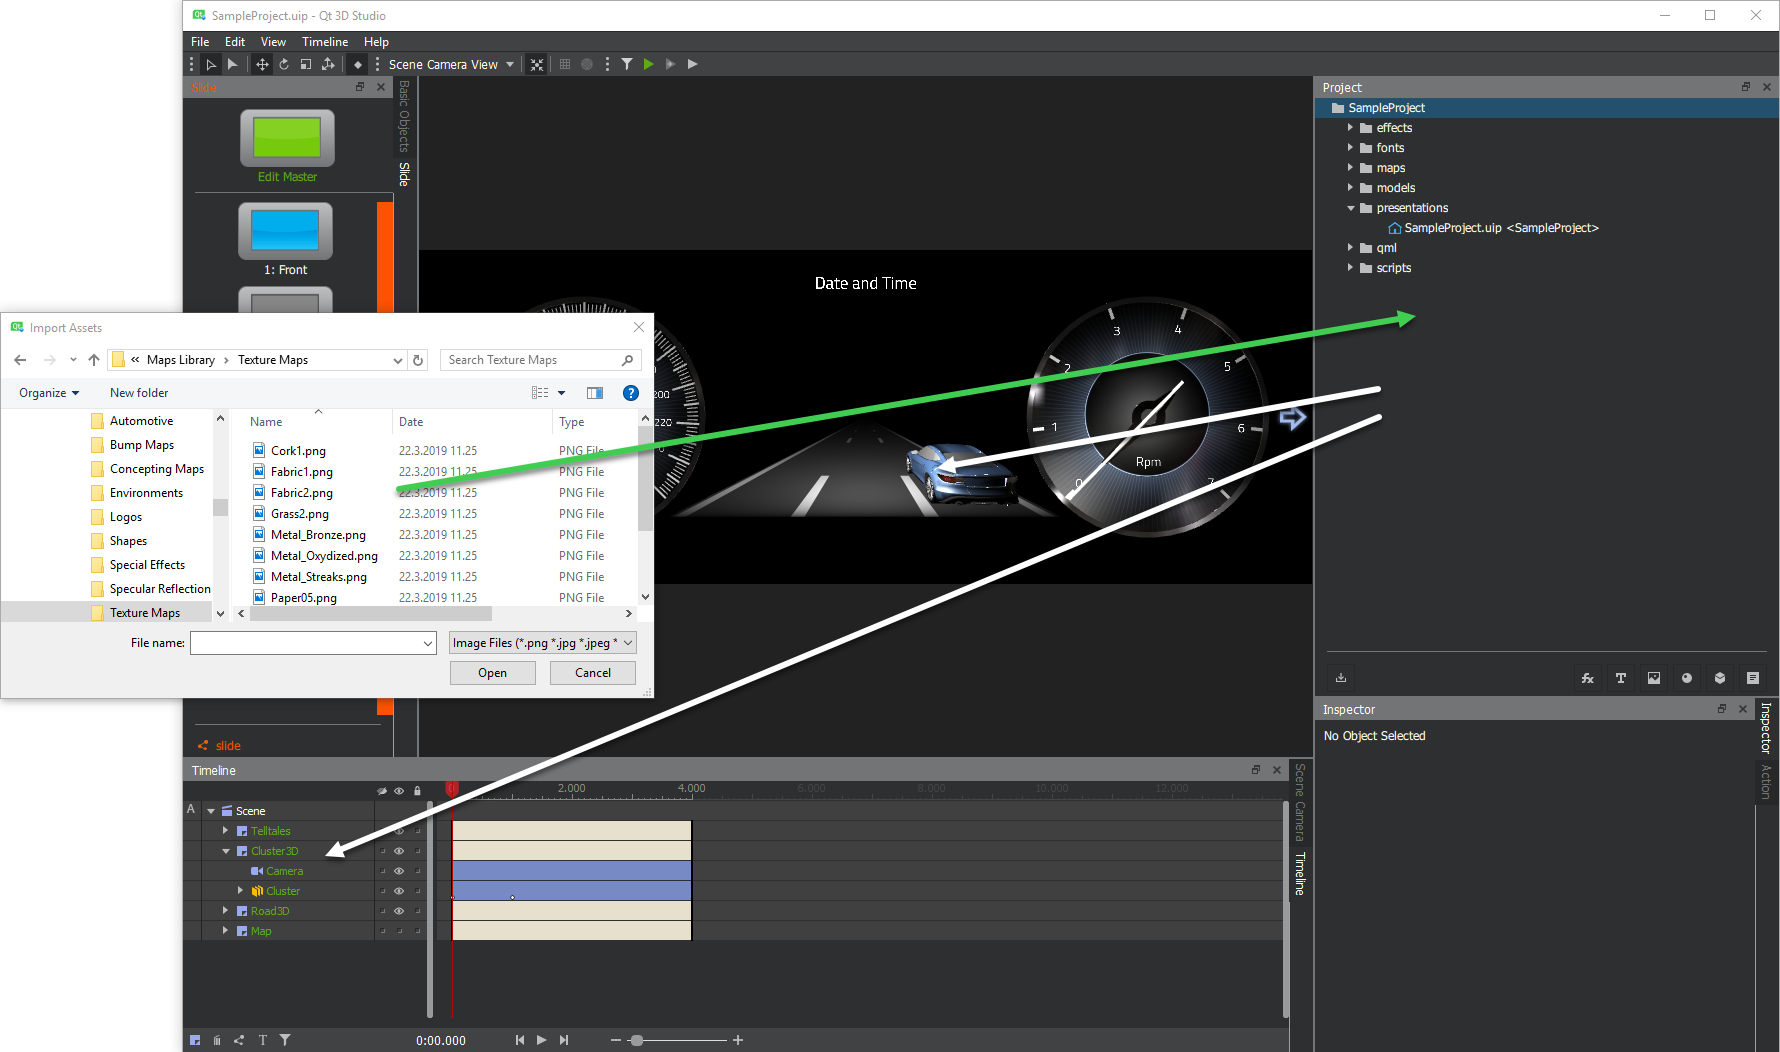
You can add new assets to your project by dragging the files from the file system to the project palette. Additionally, you can import assets by selecting File > Import Assets from the menu bar or by using the import assets icon in the project palette. Importing assets will create a copy of the file in the project folder structure. The original file will always remain untouched.
Once added to the project you can start using the assets by dragging them to either a layer in the timeline palette or to the scene view.
Sample Assets
You can access sample assets from the bottom of the project palette.

Clicking any of the icons will open corresponding sample asset library in the file system. Then, to add a sample asset to your project, select it and press Open. This will create a copy of the file in the project folder structure. The original file will always remain untouched.
Related Content
Working with Objects
Once added to the layer you can start working with your object.
Basic Properties
Clicking the object in the timeline palette will bring up the object basic properties in the inspector palette. The basic properties includes scaling, rotating and positioning of the object.
Material
By clicking the grey right arrow on the left side of the object name in the timeline palette you will toggle the visibility of the Material tab. Once visible you can click Material to show lighting and material properties for the object in the inspector palette. These properties includes object colors, textures and maps.

Creating groups
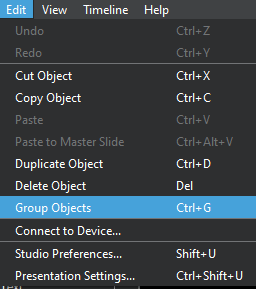
By selecting multiple objects and clicking Group Objects from Edit list or using a keyboard shortcut Ctrl+G you can create a group that contains the objects you had selected.
Related Content
Slides
Master Slide
Each scene and component has one master slide. Elements located on the master slide have their name displayed in green both in the timeline palette and the inspector palette. Elements placed on the master slide exist on all slides of that scene or component.
Slides
In addition to the master slide each scene and component in a project have one or more slides.
These slides can be thought of as states or transitions between states that show small changes or completely different views when moving between them.
Editing Slides
The active slide is displayed in a blue color while inactive slides are displayed in a grey color. You can make a slide active by clicking on it.
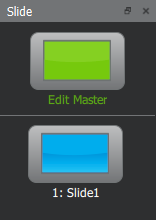
You can right-click a slide to perform the following commands:
New slideDuplicate slideDelete slide
To edit the master slide, click the Edit Master button.
You can change the play mode and initial play state properties for the active slide from the inspector palette.
Play Modes for Slide Transition
Play mode controls what happens when the playhead reaches the end time for the slide. The following options are available:
Stop at end- The playhead will stop at the end time. This is the default value.Looping- When reaching the end time, the playhead will jump to start time and start playing again.PingPong- When reaching the end time, the playhead will start playing backwards until reaching the start time again where it will start playing forward again.Ping- Similar toPingPongbut when the playhead returns to the start time it will stop.Play Through To- When reaching the end time, the scene or component will jump to another slide.

Initial Play State
This controls if the playhead should start playing immediately when entering the active slide.
Related Content
Layers and the Timeline Palette
The timeline palette provides direct access to all elements in your scene, including those not producing a visible result, and also gives you control over the animation and timing within a slide.
The timeline palette is comprised of two connected sections: the scene graph on the left side and the animation portion on the right side.
Elements and animated properties that are present on the master slide have their name displayed in green while elements that are only present on the current slide have their name displayed in light grey color.
The basic elements of the timeline palette are:
Time bars- Controls the life span of each element.Keyframe markers- Controls the timing of the animation.Eyeball icon- Controls visibility of elements in both the working area and in runtime.Shy icon- Controls visibility of elements in the timeline palette. Clicking the button at the top of this column will toggle the visibility of element rows marked as shy.
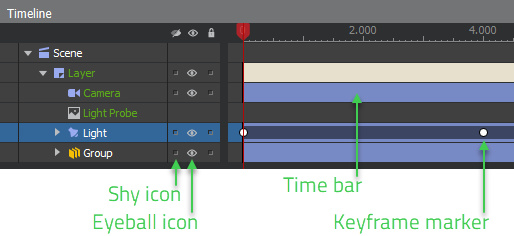
Add a Layer
You can create a new layer by clicking the layer icon  in the bottom part of the scene graph. Creating a new layer in your scene will add both a camera and a light to that new layer.
Related Content
Inspector Palette
The inspector palette is used to control the properties of slides, layers and other elements. You can control which properties should be animated or changed.
Properties that can be animated have a small stopwatch icon next to them in the inspector palette. Click the icon to enable/disable animation for the specific property. The icon is blue ![]() when animation is enabled and grey
when animation is enabled and grey ![]() when disabled.
when disabled.
If you want to animate or change the animation of an element that exists on the master slide, right-click the stopwatch icon and select Unlink Property from Master Slide. The name of the property will change from green to light grey and the change/animation will now only affect the active slide.
Related Content
Components
Components are like small scenes. A component has its own set of slides (including a master slide), assets on layers, and an independent timeline.
You can control transitions of components with the play mode and initial play state properties in the inspector palette.
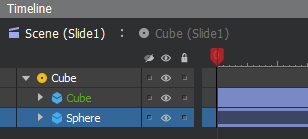
Create a Component
Right-click on an element or a group in the scene graph and choose Make Component from the context menu.
Edit a Component
To display and edit the content of a component, double-click the component icon ![]() in the timeline palette. The timeline and slide palette will switch to show the content of the component. To leave the component and return to the scene, click on the scene in the top bar of the layers palette.
in the timeline palette. The timeline and slide palette will switch to show the content of the component. To leave the component and return to the scene, click on the scene in the top bar of the layers palette.
Related Content
Sub-presentations
Parts of larger presentations can be authored as separate smaller presentations and embedded in a presentation either on a layer or as a texture on an object.
Also QML files can be embedded in a presentation. For example, create a 3D UI in Qt Design Studio, import it and add it as a sub-presentation.
Sub-presentations can be imported to your project just as any other asset. Once imported, you can add a sub-presentation to your scene by dragging and dropping it to the scene view or timeline palette. Additionally, you can add a sub-presentations by right-clicking a layer or a texture in the timeline palette and select Set Sub-presentation.

Related Content
Data Input
With data inputs, it is possible to control timeline animations, slide transitions and element properties using data.
First, define the data input by selecting File > Data Inputs from the menu bar.
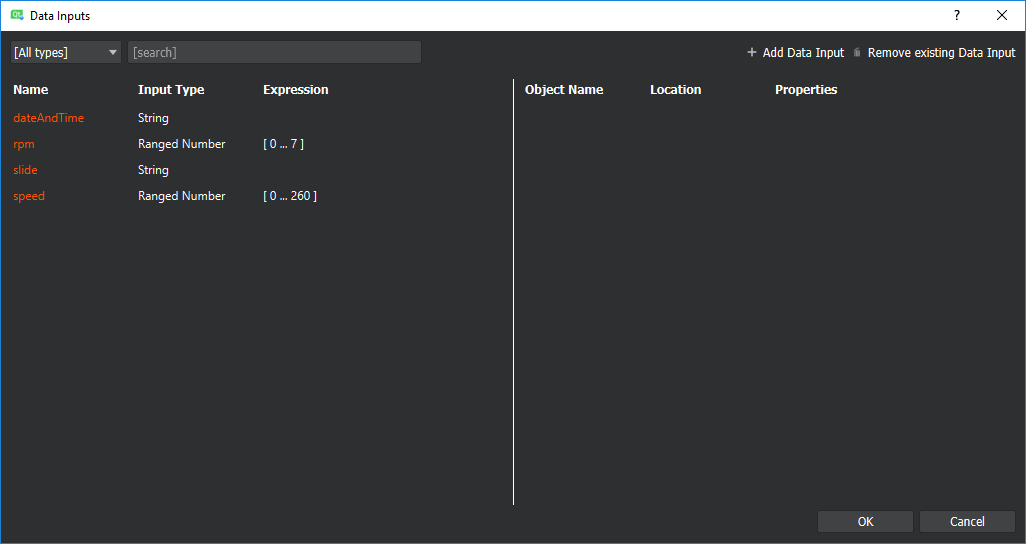
Next, select the element to control by clicking the ![]() icon.
icon.
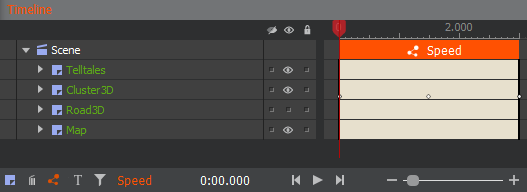
Orange colors indicate that data input is in use.
Related Content
Available under certain Qt licenses.
Find out more.
