
Qt Quick 3D - パーティクル 3D テストベッドの例
Qt Quick の「Particles3D」モジュールの使用方法を解説します。
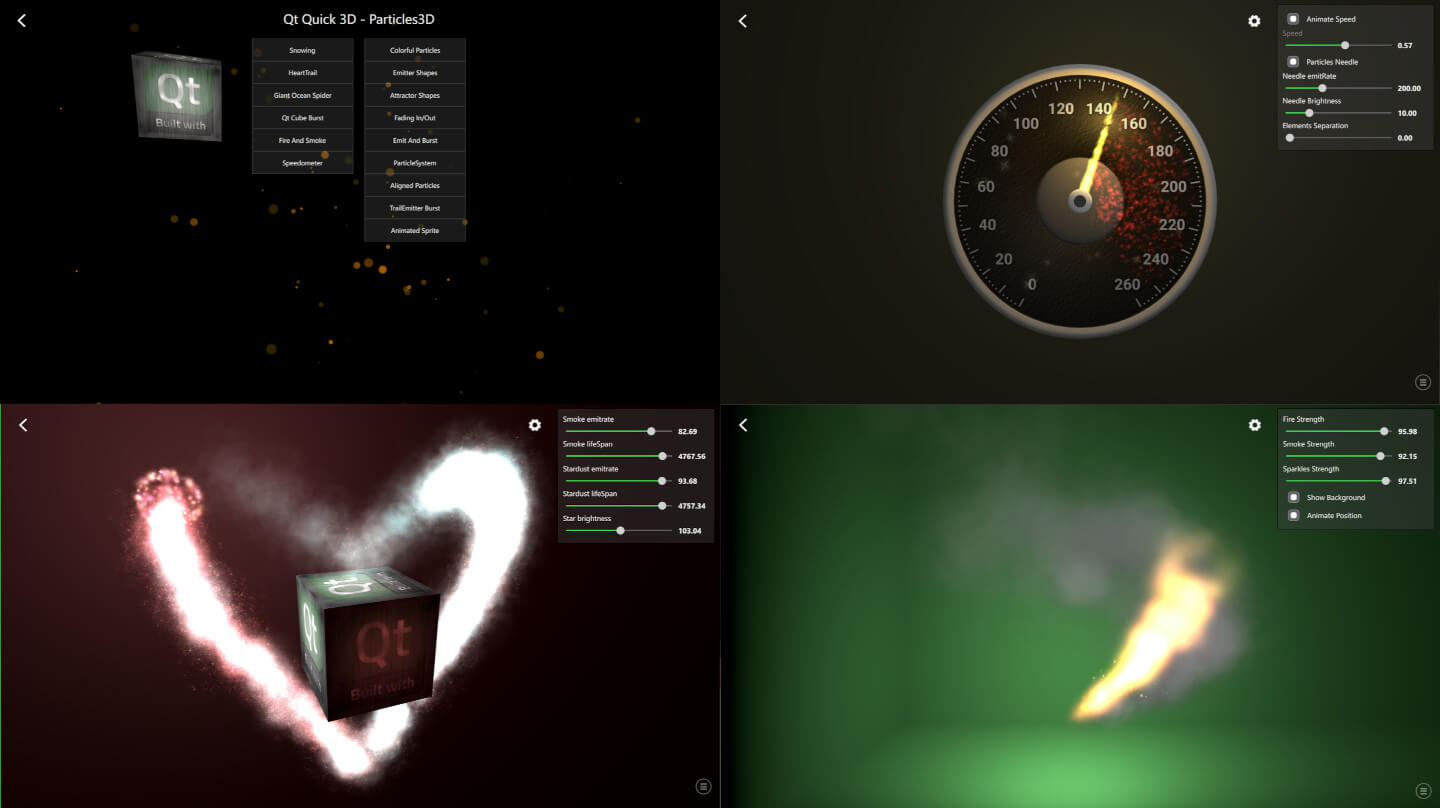
この例では、QtQuick3D.Particles3D モジュールの機能をさまざまな方法で活用する方法を示しています。「Particles Testbed」には一連のサンプルが含まれており、特定の機能を強調したものもあれば、望ましい外観を実現するために複数の機能を組み合わせたものもあります。
共通機能
Testbed内のサンプルには、いくつかの共通機能があります。サンプルを終了して起動画面に戻るには、左上隅にある戻る矢印を押してください。
各例の右下隅には、ロギングビューを開くアイコンがあります。このビューからは、パーティクルに関するさまざまなデバッグデータを確認できます。各ParticleSystem3D には、ParticleSystem3DLogging データを示す独自の行があります。

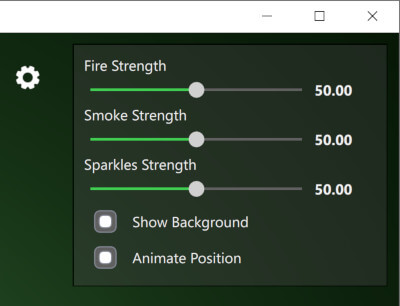
ほとんどの例の右上隅には設定ビューがあり、そのアイコンをクリックすることで表示・非表示を切り替えることができます。これらの設定は、個々のAPI機能やパーティクルシステムの動的な挙動を実証するのに役立ちます。
「Snowing」サンプル
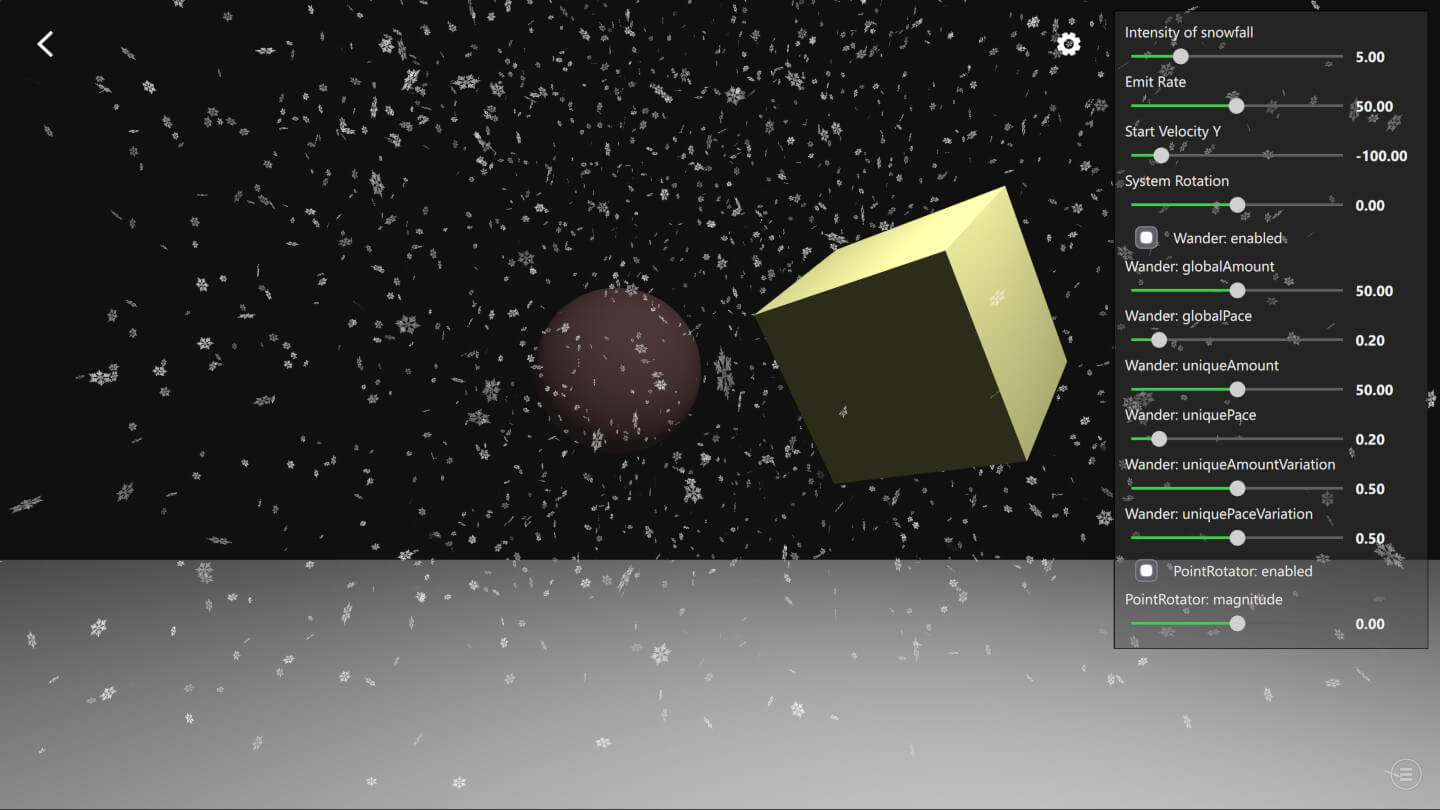
「Snowing」サンプルを見て、Particles3D の基本を学びましょう。
まず、次のステートメントでQtQuick3D.Particles3D モジュールをインポートします。
import QtQuick3D.Particles3DParticleSystem3D は、パーティクルシステムのルートであり、システムのタイミングを管理し、パーティクル、エミッター、アフェクターなどの関連するすべての要素をまとめています。
ParticleSystem3D {
    id: psystem

    // Start so that the snowing is in full steam
startTime: 15000次に、視覚的な2DテクスチャパーティクルであるSpriteParticle3D を作成します。3Dモデルパーティクルが必要な場合は、代わりにModelParticle3D を使用することもできます。最適なバッファサイズが割り当てられるように、maxAmount でパーティクルの数を定義することが重要です。ここでは、雪の結晶は白色で、不透明度が変化し、1000msかけてフェードイン・フェードアウトします。
SpriteParticle3D {
    id: snowParticle
    sprite: Texture {
        source: "images/snowflake.png"
    }
    maxAmount: 1500 * sliderIntensity.sliderValue
    color: "#ffffff"
    colorVariation: Qt.vector4d(0.0, 0.0, 0.0, 0.5);
    fadeInDuration: 1000
    fadeOutDuration: 1000
}次に、上記のsnowParticle で作成したパーティクルを放出するために、ParticleEmitter3D を使用します。shape プロパティは、パーティクルの放出が行われる領域を定義します。ここでは、雪の結晶の回転とサイズにバリエーションを持たせるように定義しています。velocity プロパティを使用すると、放出されるパーティクルの初期速度の方向を定義できます。各雪の結晶パーティクルの存続時間は15秒で、emiting rate は設定スライダーで制御されます。
ParticleEmitter3D {
    id: emitter
    particle: snowParticle
    position: Qt.vector3d(0, 1000, -350)
    depthBias: -100
    scale: Qt.vector3d(15.0, 0.0, 15.0)
    shape: ParticleShape3D {
        type: ParticleShape3D.Sphere
    }
    particleRotationVariation: Qt.vector3d(180, 180, 180)
    particleRotationVelocityVariation: Qt.vector3d(50, 50, 50);
    particleScale: 2.0
    particleScaleVariation: 0.5;
    velocity: VectorDirection3D {
        direction: Qt.vector3d(0, sliderVelocityY.sliderValue, 0)
        directionVariation: Qt.vector3d(0, sliderVelocityY.sliderValue * 0.4, 0)
    }
    emitRate: sliderEmitRate.sliderValue * sliderIntensity.sliderValue
    lifeSpan: 15000
}通常、パーティクルの動きをより面白くするために、いくつかのエフェクターも使用されます。この「Snowing」の例では、雪片が波打つような曲線を描いて飛ぶようにするために「Wander3D 」を使用し、風の強い天候をシミュレートするために「PointRotator3D 」を使用しています。
Wander3D {
    enabled: checkBoxWanderEnabled.checked
    globalAmount: Qt.vector3d(sliderWanderGlobalAmount.sliderValue, 0, sliderWanderGlobalAmount.sliderValue)
    globalPace: Qt.vector3d(sliderWanderGlobalPace.sliderValue, 0, sliderWanderGlobalPace.sliderValue)
    uniqueAmount: Qt.vector3d(sliderWanderUniqueAmount.sliderValue, 0, sliderWanderUniqueAmount.sliderValue)
    uniquePace: Qt.vector3d(sliderWanderUniquePace.sliderValue, 0, sliderWanderUniquePace.sliderValue)
    uniqueAmountVariation: sliderWanderUniqueAmountVariation.sliderValue
    uniquePaceVariation: sliderWanderUniquePaceVariation.sliderValue
}
PointRotator3D {
    enabled: checkBoxRotatorEnabled.checked
    pivotPoint: Qt.vector3d(0, 0, -350)
    direction: Qt.vector3d(0, 1, 0)
    magnitude: sliderRotatorMagnitude.sliderValue
}© 2026 The Qt Company Ltd. Documentation contributions included herein are the copyrights of their respective owners. The documentation provided herein is licensed under the terms of the GNU Free Documentation License version 1.3 as published by the Free Software Foundation. Qt and respective logos are trademarks of The Qt Company Ltd. in Finland and/or other countries worldwide. All other trademarks are property of their respective owners.
