Qt Quick 3D Xr

소개
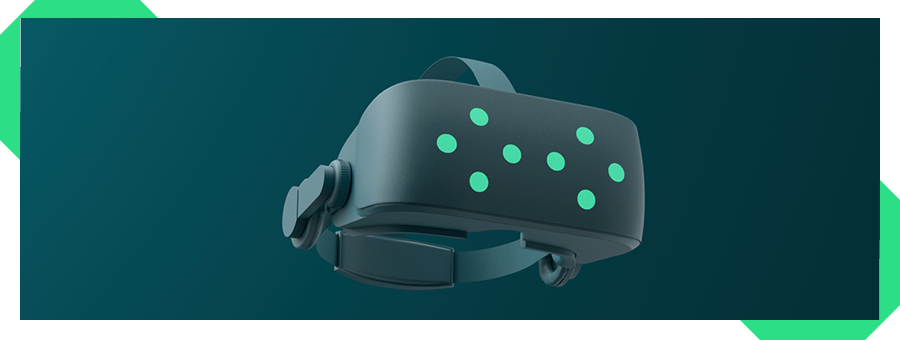
확장 현실(XR)은 가상 현실(VR), 증강 현실(AR), 혼합 현실(MR)을 포함하는 용어입니다. 이러한 기술은 주변 세계에 대한 사용자의 인식을 바꿀 수 있는 몰입형 경험을 만들어냅니다. Qt Quick 3D Xr 모듈은 다양한 디바이스와 플랫폼에서 Qt Quick 3D 으로 XR 애플리케이션을 개발하기 위한 API를 제공합니다.
Qt Quick 3D 와 Qt Quick 3D Xr 애플리케이션의 차이점
진입점
개발자의 관점에서 볼 때 Qt Quick 3D 와 Qt Quick 3D Xr 애플리케이션의 가장 큰 차이점은 장면의 진입점이며, 실제 단위와 추적 데이터를 인식하는 것이 필수적입니다.
Qt Quick 3D 에서 최소한의 애플리케이션은 카메라, 조명, 3D 모델로 구성됩니다. 이러한 요소의 위치와 크기는 씬의 좌표계에서 정의되며, 이는 임의적이고 개발자가 애플리케이션의 필요에 맞게 정의할 수 있습니다.
View3D {
    width: 1280
    height: 720

    PerspectiveCamera {
        position: Qt.vector3d(0, 200, 300)
    }

    DirectionalLight {
    }

    Node {
        id: sceneRoot
        Model {
            id: model
            position: Qt.vector3d(0, -200, 0)
            source: "#Cylinder"
            materials: [ PrincipledMaterial {
                    baseColor: "red"
            }]
        }
    }
}
XR 애플리케이션에서는 씬을 정의할 때 실제 단위와 트래킹 데이터를 고려해야 합니다. 카메라의 위치와 방향은 디바이스 또는 헤드 마운트 디스플레이(HMD)의 경우 사용자의 머리 위치 및 방향에 따라 정의됩니다. 씬의 단위는 현실 세계의 단위와 일치해야 합니다. 예를 들어 문이나 책상은 현실 세계와 가상 세계의 크기가 같아야 합니다.
참고: Qt Quick 3D Xr 애플리케이션의 엔트리 포인트는 View3D 이 아니라 XrView 입니다. 또한 XrOrigin 은 추적된 아이템이 배치되는 씬의 원점을 정의합니다.
XrView {
    DirectionalLight {
    }

    xrOrigin: XrOrigin {
        XrController {
            id: rightController
            controller: XrController.ControllerRight
        }
        XrController {
            id: leftController
            controller: XrController.ControllerLeft
        }
    }

    Node {
        id: sceneRoot
        Model {
            id: floor
            source: ":meshes/floor.mesh"
            materials: [ PrincipledMaterial {
                    baseColor: "green"
                }]
        }

        Model {
            id: table
            property real height: 0.7
            position: Qt.vector3d(0, height - 2.5, 0)
            source: ":meshes/table.mesh"
            materials: PrincipledMaterial {
                baseColor: "white"
            }
        }

        Model {
            id: monitor
            source: ":meshes/monitor.mesh"
            y: table.height
            XrItem {
                id: theScreen
                y: monitor.yOffset + height
                x: -width / 2
                width: monitor.width
                height: monitor.height
                contentItem: ScreenContent {}
            }
        }
    }
}
추가 CMake 함수
모든 Qt Quick 3D Xr 예제의 CmakeLists.txt 파일에서 볼 수 있듯이 프로젝트의 최상위 CMakeLists 파일에 몇 가지 함수를 추가해야 합니다.
사용자 정의 AndroidManifest.xml 를 지정하고 프로젝트의 CMakeLists 파일에 이 줄을 추가하여 사용되도록 합니다:
if(ANDROID)
    set_property(TARGET xr_simple APPEND PROPERTY QT_ANDROID_PACKAGE_SOURCE_DIR ${CMAKE_CURRENT_SOURCE_DIR}/android)
endif()
AndroidManifest.xml 설정에 대한 자세한 내용은 메타 퀘스트 시작하기 3 페이지의 관련 섹션을 참조하세요.
CMakeLists.txt 변경 사항은 MacOSXBundleInfo.plist.in 파일이 포함된 비전OS에도 적용됩니다:
if (APPLE AND CMAKE_SYSTEM_NAME STREQUAL "visionOS")
    set_target_properties(xr_simple PROPERTIES
        MACOSX_BUNDLE_GUI_IDENTIFIER io.qt.xr_simple
        MACOSX_BUNDLE_INFO_PLIST ${CMAKE_CURRENT_SOURCE_DIR}/visionos/MacOSXBundleInfo.plist.in
    )
endif()
이제 어디로 가야 하나요?
특정 기기에서 시작하는 방법에 대한 자세한 내용은 메타 퀘스트 3 시작하기 또는 Apple Vision Pro 시작하기를 참조하세요. 지원되는 플랫폼 및 디바이스에 대한 자세한 내용은 지원되는 플랫폼 페이지를 참조하세요.
특정 Qt Quick 3D Xr API를 찾고 있다면 API Reference 을 참조하거나 Qt Quick 3D Xr 예제 중 하나에서 Qt Quick 3D Xr API를 사용하는 방법을 살펴보세요.
빠른 링크
| 플랫폼 및 툴체인 | 시작하기 | API 참조 |
| 예제 | 툴 및 IDE | XR 애플리케이션 개발 |
© 2025 The Qt Company Ltd. Documentation contributions included herein are the copyrights of their respective owners. The documentation provided herein is licensed under the terms of the GNU Free Documentation License version 1.3 as published by the Free Software Foundation. Qt and respective logos are trademarks of The Qt Company Ltd. in Finland and/or other countries worldwide. All other trademarks are property of their respective owners.

