Applying Effects to Transitions
You can apply effects, such as fade, move, or push, to transitions between flow items. A fade effect makes the first flow item appear to fade out, while the next flow item fades in. A move effect makes the second flow item appear to move in over the first flow item. The push effect makes a flow item appear to push out the previous one. You can also use your own custom effects that you have created with some other tool.
The transition direction determines the direction the new flow item appears from: left, right, top, bottom. You can set the duration of the effect and attach an easing curve to the effect.
To add effects:
- Select a transition line in the 2D view.
- Right-click the transition line to open the context menu, select Flow > Flow Effects, and then select the effect to apply.
- In Properties, modify the properties of the effect.
To edit effect properties later, select a transition, open the context menu, and then select Flow > Select Effect.
To use your own custom effects, select a transition, open the context menu, and then select Flow > Flow Effects > Assign Custom FlowEffect. Then specify the path to your custom effect file.
To remove the current effect from a transition, select a transition, open the context menu, and then select Flow > Flow Effects > Assign FlowEffect None.
Flow Effect Properties
Specify basic properties for a Flow Effect component in the Type and ID fields in the Component section in the Properties view.
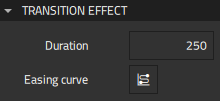
Set the duration and easing curve of flow effects in the Transition Effect section:
- In the Duration field, specify the duration of the effect.
- Select the
 button to open Easing Curve Editor to attach an easing curve to the effect.
Set some additional properties for a move or push effect in the Push Effect or Move Effect section:
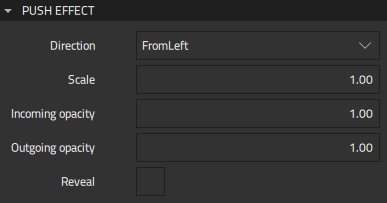
- In the Direction field, specify the direction that the target Flow Item appears from: left, right, top, or bottom.
- In the Scale field, set scaling for the effect.
- In the Incoming opacity and Outgoing opacity fields, specify the opacity of the effect as a number between 0 and 1.
- Select the Reveal checkbox to reveal the Flow Item where the transition starts.
Available under certain Qt licenses.
Find out more.
