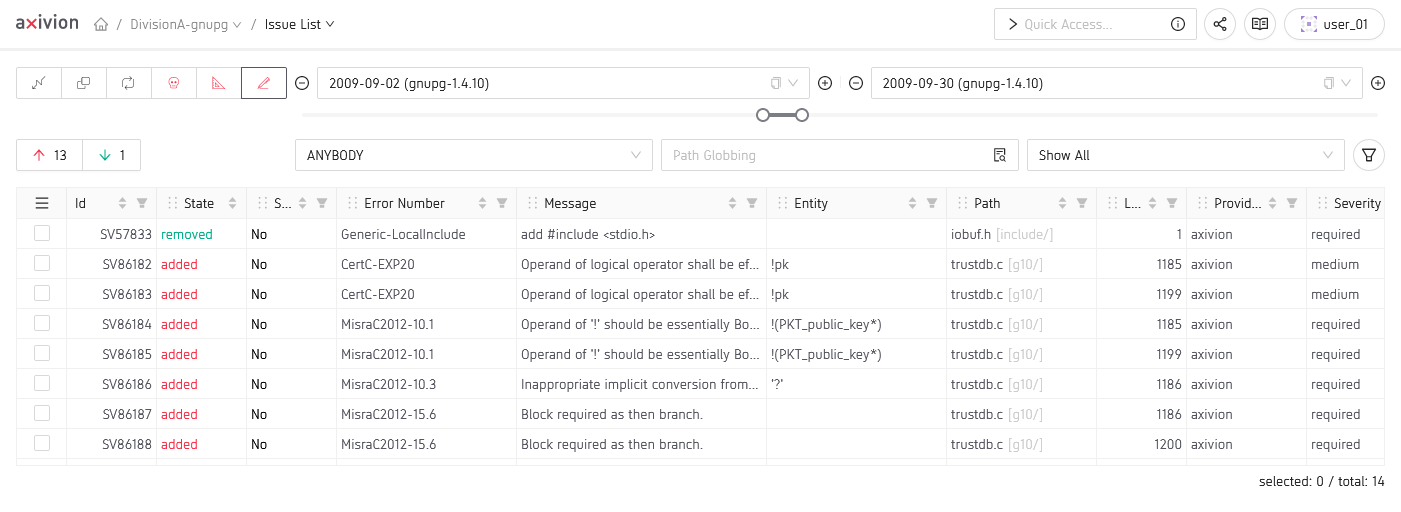
In the IssueTable view each table row represents an Issue.
The details of an issue,
i.e. source code, explanations, timeline and annotations
can be opened by clicking on the table row.
Note
Since dashboard version 7.3.0 a left-click on a rows content no longer opens
the details in a new tab. This can still be achieved by using the middle
mouse button or ctrl + shift + left-click to open it in an active tab.
Each of the six different Issue Kinds has its own specific table
columns, but some of them are equally or similarly available on all issue kinds and
they are shown here with a brief description and hints relevant for understanding
them from a user perspective.
See here
for the complete list of common and issue kind specific column from a more technical
perspective.
Id
every issue has a kind-unique ID identifying it and that can be used to
quickly access the issue via the navigation bar.
Whether or not an issue should be hidden by default in the Dashboard.
See here for more.
Error Number
some but not all issue kinds have an Error Number referring
to the Rule that detected them.
Most commonly used for dividing large numbers
of issues into smaller bunches with similar properties to work with.
Path
This column is called slightly different depending on the issue kind and there may
be more than one but usually it refers to where in the
sourcecode the issue was found. Also note the special
Path Filter that simplifies the common
usecase of filtering by source location.
Owners
Dashboard users associated with the issue in various, configurable ways and
filterable via the User Selector. See
here for more information.
Justification
A small text describing why an issue is tolerated instead of being fixed.
See here for more.
You can select the issue kind you want to inspect in the
IssueKindSelector on the upper left corner of the toolbar.
As mentioned before, each of the 6 different issue kinds has its own specific table
columns, i.e. when you choose a different issue kind in the IssueKindSelector
the table columns will change in addition to the table contents.
Note, how some of the Issue Kind icons are colored in red.
This gives an indication on whether there might be added issues for the selected kind
in the current version selection.
Beside the Issue Kind Selector, there are some more handles you can adjust in order to
influence what issues and how they are displayed.
View issues added and removed between two analyzed versions (aka Delta)
You can change between them by using the left version selector.
If it points to EMPTY you’ll see the issues active in the version indicated
by the right version selector. Otherwise you’ll see the issues that exist in the
right version but didn’t in the left version as well as the issues that existed in the
left version but don’t exist any more in the right version, i.e. the issue delta.
The two arrow symbols in the toolbar can be used to
show only Added or only
Removed issues.
In any case, they sum up the total number of Added and Removed issues for the
current filter settings. Note, that when not showing a delta, i.e. the left
VersionSelector points to EMPTY there will never be any Removed issues
and all issues are considered being newly Added.
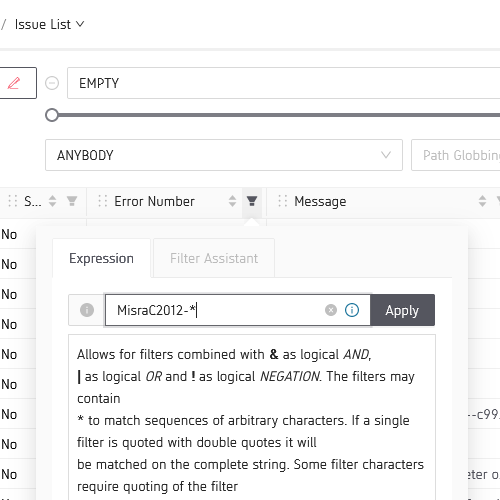
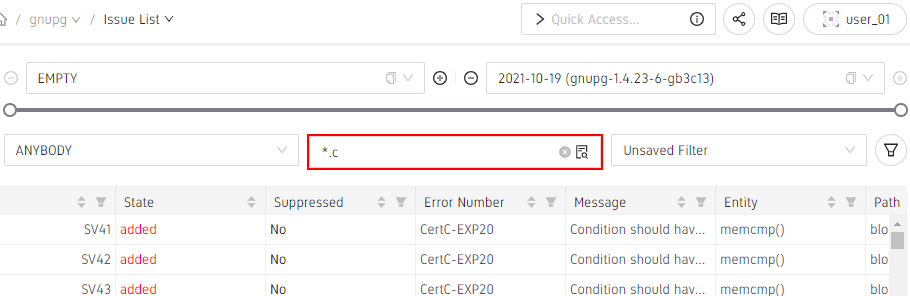
Simply put, the filter expressions are case-insensitive substring filters that also
accept * as a wildcard matcher but the expressions also accepts logical
combinations.
You may want to consult this for advanced
usecases or check out the Filter Assistant.
You can sort the table by most of the available table columns.
In order to achieve that, you can click on the small sorting icons that are shown
on the sortable columns. Multiple clicks will alternate between the available
sorting modes of a column.
If you want to sort the table by multiple columns, the sorting icons must be
shift-clicked in the order from the most important to least important column.
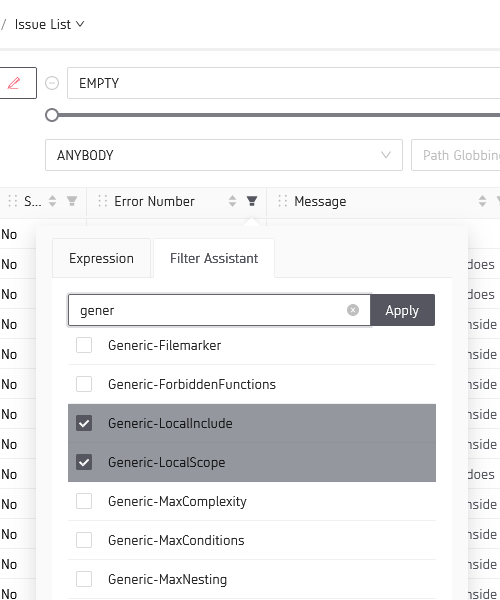
For column filtering on many columns there also exists an alternative way of providing
filter expressions that especially comes in handy when filtering for multiple, possibly
very different column values, e.g. different ErrorNumbers that shall be looked at
with priority. It works by showing a
List of available choices to choose
from and allows for combining them to filter for multiple exact values at once.
As the Listofavailablechoices can be quite long itself, it can be filtered too
with a simple substring filter.
The multiple choice column filter assistant in action.
The issues matching the currently selected criteria can be exported as CSV file
(e.g. for postprocessing in Microsoft Excel) by clicking the option DownloadCSV from the Table Menu. You may need to
configure the CSV separator character as the
correct one cannot always be determined automatically.
Administrators can also configure
the global preset for this user specific configuration option.
They also have the option to enable a special CSV header explicitly specifying the
separator to use at the beginning of the file. This option is disabled by default
as it is non-standard and to date only supported by Microsoft Excel and newer versions
of LibreOffice.

 in the upper left corner of the table.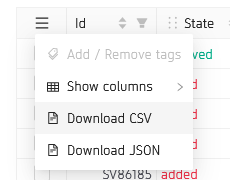
 or only
 issues.