
スクリーンショットの例
画面またはウィンドウのキャプチャ。
「画面キャプチャ」では、QScreenCapture およびQWindowCapture を使用して画面やウィンドウをキャプチャする方法を示しています。この例では、画面とウィンドウのリストを表示し、QMediaCaptureSession およびQVideoWidget を使用して、選択された項目のライブプレビューを表示します。キャプチャの開始と停止は、button で行えます。
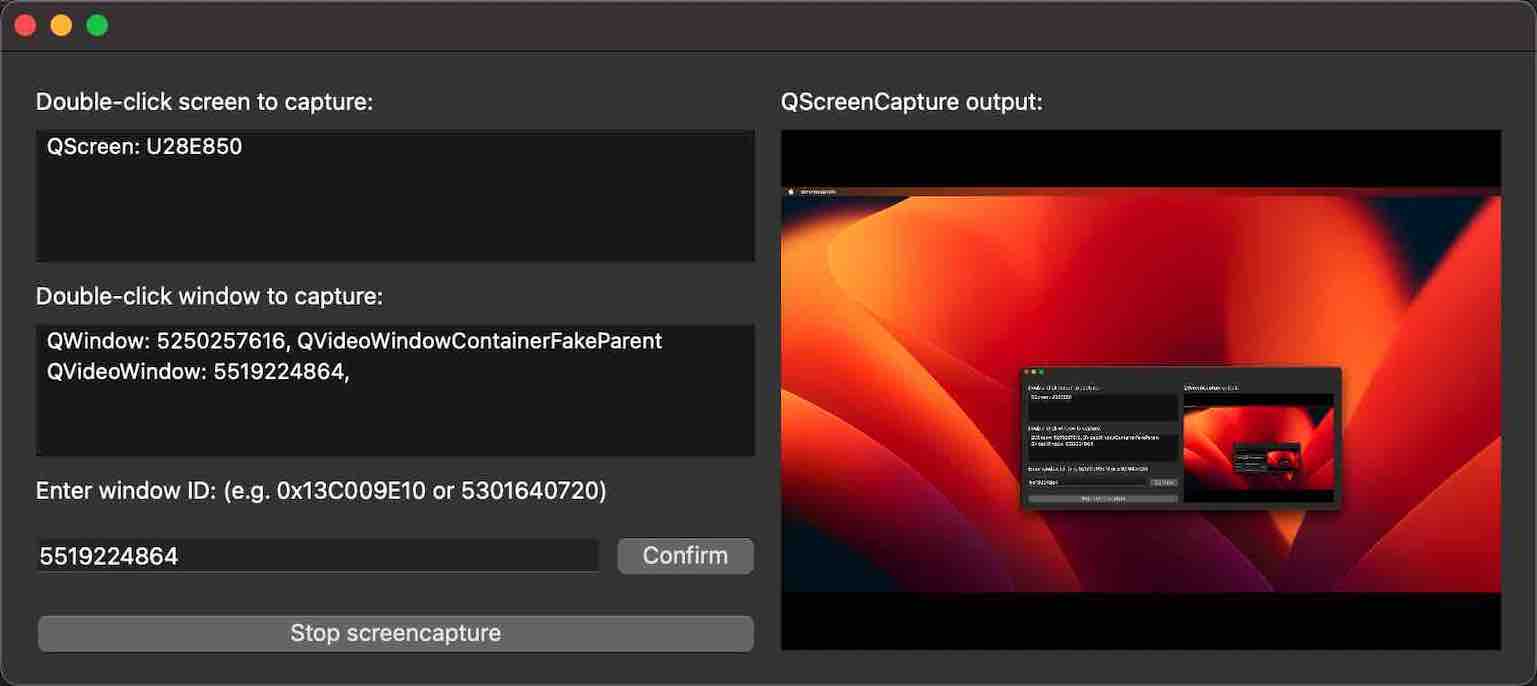
例の動作
このサンプルは、以下の手順で実行できます。
- Qt Creator
Welcome モードを開き、「Examples 」からこのサンプルを選択します。詳細については、「Qt Creator: チュートリアル: ビルドと実行」を参照してください。
- Qt Extension for Visual Studio Code
Command Palette から `Qt: Open Qt examples ` コマンドを実行し、リストからサンプルを選択します。詳細については、Qt Extension for Visual Studio Code の「チュートリアル:ビルドと実行」を参照してください。
アプリケーションの構造
このサンプルは、3つのカスタムクラスで構成されています。 UI およびすべてのスクリーンキャプチャ機能は、ScreenCapturePreview クラスで実装されています。ScreenListModel クラスと WindowListModel クラスは、2 つのQListView ウィジェットの背後にあるモデルとしてのみ機能します。main 関数は ScreenCapturePreview オブジェクトを作成し、そのオブジェクトがQScreenCapture およびQWindowCapture のインスタンス、ならびにQMediaCaptureSession およびQVideoWidget のインスタンスを、すべての UI ウィジェットに加えて作成します。
画面モデルとウィンドウモデルには、それぞれQGuiApplication::screens()およびQWindowCapture::capturableWindows()の戻り値が設定されます。
リスト項目が選択されると、setScreen() によってQScreenCapture オブジェクトに、あるいはsetWindow() によってQWindowCapture オブジェクトに接続されます。キャプチャオブジェクトは、setScreenCapture() およびsetWindowCapture() によって、それぞれQMediaCaptureSession オブジェクトに接続されます。 キャプチャセッションは、setVideoOutput() によってQVideoWidget オブジェクトに接続されます。これにより、キャプチャ出力が UI の右側にあるビデオウィジェットでプレビューされます。
開始/停止ボタンは、QScreenCapture::start() およびQScreenCapture::stop()、あるいはQWindowCapture::start() およびQWindowCapture::stop() を呼び出します。
errorOccurred シグナルが発信されると、QMessageBox がポップアップ表示されます。
© 2026 The Qt Company Ltd. Documentation contributions included herein are the copyrights of their respective owners. The documentation provided herein is licensed under the terms of the GNU Free Documentation License version 1.3 as published by the Free Software Foundation. Qt and respective logos are trademarks of The Qt Company Ltd. in Finland and/or other countries worldwide. All other trademarks are property of their respective owners.
