
QOpenGLWidget 立体表示の例
この例では、立体表示に対応した最小限のQOpenGLWidget ベースのアプリケーションを作成する方法を示します。
注: 立体レンダリングのサポートには 、立体表示対応のグラフィックカード、3Dメガネ、特定のモニターなど、一定のハードウェア要件があります。
注:この サンプルでは、2つの画像を2つの別々のバッファにレンダリングします。3Dメガネを通してこれらの画像を見ると、3Dホログラフィック効果が得られます。
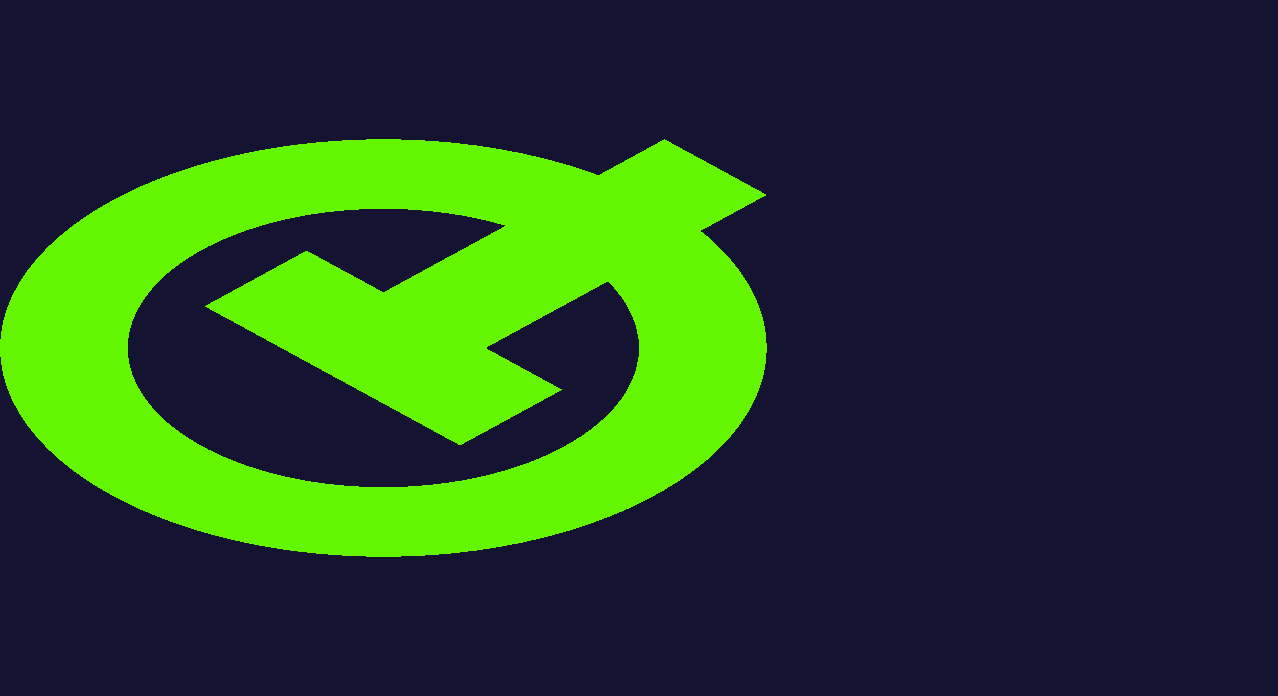
上の画像は、左側のバッファにレンダリングされるものです。
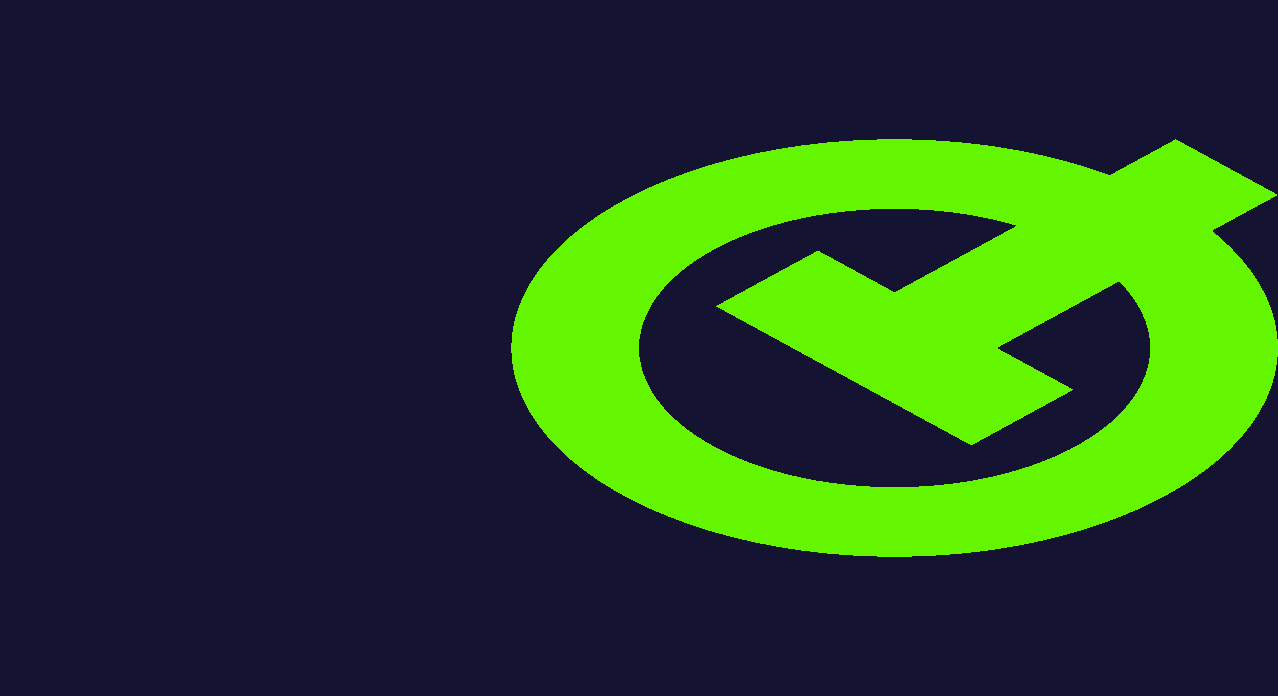
上の画像は、右側のバッファにレンダリングされるものです。
正しいサーフェスフラグの設定
立体レンダリングを有効にするには、フラグ `QSurfaceFormat::StereoBuffers ` をグローバルに設定する必要があります。このフラグの内部的な処理の仕組み上、ウィジェット上で設定するだけでは不十分です。最も安全な方法は、アプリケーションの起動前に `QSurfaceFormat::SetDefaultFormat` を使用して設定することです。
QSurfaceFormat format;
format.setDepthBufferSize(24);
format.setStencilBufferSize(8);

// Enable stereoscopic rendering support
format.setStereo(true);

QSurfaceFormat::setDefaultFormat(format);
2回のレンダリング
QSurfaceFormat::StereoBuffers が設定されると、paintGL()は各バッファごとに1回ずつ、計2回呼び出されます。paintGL()内では、currentTargetBuffer()を呼び出すことで、現在アクティブなTargetBufferを照会できます。
以下のスニペットでは、頂点が重ならないようにマトリックスをわずかに平行移動させています。これは、必要なサポートが実装されていれば、実行時に左側と右側にそれぞれ1つずつ、計2つのオブジェクトが表示されることを確認するための単純な例です。
// Slightly translate the model, so that there's a visible difference in each buffer.
QMatrix4x4 modelview;
if (currentTargetBuffer() == QOpenGLWidget::LeftBuffer)
    modelview.translate(-0.4f, 0.0f, 0.0f);
else if (currentTargetBuffer() == QOpenGLWidget::RightBuffer)
modelview.translate(0.4f, 0.0f, 0.0f);© 2026 The Qt Company Ltd. Documentation contributions included herein are the copyrights of their respective owners. The documentation provided herein is licensed under the terms of the GNU Free Documentation License version 1.3 as published by the Free Software Foundation. Qt and respective logos are trademarks of The Qt Company Ltd. in Finland and/or other countries worldwide. All other trademarks are property of their respective owners.
