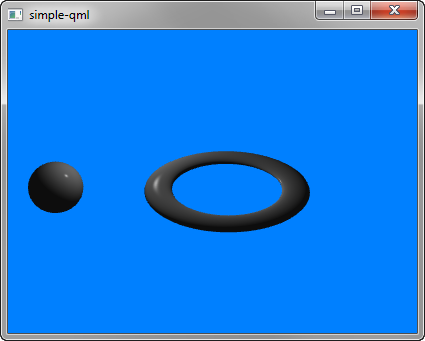
Qt 3D:簡単なQMLの例
Qt 3D でシーンをレンダリングする方法を示すQMLアプリケーション。

Simpleは、Qt 3D でシーンをレンダリングする方法を示します。
例の実行
から例を実行するには Qt Creatorからサンプルを実行するには、Welcome モードを開き、Examples からサンプルを選択します。詳細については、Qt Creator:Tutorialを参照してください:ビルドと実行を参照してください。
シーンのセットアップ
シーン全体をmain.qmlファイルでセットアップする。
Q3DとQ3D Renderモジュールの型を使うために、モジュールをインポートする必要がある:
import Qt3D.Core 2.0
import Qt3D.Render 2.0
最初に作成するエンティティはCamera で、これは最終的なレンダリングに使われるカメラを表し、カメラ・コントローラはキーボードやマウスを使ってこのカメラをコントロールすることができる:
Camera {
    id: camera
    projectionType: CameraLens.PerspectiveProjection
    fieldOfView: 45
    aspectRatio: 16/9
    nearPlane : 0.1
    farPlane : 1000.0
    position: Qt.vector3d( 0.0, 0.0, -40.0 )
    upVector: Qt.vector3d( 0.0, 1.0, 0.0 )
    viewCenter: Qt.vector3d( 0.0, 0.0, 0.0 )
}
RenderSettings エンティティは、アクティブなフレームグラフとしてForwardRenderer を指定します:
components: [
    RenderSettings {
        activeFrameGraph: ForwardRenderer {
            clearColor: Qt.rgba(0, 0.5, 1, 1)
            camera: camera
            showDebugOverlay: true
        }
    },
    // Event Source will be set by the Qt3DQuickWindow
    InputSettings { }
]
イベントソースは Qt3DQuickWindow によって設定されます:
InputSettings { }© 2025 The Qt Company Ltd. Documentation contributions included herein are the copyrights of their respective owners. The documentation provided herein is licensed under the terms of the GNU Free Documentation License version 1.3 as published by the Free Software Foundation. Qt and respective logos are trademarks of The Qt Company Ltd. in Finland and/or other countries worldwide. All other trademarks are property of their respective owners.

