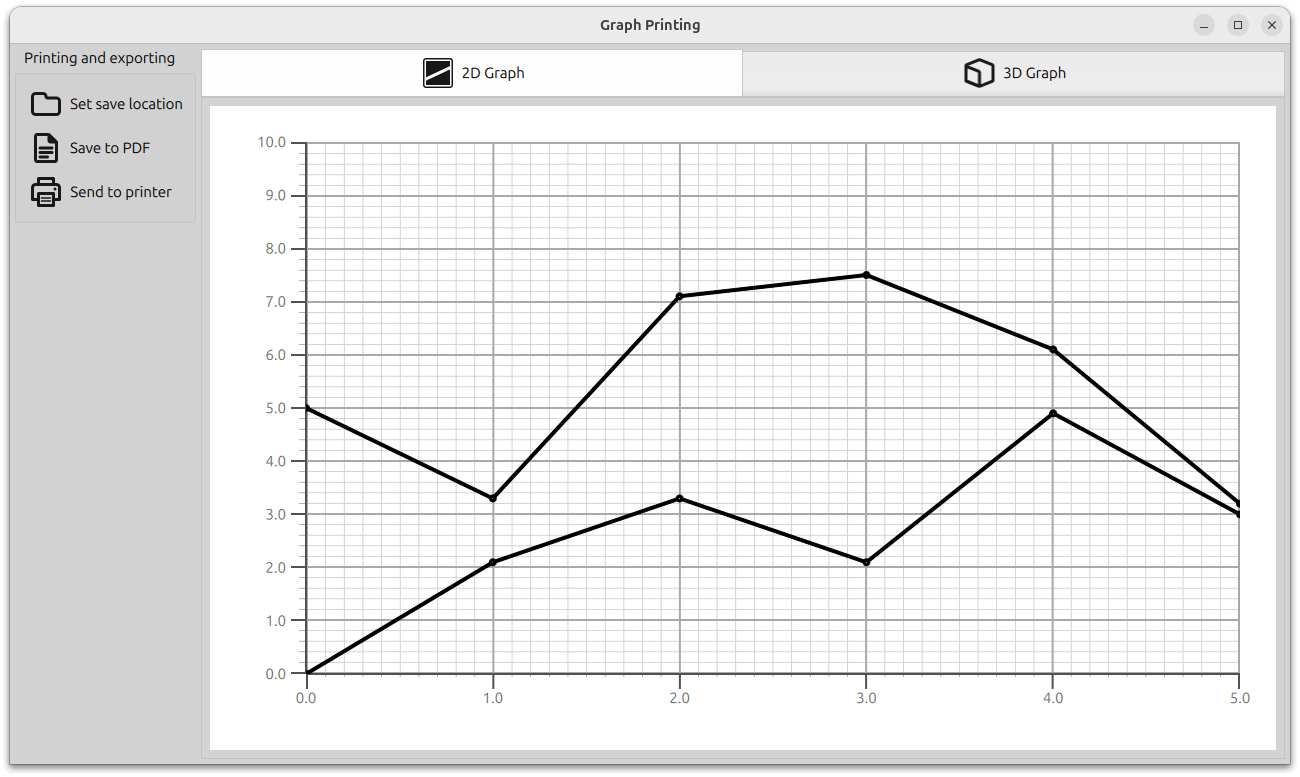
グラフ印刷
2Dまたは3Dグラフの印刷
グラフ印刷の例では、2Dおよび3Dのグラフを印刷またはPDFにエクスポートする方法を示します。
例を実行する
から例を実行するには、 モードを開き、 から例を選択します。 Qt Creatorからサンプルを実行するには、Welcome モードを開き、Examples からサンプルを選択します。詳細については、Qt Creator:Tutorialを参照してください:ビルドと実行
GraphPrinter クラス
印刷機能はGraphPrinter クラスに実装されています。このクラスは以下の関数を公開しています:
generatePDF関数は次のように動作します。- 出力PDFファイルをセットアップします。
この関数は、QPdfWriter を、指定されたフォルダを指す "graph.pdf" ファイルでインスタンス化します。この関数はまた、書き出されるPDFファイルのオプション(タイトル、解像度、ページサイズ、余白)を指定します。
const QFile file = QFile(path.toLocalFile() + QStringLiteral("/graph.pdf"));

QPdfWriter writer(file.fileName());
writer.setResolution(90);
writer.setTitle("Graph");
writer.setPageSize(QPageSize(image.size()));
writer.setPageMargins(QMarginsF(0, 0, 0, 0));
writer.newPage();
- 画像処理を設定。
この関数は、以前に作成されたQPdfWriter を参照してQPainter を作成します。
グラフが正しく印刷されるように、元のアスペクト比のままペインターのビューポートサイズに拡大縮小されます。
ペインターのレンダリングヒントは,ロスレス画像レンダリングに設定されます.この後、関数は画像をPDFファイルに描画します。
この関数は、エクスポートされたファイルへのフルパスを含む、アプリケーションのメッセージダイアログに表示されるステータスメッセージを返します。
- 出力PDFファイルをセットアップします。
getPrinters関数は、利用可能なプリンタのリストを返します。QStringList GraphPrinter::getPrinters() { return QPrinterInfo::availablePrinterNames(); }
print関数はgeneratePDF関数と同様に動作しますが、QPrinter インスタンスを参照するQPainter を作成します:QString GraphPrinter::print(const QImage &image, const QString printerName) { QPrinterInfo printInfo = QPrinterInfo::printerInfo(printerName); if (printInfo.isNull()) return QLatin1String("%1 is not a valid printer").arg(printerName); QPrinter printer(printInfo, QPrinter::HighResolution); printer.setOutputFormat(QPrinter::NativeFormat); QPainter painter(&printer); const QImage finalImage = image.scaled(painter.viewport().size(), Qt::KeepAspectRatio); painter.setRenderHint(QPainter::LosslessImageRendering); painter.drawImage(finalImage.rect(), finalImage); return QLatin1String("Printed to %1").arg(printerName); }
この関数は、アプリケーションのメッセージダイアログに表示されるステータスメッセージを返します。
アプリケーションのセットアップ
アプリケーションのセットアップコードに加えて、main.cpp ファイルには、GraphPrinter クラスの新しいインスタンスを作成し、QML コードからアクセスできるようにするコードが含まれています。
GraphPrinter graphPrinter;
viewer.rootContext()->setContextProperty("graphPrinter", &graphPrinter);
レイアウトと画像キャプチャのセットアップ
2Dと3DのグラフはStacklayoutにレイアウトされます。ユーザはTabBarを使って移動することができます。
TabBar {
    id: tabBar
    anchors.left: parent.left
    anchors.right: parent.right

    TabButton {
        text: "2D Graph"
        implicitHeight: 48
        icon.source: checked ? "flatten_square_fill.svg" : "flatten.svg"
        icon.height: 36
        icon.width: 36
    }

    TabButton {
        text: "3D Graph"
        implicitHeight: 48
        icon.source: checked ? "box_left_fill.svg" : "box_left.svg"
        icon.height: 36
        icon.width: 36
    }
}
Frame {
    id: tabFrame
    anchors.left: parent.left
    anchors.right: parent.right
    anchors.top: tabBar.bottom
    anchors.bottom: parent.bottom

    StackLayout {
        id: stackLayout

        anchors.fill: parent
        currentIndex: tabBar.currentIndex

        Graph2D {
            id: linegraph
        }

        Graph3D {
            id: bargraph
        }
    }
}
FolderDialogコンポーネントは、エクスポートされたファイルを保存するフォルダを選択するために使用されます。このコンポーネントはアプリケーションレイアウトでは視覚的に表示されませんが、APIは現在のQMLファイルからアクセスできます。
 ボタンを押すと、フォルダダイアログが表示されます。
FolderDialog {
    id: dialog
    property bool folderset: false
    onAccepted: {
        folderset = true
        message.title = "Folder Set"
        message.text = "Folder set to " + selectedFolder.toString().replace(/^(file:\/{3})/, "")
        message.open()
    }
}
...
Button {
    id: setFolderButton
    ...
    onClicked: dialog.open()
}
プリンターを選択するためのカスタム印刷ダイアログが作成され、 ボタンで呼び出されます。ダイアログは利用可能なプリンタのリストを取得し、リストビューに表示します。
Dialog {
    id: printerDialog
    anchors.centerIn: parent
    contentHeight: printerListView.height
    contentWidth: printerListView.width

    title: qsTr("Available Printers")
    modal: true

    onOpened: {
        printerModel.clear()
        var printers = graphPrinter.getPrinters()
        printers.forEach((x, i) => printerModel.append({
                                                           "name": x
                                                       }))
    }
...
contentItem: Rectangle {
    id: printerItem
    height: printerListView.height
    width: printerListView.width
    color: mainView.item.theme.plotAreaBackgroundColor

    ListView {
        id: printerListView
        height: 100
        width: 200
        clip: true

        model: printerModel
        delegate: printerDelegate
        highlight: Rectangle {
            color: mainView.item.theme.grid.subColor
        }
    }
}
フォルダがすでに選択されている場合は、 ボタンで PDF エクスポートが開始されます。
PDF 書き出 し か印刷のいずれかが ト リ ガ さ れ る と 、 以下の コ ー ド が実行 さ れます:
grabToImageメソッドを使って画像をキャプチャ。現在のグラフは、現在のインデックスのStacklayoutのアイテムです。grabToImageパラメータで、GraphPrinterクラスのgeneratePDFまたはprint関数としてコールバックを指定します。PDFエクスポート:
onPressed: {
    if (!dialog.folderset) {
        message.title = "No Folder Set"
        message.text = "Please select folder first"
        message.open()
    } else {
        mainView.prepareForPrint()
        mainView.item.grabToImage(function (result) {
            message.title = "Save PDF"
            message.text = "PDF saved to " + graphPrinter.generatePDF(
                        dialog.currentFolder, result.image)
            message.open()
        }, mainView.outputsize)
    }
}

onReleased: {
    mainView.cleanAfterPrint()
}
印刷:
onAccepted: {
    var selectedPrinter = printerModel.get(printerListView.currentIndex)
    mainView.prepareForPrint()
    mainView.item.grabToImage(function (result) {
        message.title = "Print"
        message.text = graphPrinter.print(result.image,
                                          selectedPrinter.name)
        message.open()
    }, mainView.outputsize)
}

onClosed: {
    mainView.cleanAfterPrint()
}
サイズについては、コードは画像を実際の解像度の4倍でレンダリングさせます。3Dグラフの場合、印刷の間、アイテムも拡大する必要があります:
function prepareForPrint() {
    if (stackLayout.currentIndex === 1) {
        var newsize = Qt.size(bargraph.width * 4, bargraph.height * 4)

        // check that we do not exceed maximum texture size
        if (newsize.width * Screen.devicePixelRatio > graphPrinter.maxTextureSize() ) {
            // scale to 25% under max texture size to be on the safe side; some GPUs seem
            // to glitch when using the abosulute max
            var ratio = (newsize.width * Screen.devicePixelRatio * 1.25)
                    / graphPrinter.maxTextureSize()
            newsize.width /= ratio
            newsize.height /= ratio
        }
        outputsize.width = Math.round(newsize.width)
        outputsize.height = Math.round(newsize.height)

        // resize the bar graph to match the PDF output size
        item.width = outputsize.width
        item.height = outputsize.height
    } else {
        outputsize = Qt.size(linegraph.width * 4, linegraph.height * 4)
    }
}

function cleanAfterPrint() {
    if (stackLayout.currentIndex === 1) {
        // resize the bar graph back to the actual visual size
        item.width = stackLayout.width
        item.height = stackLayout.height
    }
}
© 2025 The Qt Company Ltd. Documentation contributions included herein are the copyrights of their respective owners. The documentation provided herein is licensed under the terms of the GNU Free Documentation License version 1.3 as published by the Free Software Foundation. Qt and respective logos are trademarks of The Qt Company Ltd. in Finland and/or other countries worldwide. All other trademarks are property of their respective owners.
