Curves
The Curves view shows the interpolated values of an animated property over the animation range.
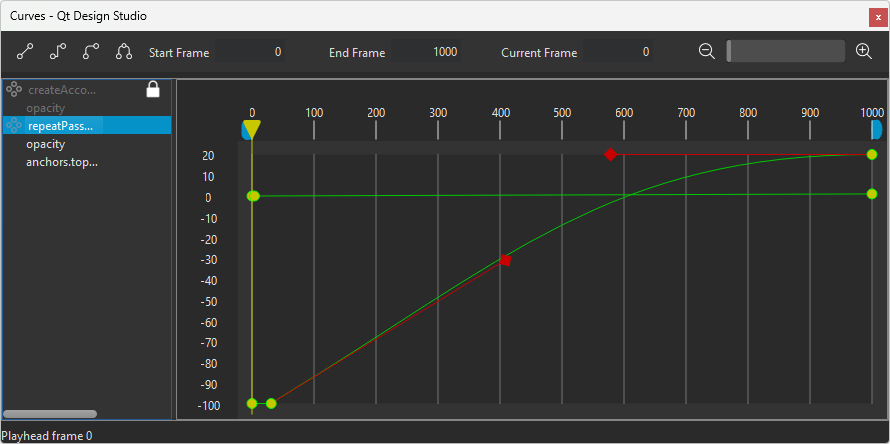
When you edit an animation curve, you implicitly edit the easing curves that the underlying system uses to define an animation. The animation curve is an extension to visualize both the value of a keyframe and the interpolation between keyframes simultaneously.
You can use the toolbar buttons to add Linear, Step, or Spline interpolation between keyframes.
To apply interpolation between keyframes:
- Select the keyframes. To select multiple keyframes, select and hold Ctrl, and then select them.
- Select
 (Linear),
  (Step) or
  (Spline) depending on which interpolation method you want to use.
When you set interpolation to Spline, handles appear in Curves that you can use to modify the curve. Select  (Unify) to lock the handle on the left of a keyframe to the one on the right of it so that moving the left handle also moves the right handle.
If the component that contains the animated property has been locked in Navigator, you can select  to unlock it. You can also lock individual easing curves for editing.
To lock an animation curve, hover over the property in the list, and then select  .
.
To pin an animation curve, hover over the property in the list, and then select  .
.
Editing animation curves
To edit animation curves:
- In the Timeline view, animate at least one property value by inserting keyframes for it.
- Select View > Views > Curves to open the animation curve editor.
- Right-click in Curves, and select Insert Keyframe to add a keyframe.
- Select properties in the list to display the easing curves attached to them. To select multiple properties, select and hold Ctrl, and then select them.
Your changes are automatically saved when you close the view.
Deleting keyframes in curves
To delete the selected keyframe, select Delete Selected Keyframes in the context menu.
Available under certain Qt licenses.
Find out more.
