Timeline

You can use the timeline and keyframe based editor in the Timeline view to animate the properties of components. The view is empty until you create a timeline.

"Empty Timeline view"

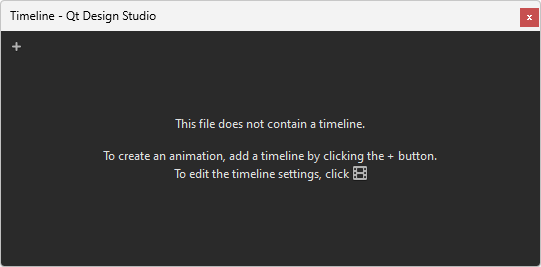
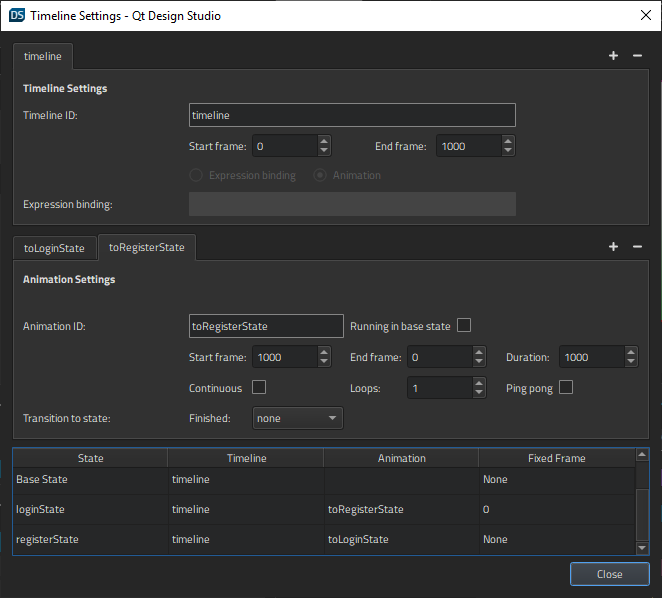
Select the (Add Timeline) button to create a timeline and specify settings for it in the Timeline Settings dialog.

"Timeline Settings dialog"

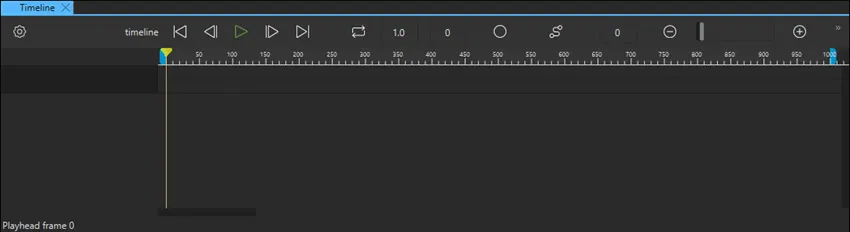
When you select Close, the Timeline view appears. It now displays a toolbar and a ruler but no keyframe tracks.

"Timeline view without keyframe tracks"

To animate component properties in the Timeline view, you must insert keyframes for them. In the Properties view, select (Actions) > Insert Keyframe for a property that you want to animate. A keyframe track is generated for each component that you insert keyframes for.

"Timeline view with a property"

You can now select to record changes in component properties while you navigate the timeline.

The following video shows how to insert keyframes for component properties and to animate them in Timeline:

To try it yourself, follow the Log In UI - Timeline tutorial.

For more information about creating timeline animations, see Creating Timeline Animations.

"Timeline view"

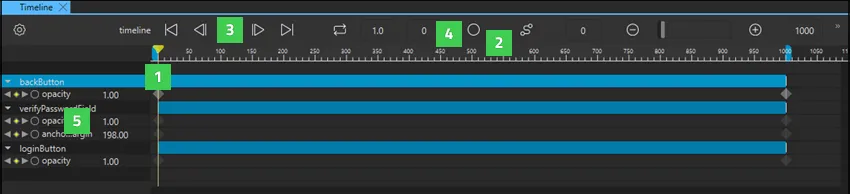
You can navigate the timeline in the following ways:

  • Drag the playhead (1) to a frame.
  • Click on the ruler (2) to move to a frame.
  • Select the To Start (Home), Previous (,), Next (.), or To End (End) buttons (3), or use the keyboard shortcuts to move to the first, previous, next, or last frame on the timeline.
  • Enter the number of a frame in the current keyframe field (4) to move to that frame.
  • Select the Previous and Next buttons next to a property name on the timeline (5) to move to the previous or next keyframe for that property.

Zooming in Timeline

Use the slider on the toolbar to set the zooming level in the Timeline view. Select the and buttons to zoom out of or into the view.
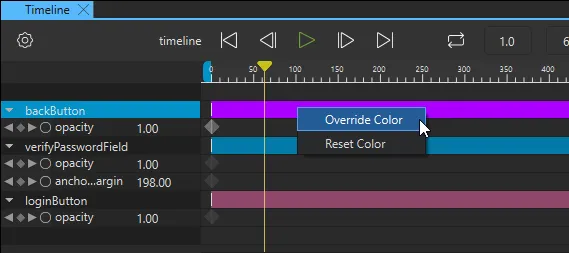
Setting Keyframe Track Color

To change the color of a keyframe track, select Override Color in the context menu, and then select a color in the color picker. To reset the color, select Reset Color.

"Keyframe track colors in Timeline"

Timeline Toolbar

The Timeline toolbar contains the following buttons and fields.

Button/FieldActionRead More
Opens the Timeline Settings dialog for editing timeline settings.Creating a Timeline
Timeline IDDisplays the ID of the current timeline.Creating a Timeline
To Start (Home) moves to the first frame on the timeline.Navigating in Timeline
Previous (,) moves to the previous frame on the timeline.Navigating in Timeline
Play (Space) previews the animation.Viewing the Animation
Next (.) moves to the next frame on the timeline.Navigating in Timeline
To End (End) moves to the last frame on the timeline.Navigating in Timeline
Current KeyframeDisplays the frame that the playhead is currently on. Enter a number in the field to move the playhead to the respective frame.Navigating in Timeline
Records changes in keyframe values.Setting Keyframe Values
Opens Easing Curve Editor for attaching an easing curve to the selected transition.Editing Easing Curves
Start FrameSpecifies the first frame of the timeline. Negative values are allowed. The difference between the start frame and the end frame determines the duration of the animation.Creating a Timeline
Zoom Out (Ctrl+-) zooms out of the view.Zooming in Timeline
SliderSets the zooming level.Zooming in Timeline
Zoom In (Ctrl++) zooms into the view.Zooming in Timeline
End FrameSpecifies the last frame of the timeline. The difference between the start frame and the end frame determines the duration of the animation, so if the start frame is 0, the end frame equals the duration.Creating a Timeline
State NameDisplays the name of the current state.Binding Animations to States

Keyframe Track Icons

Each keyframe track can contain the following buttons and markers.

Button/IconActionRead More
Jumps to the previous frame on the timeline.Setting Keyframe Values
Jumps to the next frame on the timeline.Setting Keyframe Values
Records changes in keyframe values for a particular property.Setting Keyframe Values
Indicates the type of easing curve attached to the keyframe. When a keyframe track is selected, the keyframe markers on it turn gray, and when a keyframe itself is selected, its marker turns brown:
  • - linear easing curve
  • - manually set Bezier curve
  • - automatically set Bezier curve
  • - linear-to-Bezier curve
Editing Easing Curves

Timeline Context Menu

The following table summarizes the context menu items available for each keyframe track for a component, property, or keyframe marker and provides links to more information about them.

To Learn AboutGo To
Delete All KeyframesDeleting Keyframes
Add Keyframes at Current FrameSetting Keyframe Values
Copy All KeyframesCopying Keyframes
Paste KeyframesCopying Keyframes
Remove PropertySetting Keyframe Values
Delete KeyframeDeleting Keyframes
Edit Easing CurveEditing Easing Curves
Edit KeyframeEditing Keyframe Values
Override ColorSetting Keyframe Track Color
Reset ColorSetting Keyframe Track Color

Available under certain Qt licenses.
Find out more.